Pine Cone Trees

So I saw these absolutely adorable trees on pinterest, I had to give it a try! I am so pleased with how they came out. Here is my attempt at showing you how I created them! I found the perfect location to gather my pine cones… and have refused to share it with anyone!! After collecting I gave them all a quick mist of gold paint, not full coverage.. the tree on the right I did last and went a little overboard on the spray paint.. oops.
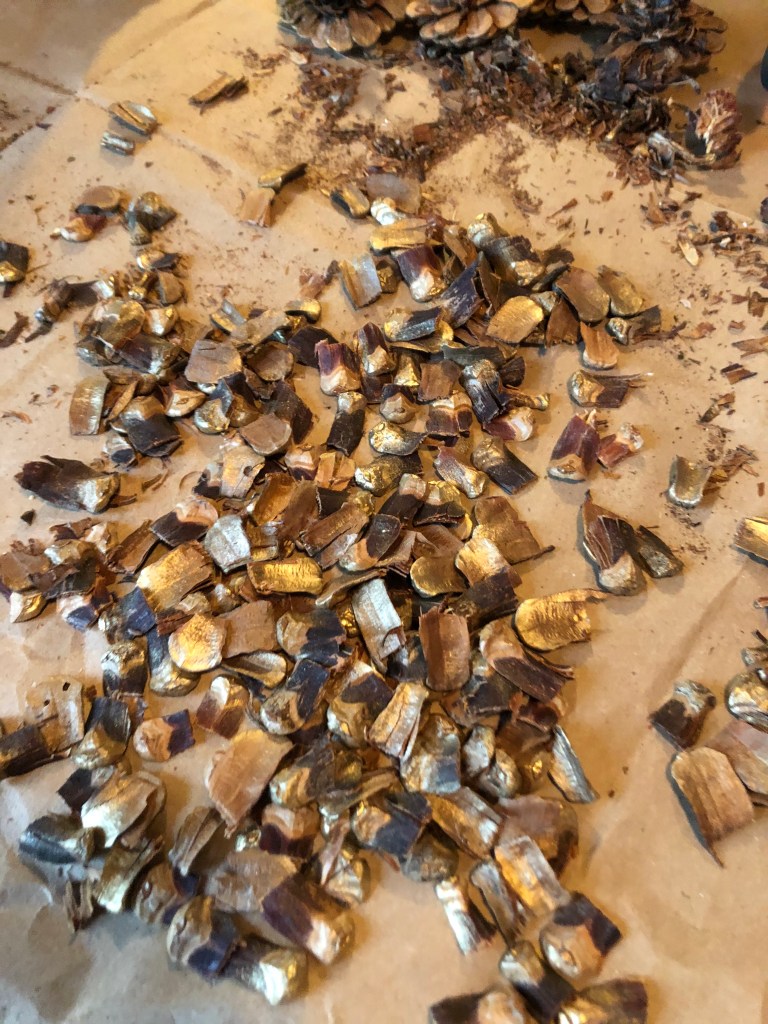
Then I got to snipping. Yes I actually snipped each piece off. I promise you it goes very fast with a cold beer. I found that little wire cutters worked best.
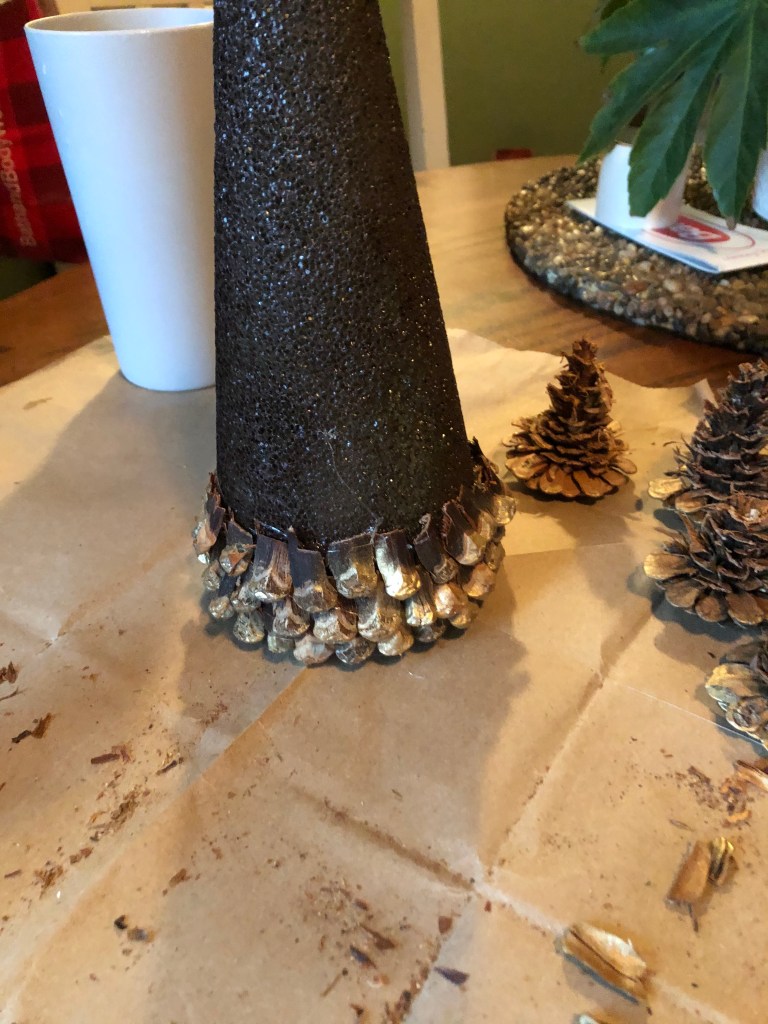
I spray painted the foam cones brown so that if I managed to miss a spot, it wouldn’t show through. I used a glue gun to attach each petal, it really went fast and it was exciting to see it all come together.
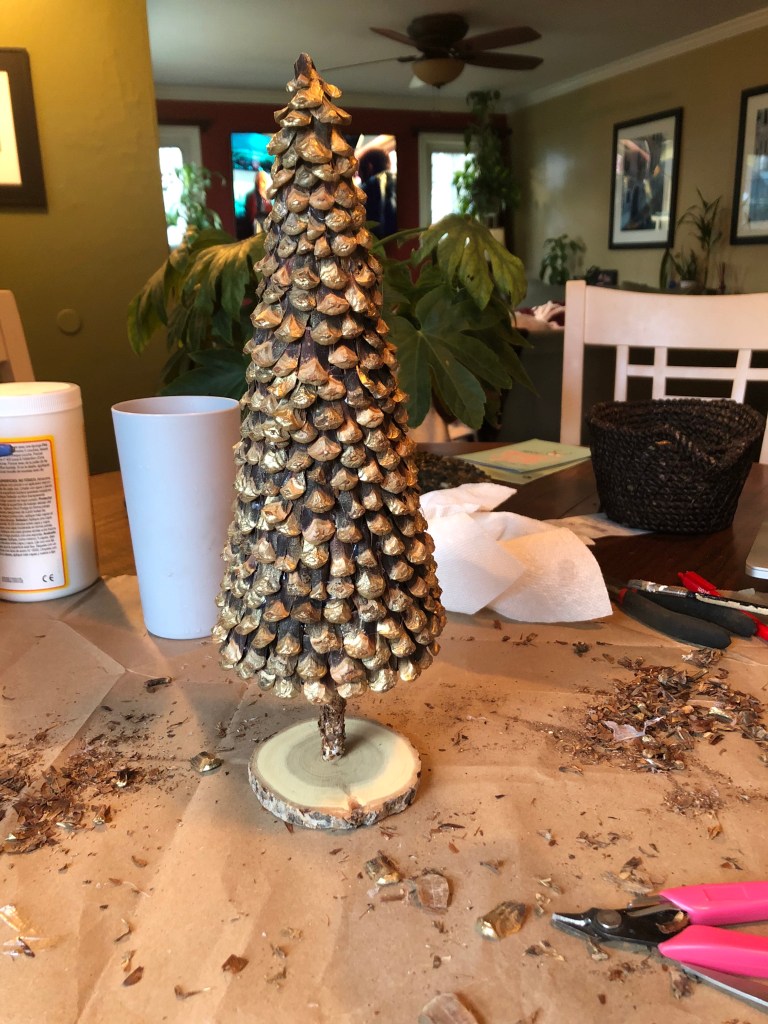
I then took a wooden dowel for the “trunk”, I applied glue to the entire “trunk” and scooped up all the scraps from the pine cones and smushed them on to give it a bark appearance. I drilled a hole in both the tree and the base… applied glue and there you have it. I really didn’t like the look of the base, so I glued some moss on. I may go back and change it up to green moss like the other two trees. You can also see the pink handled wire cutters I used.
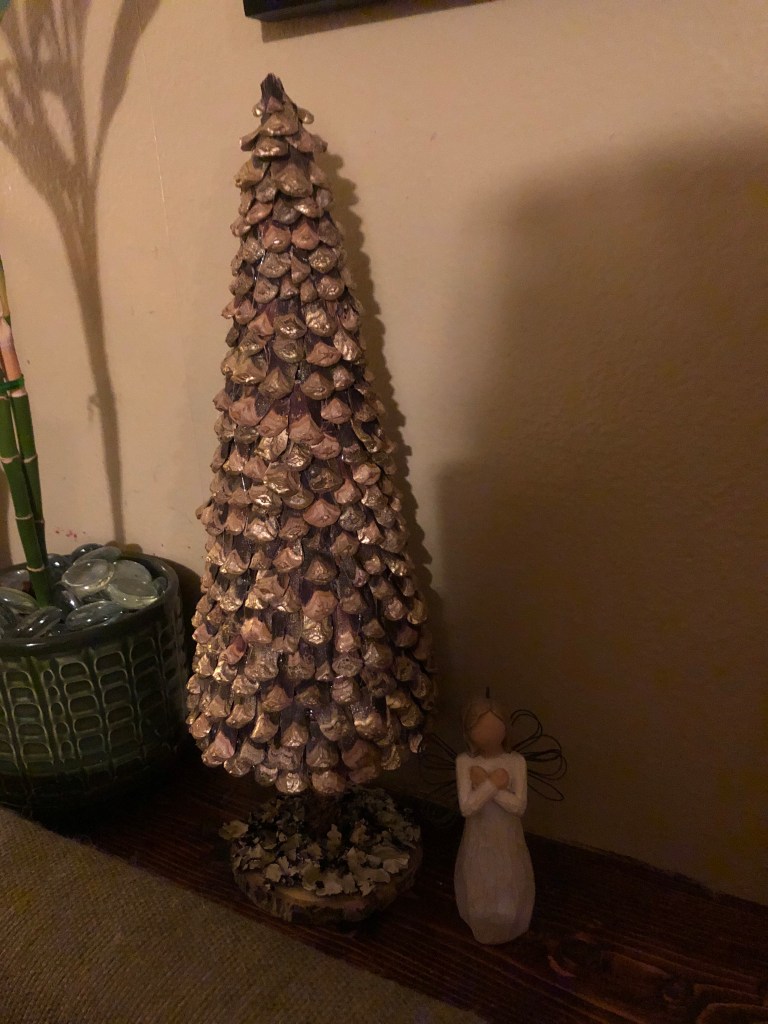
Inexpensive and so stinking cute!
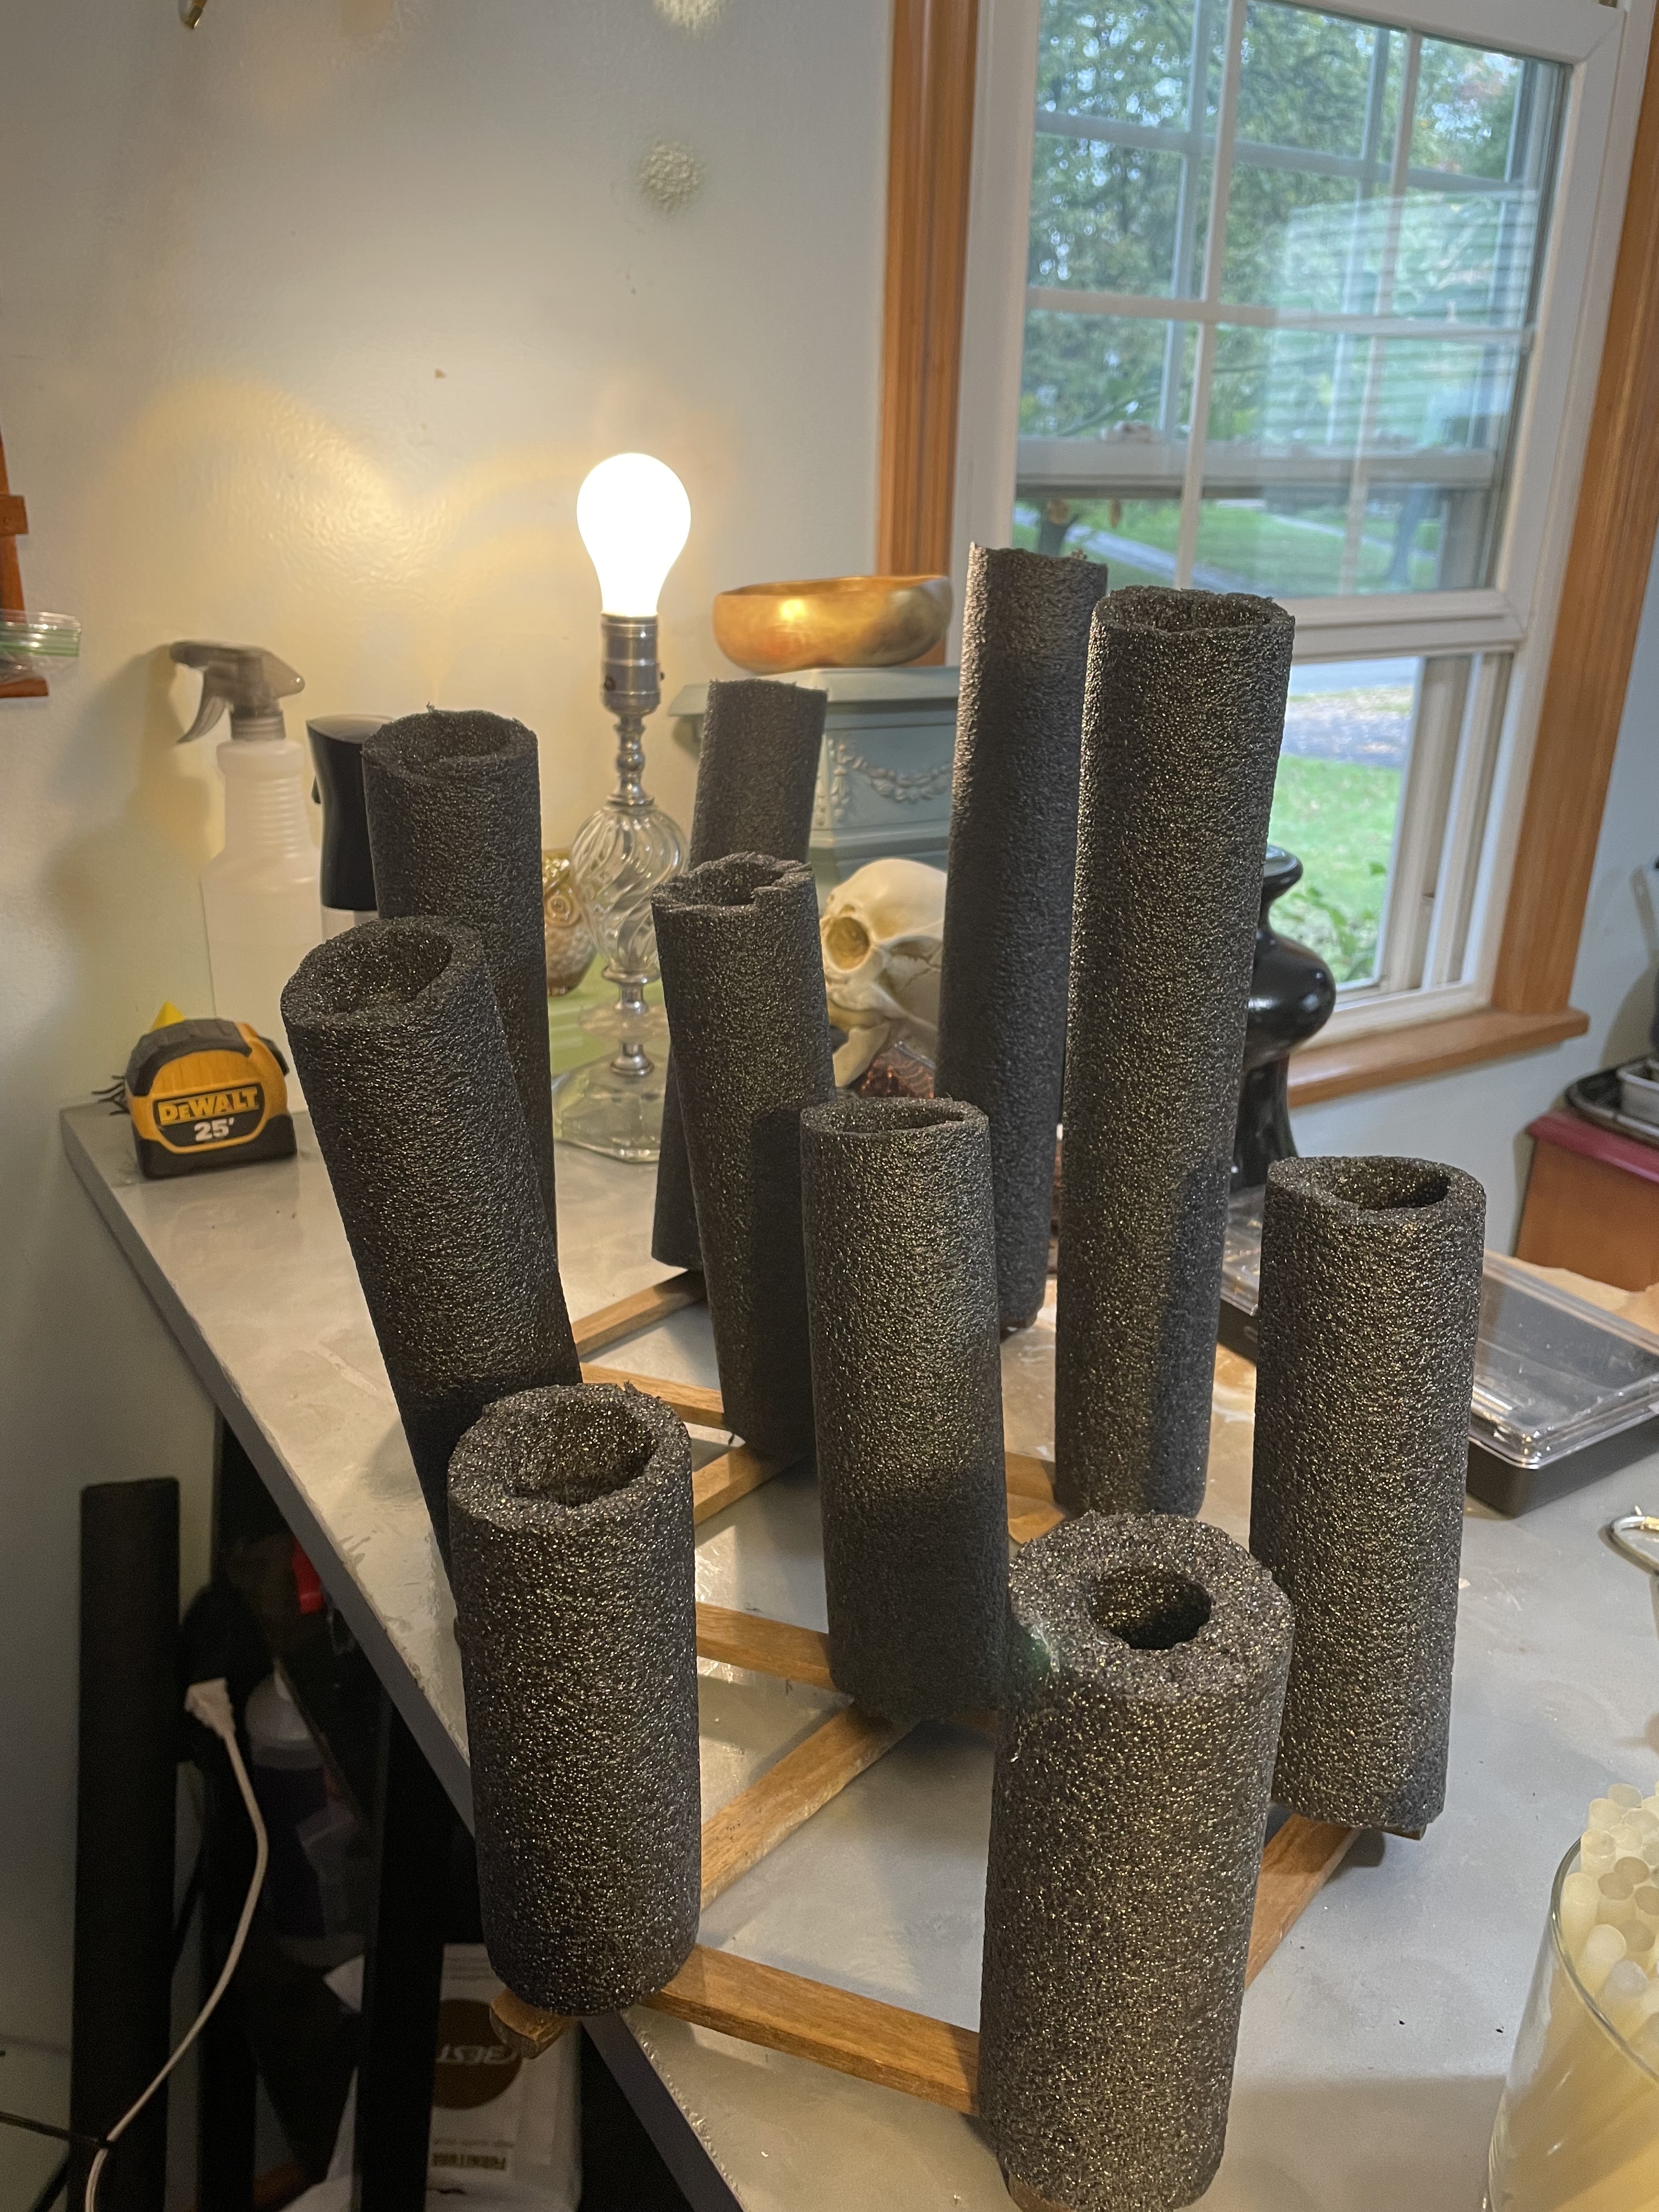
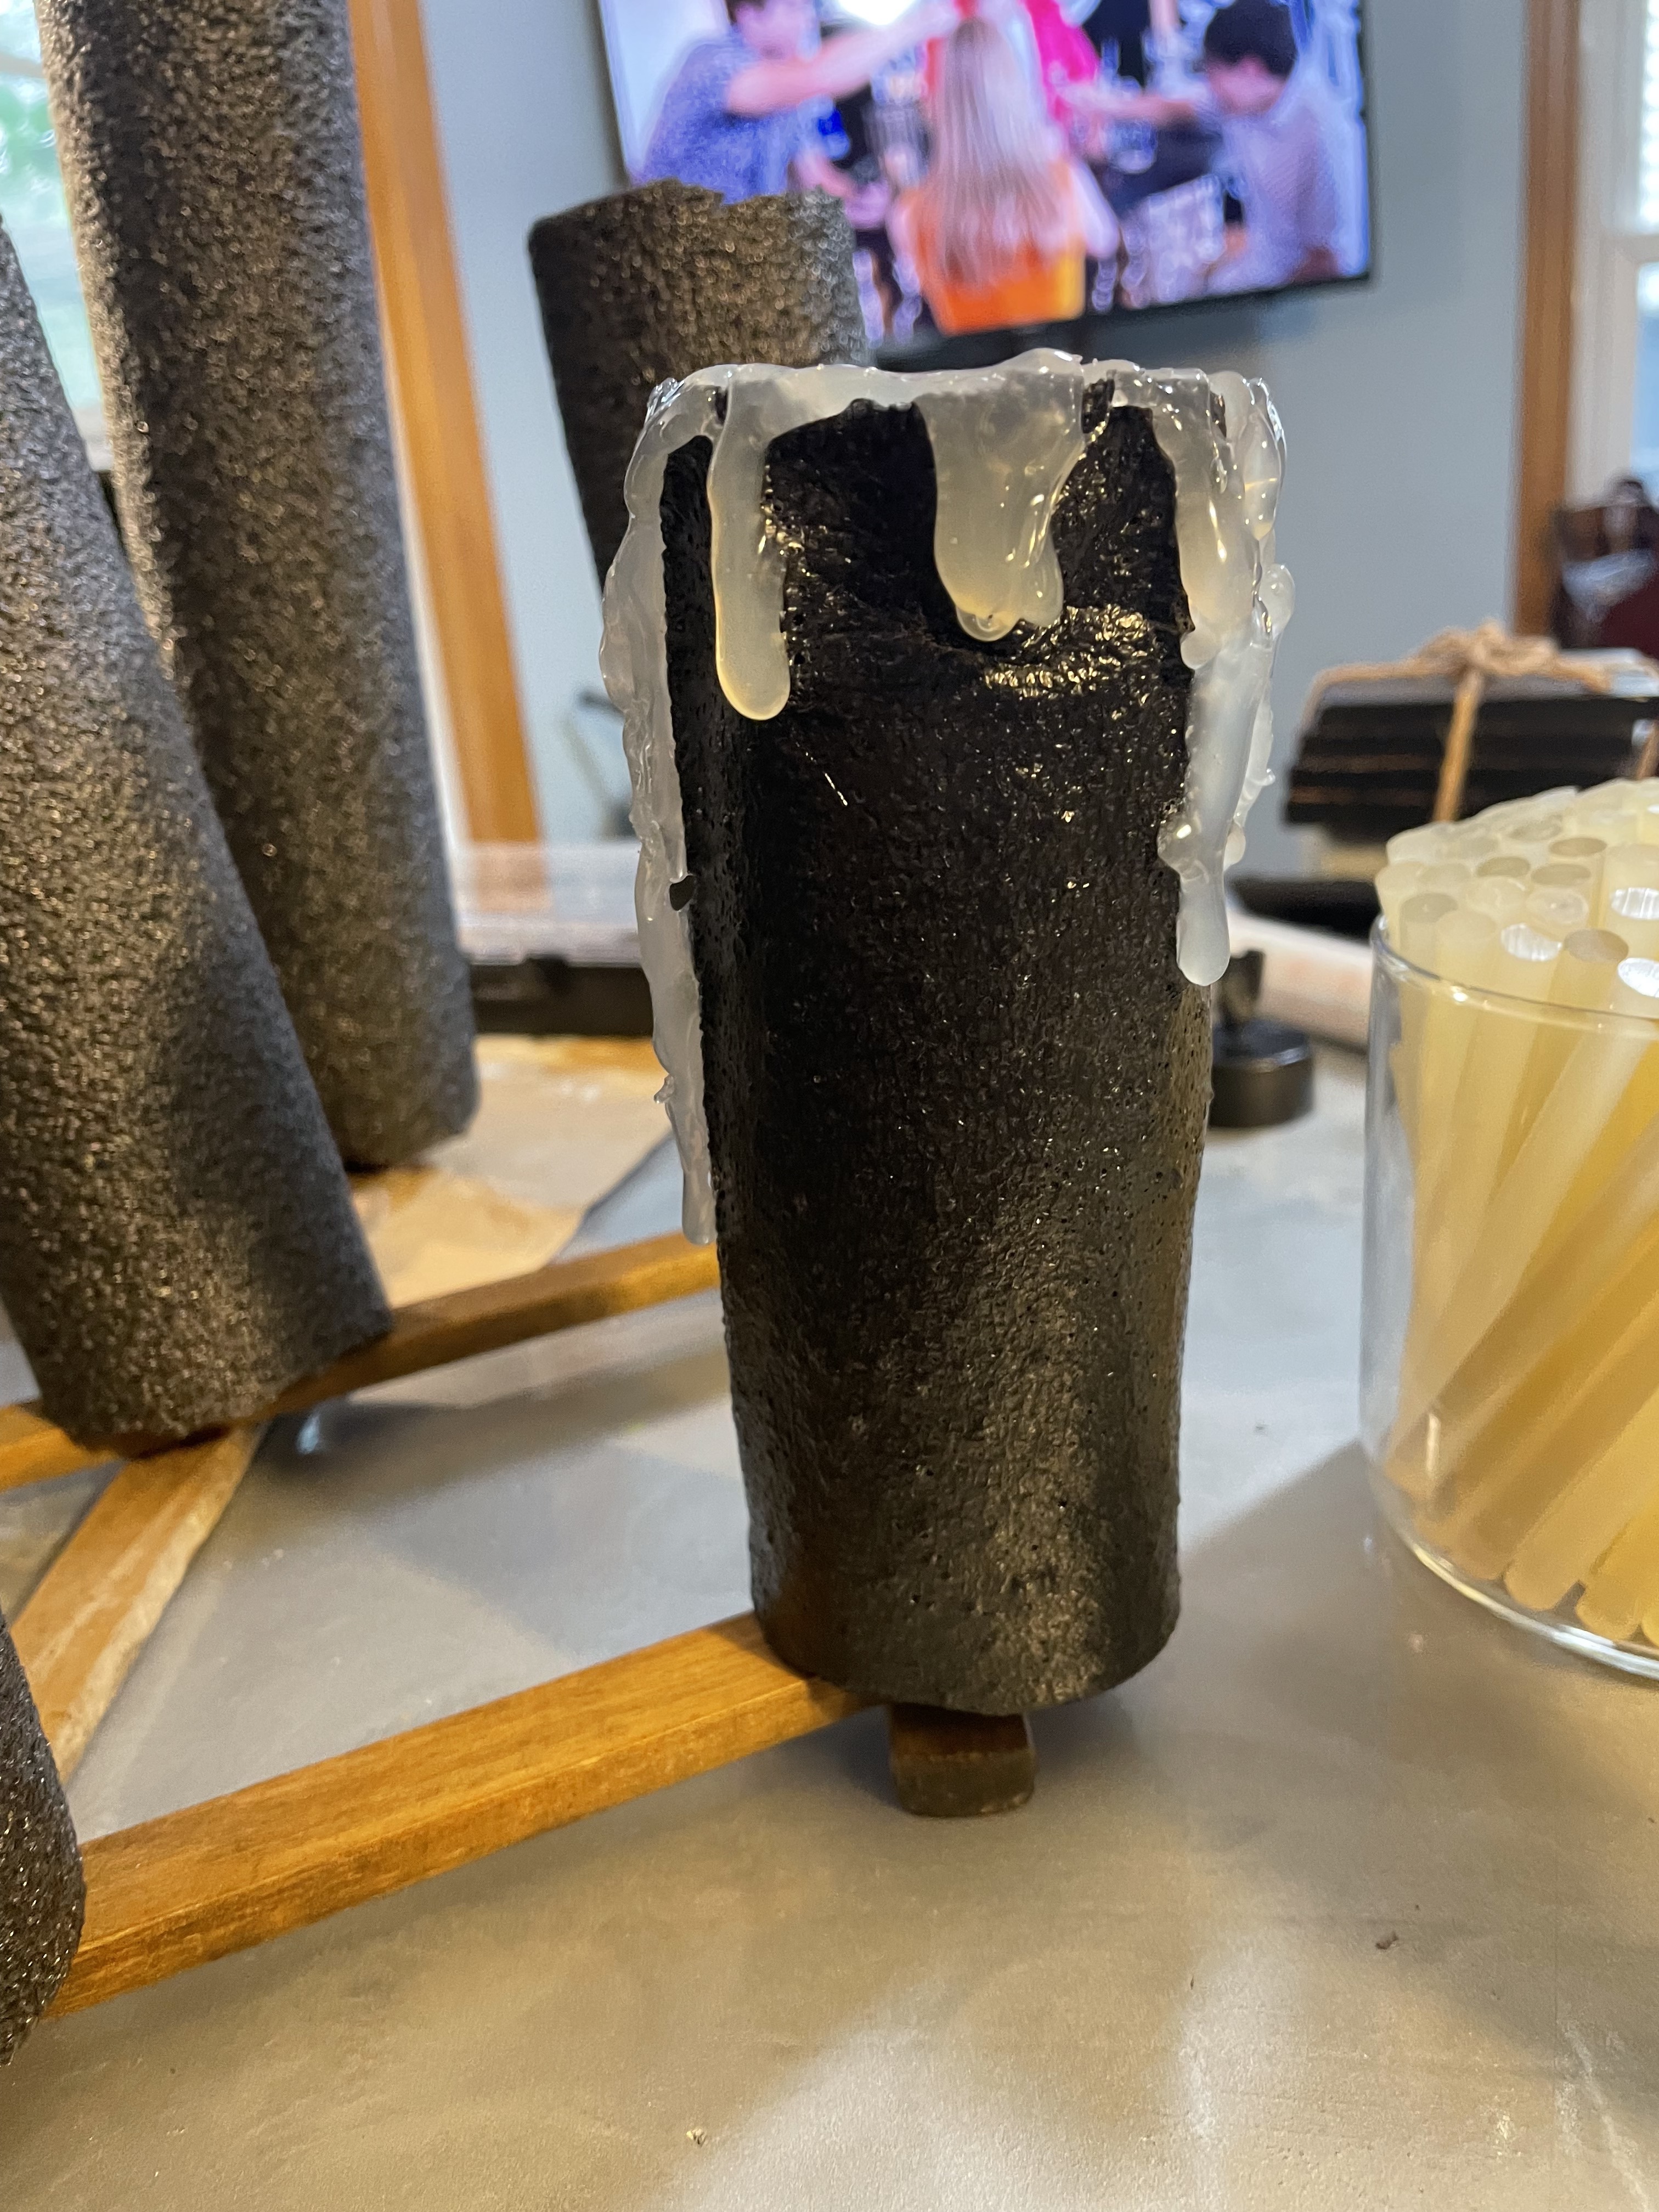
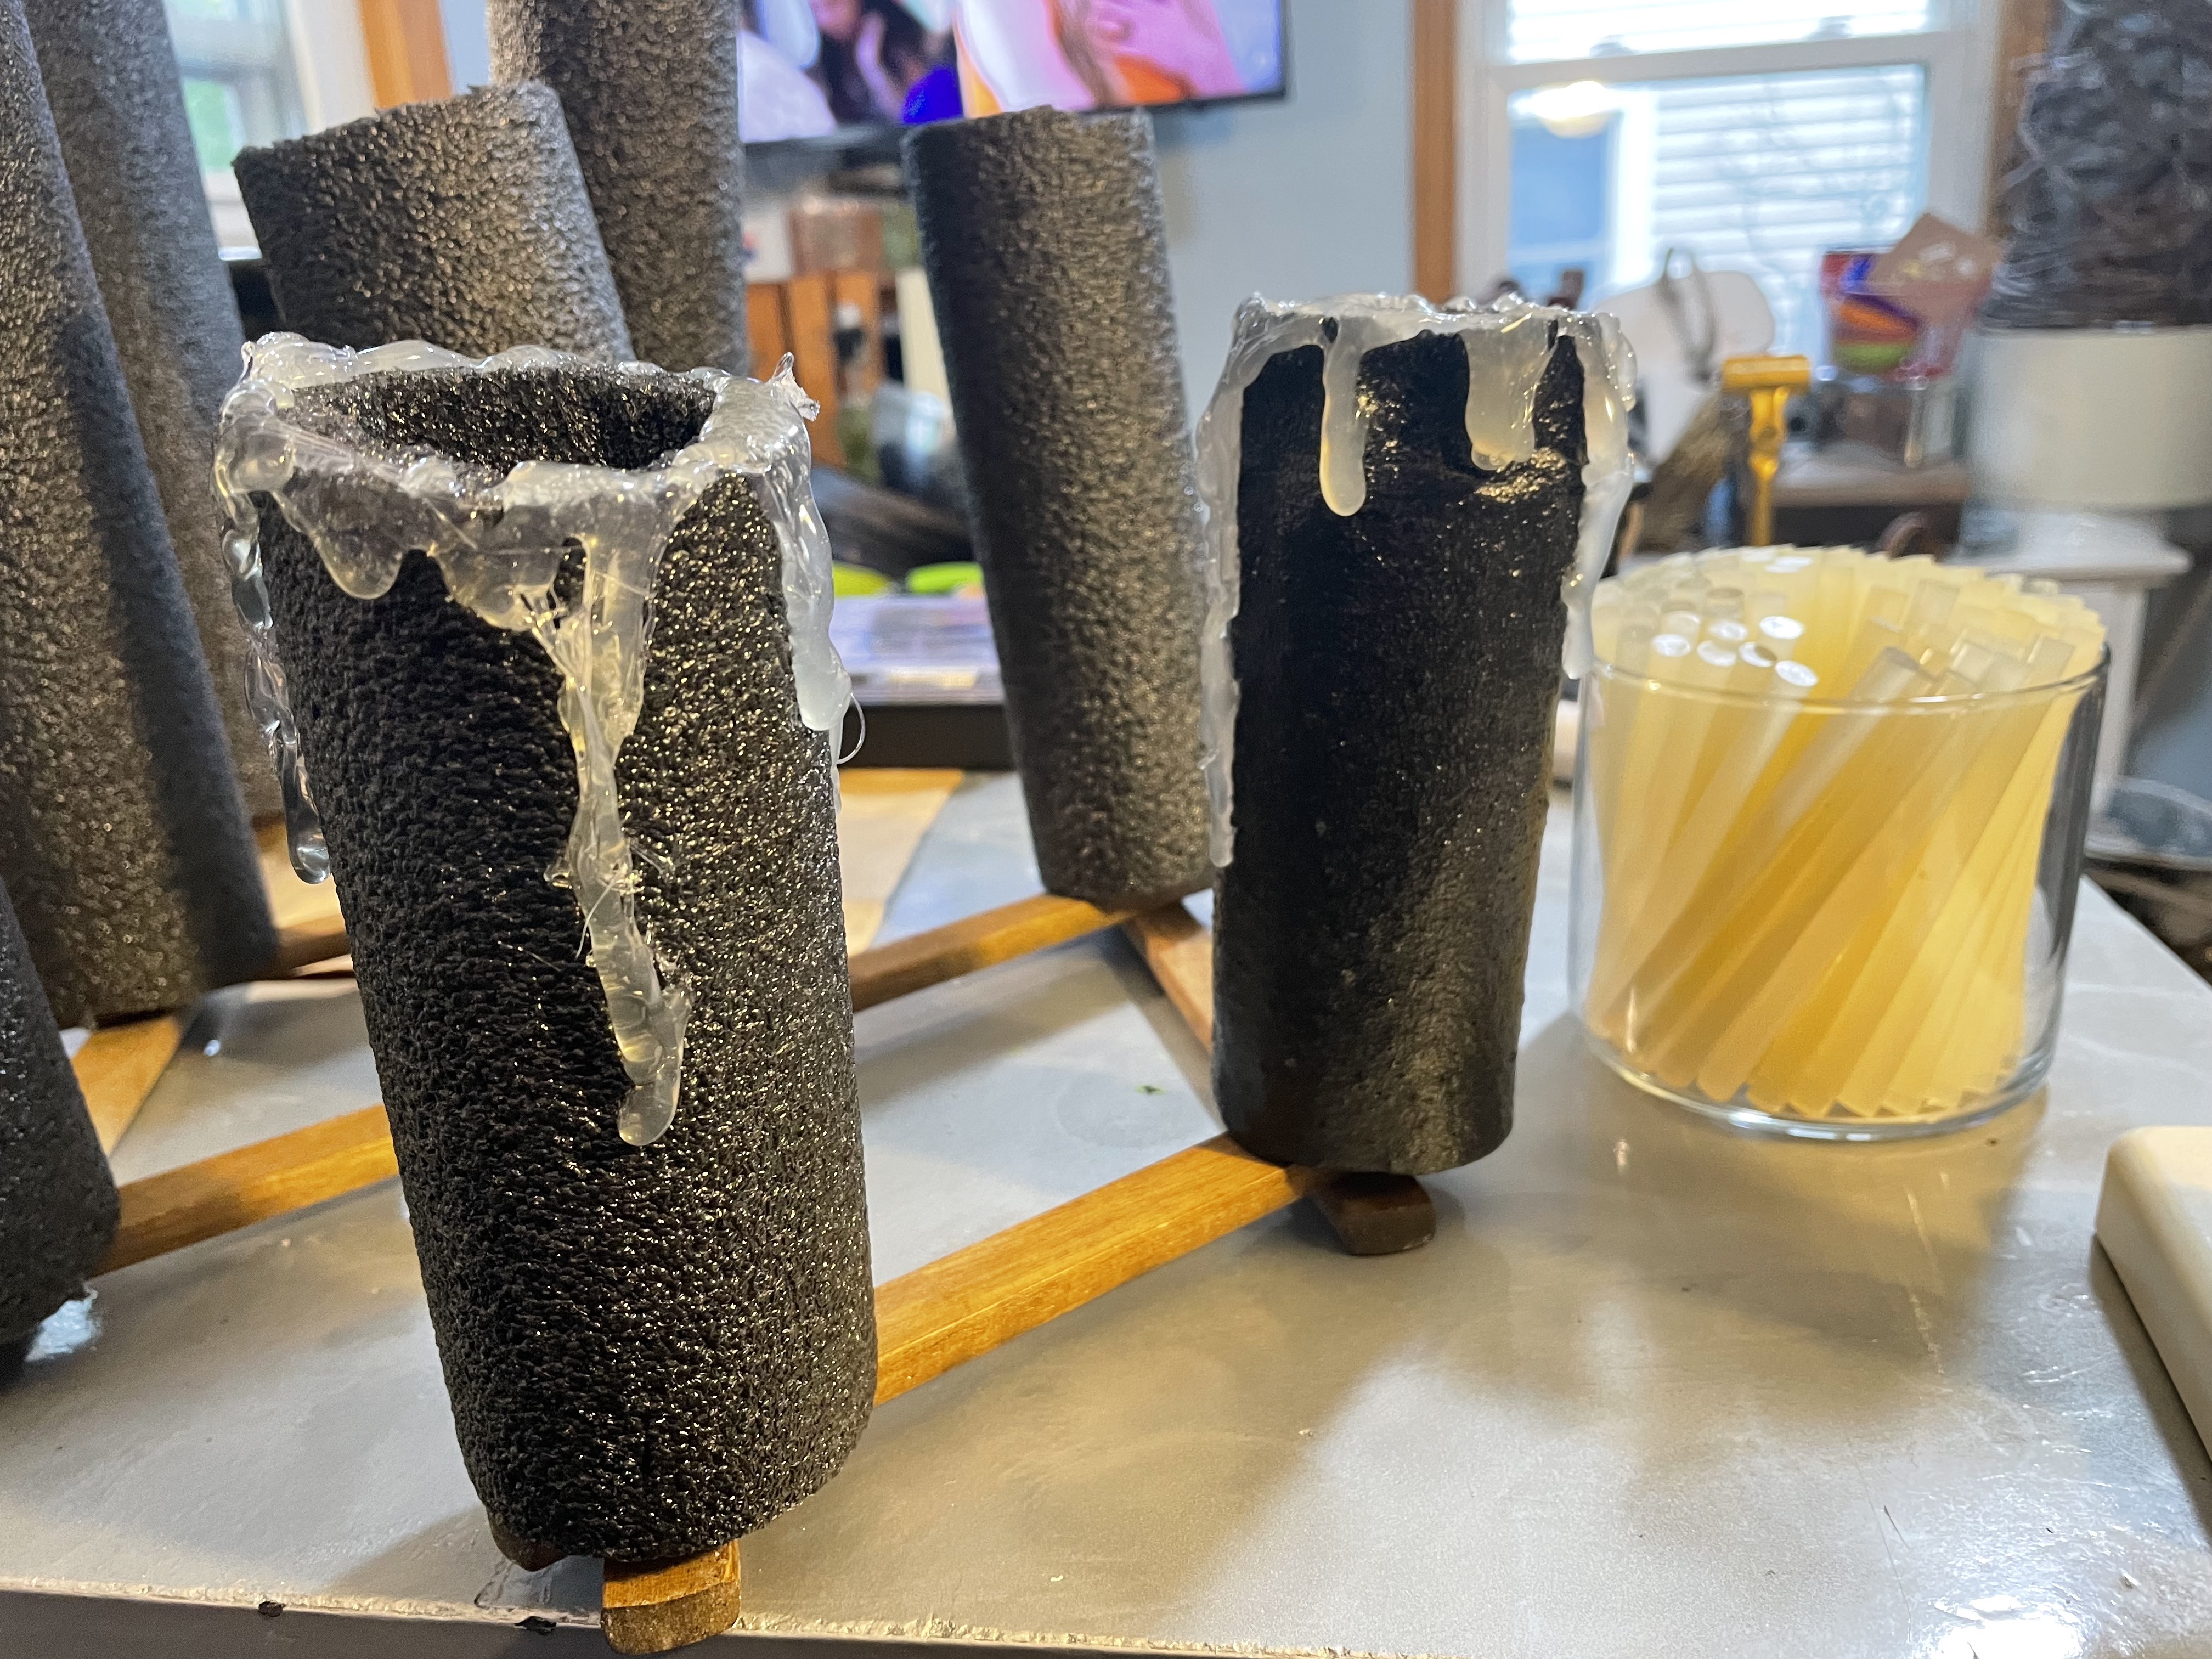
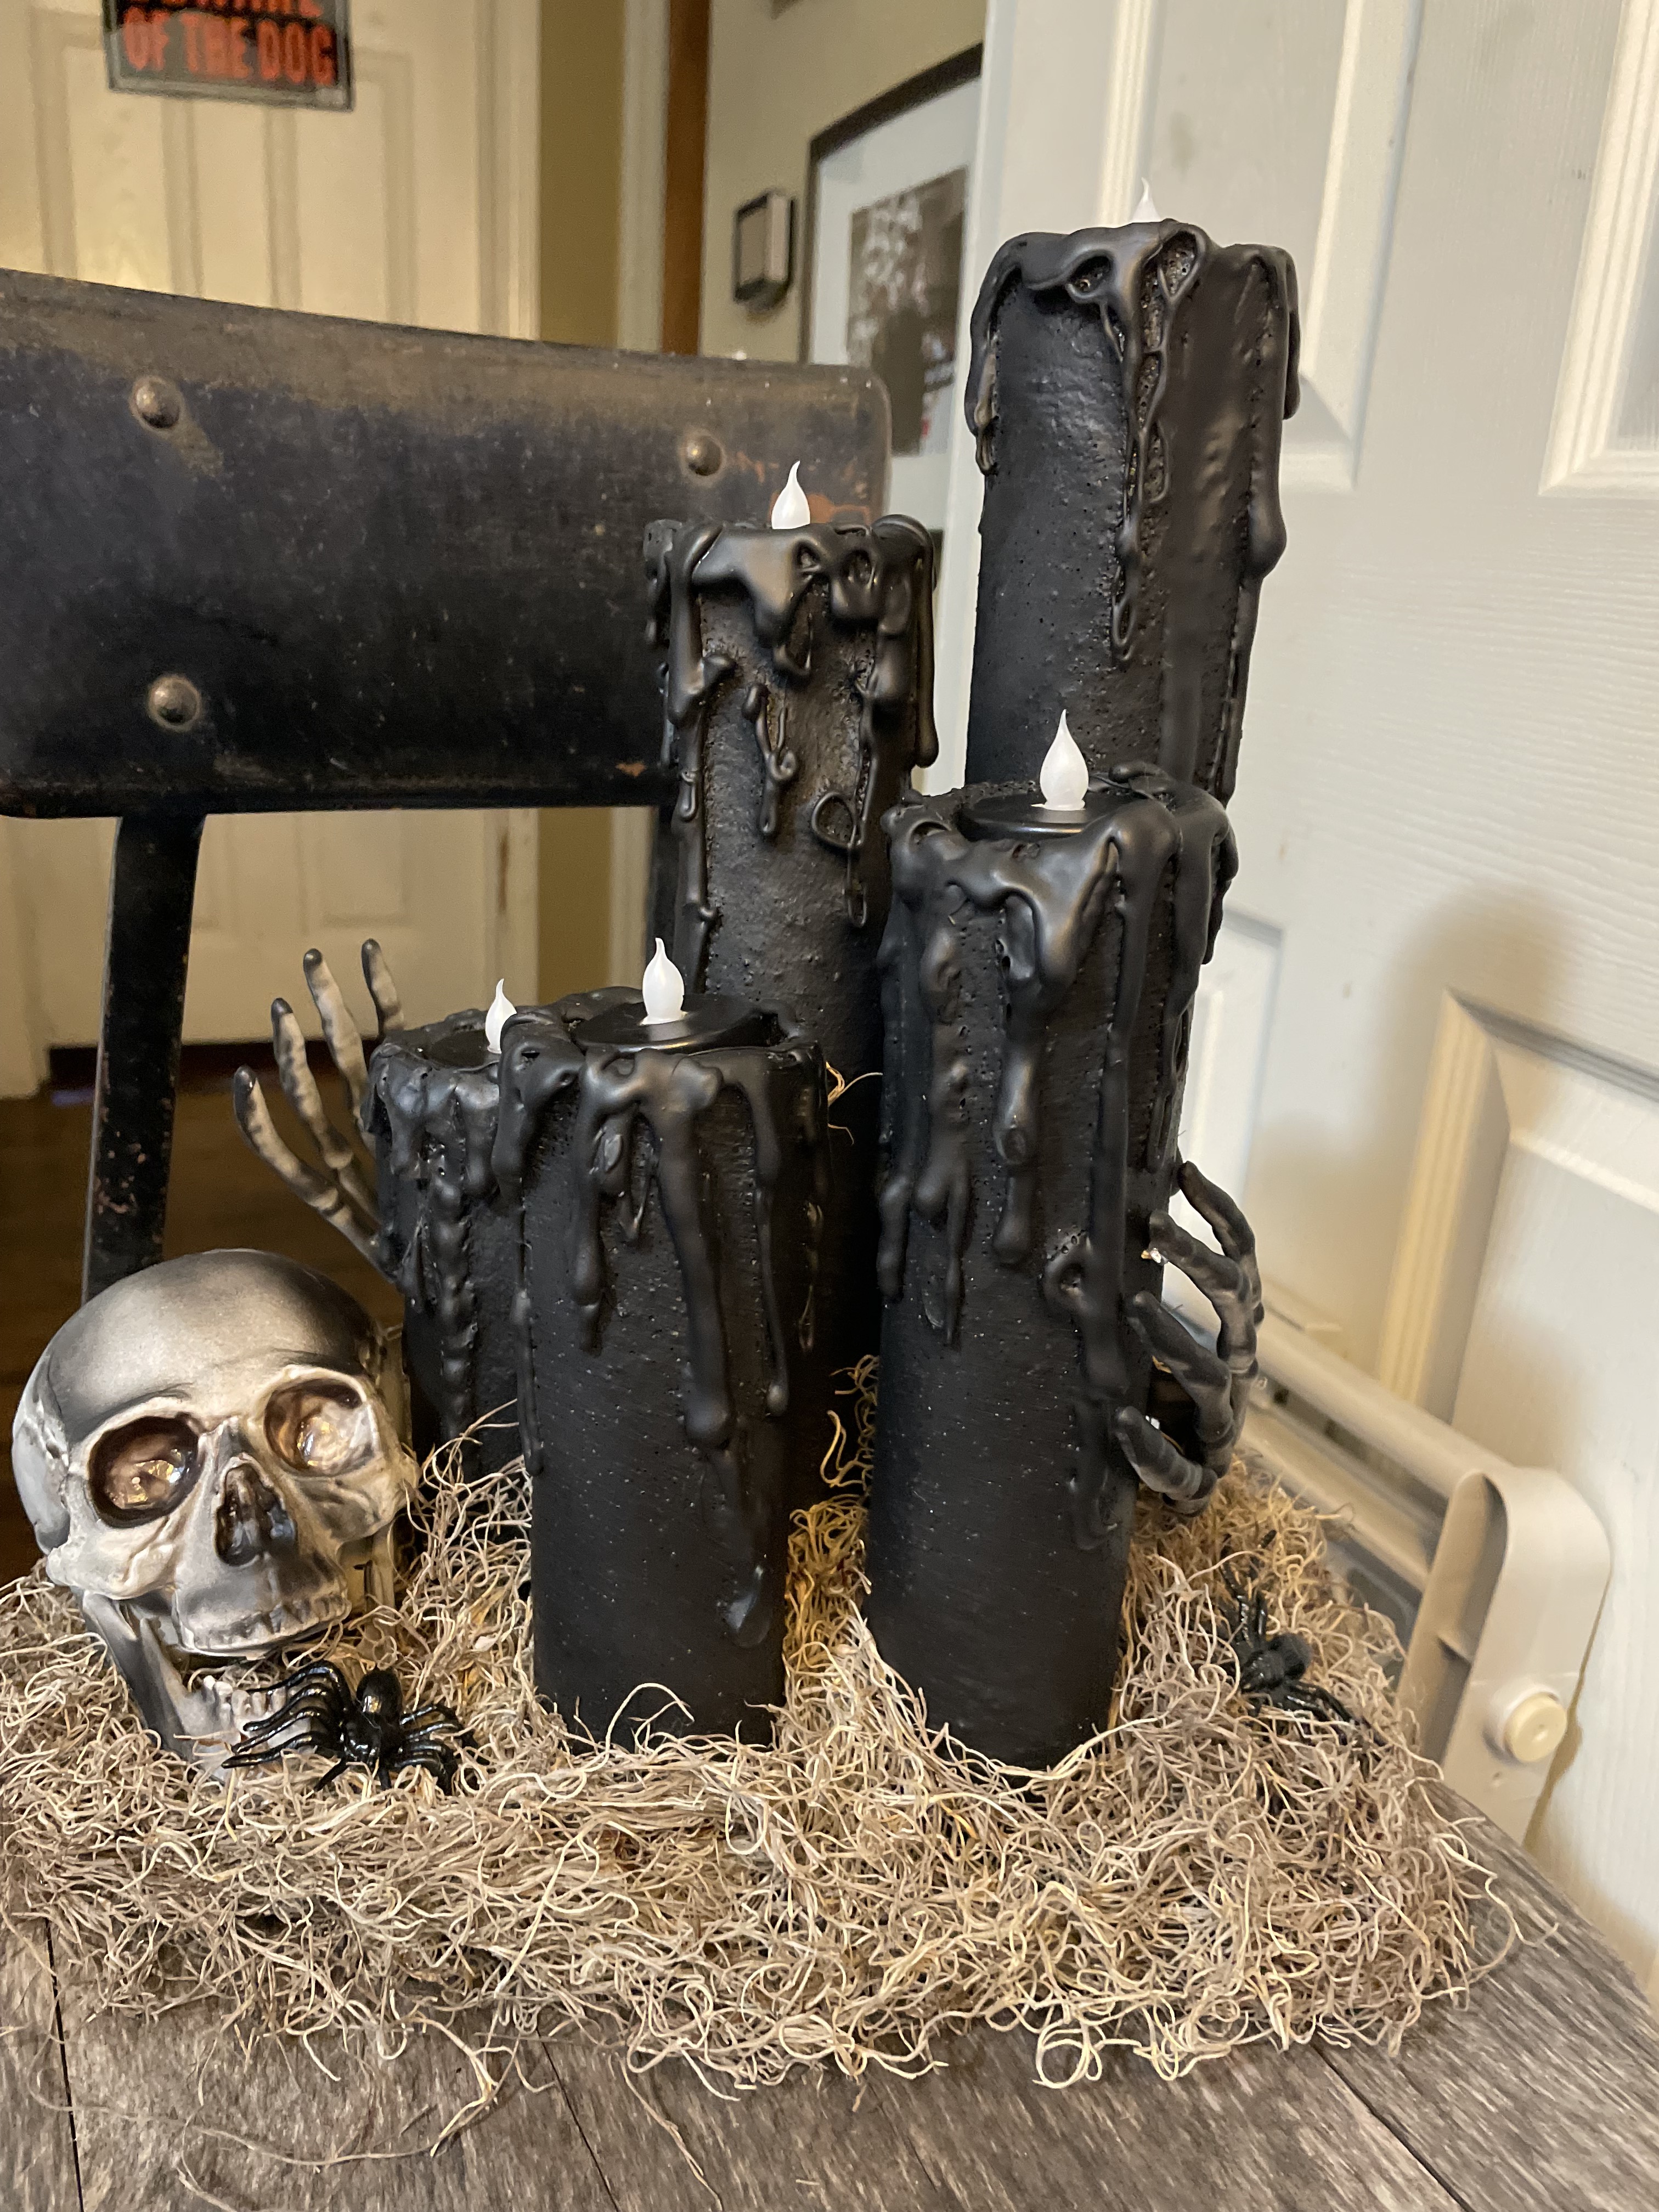
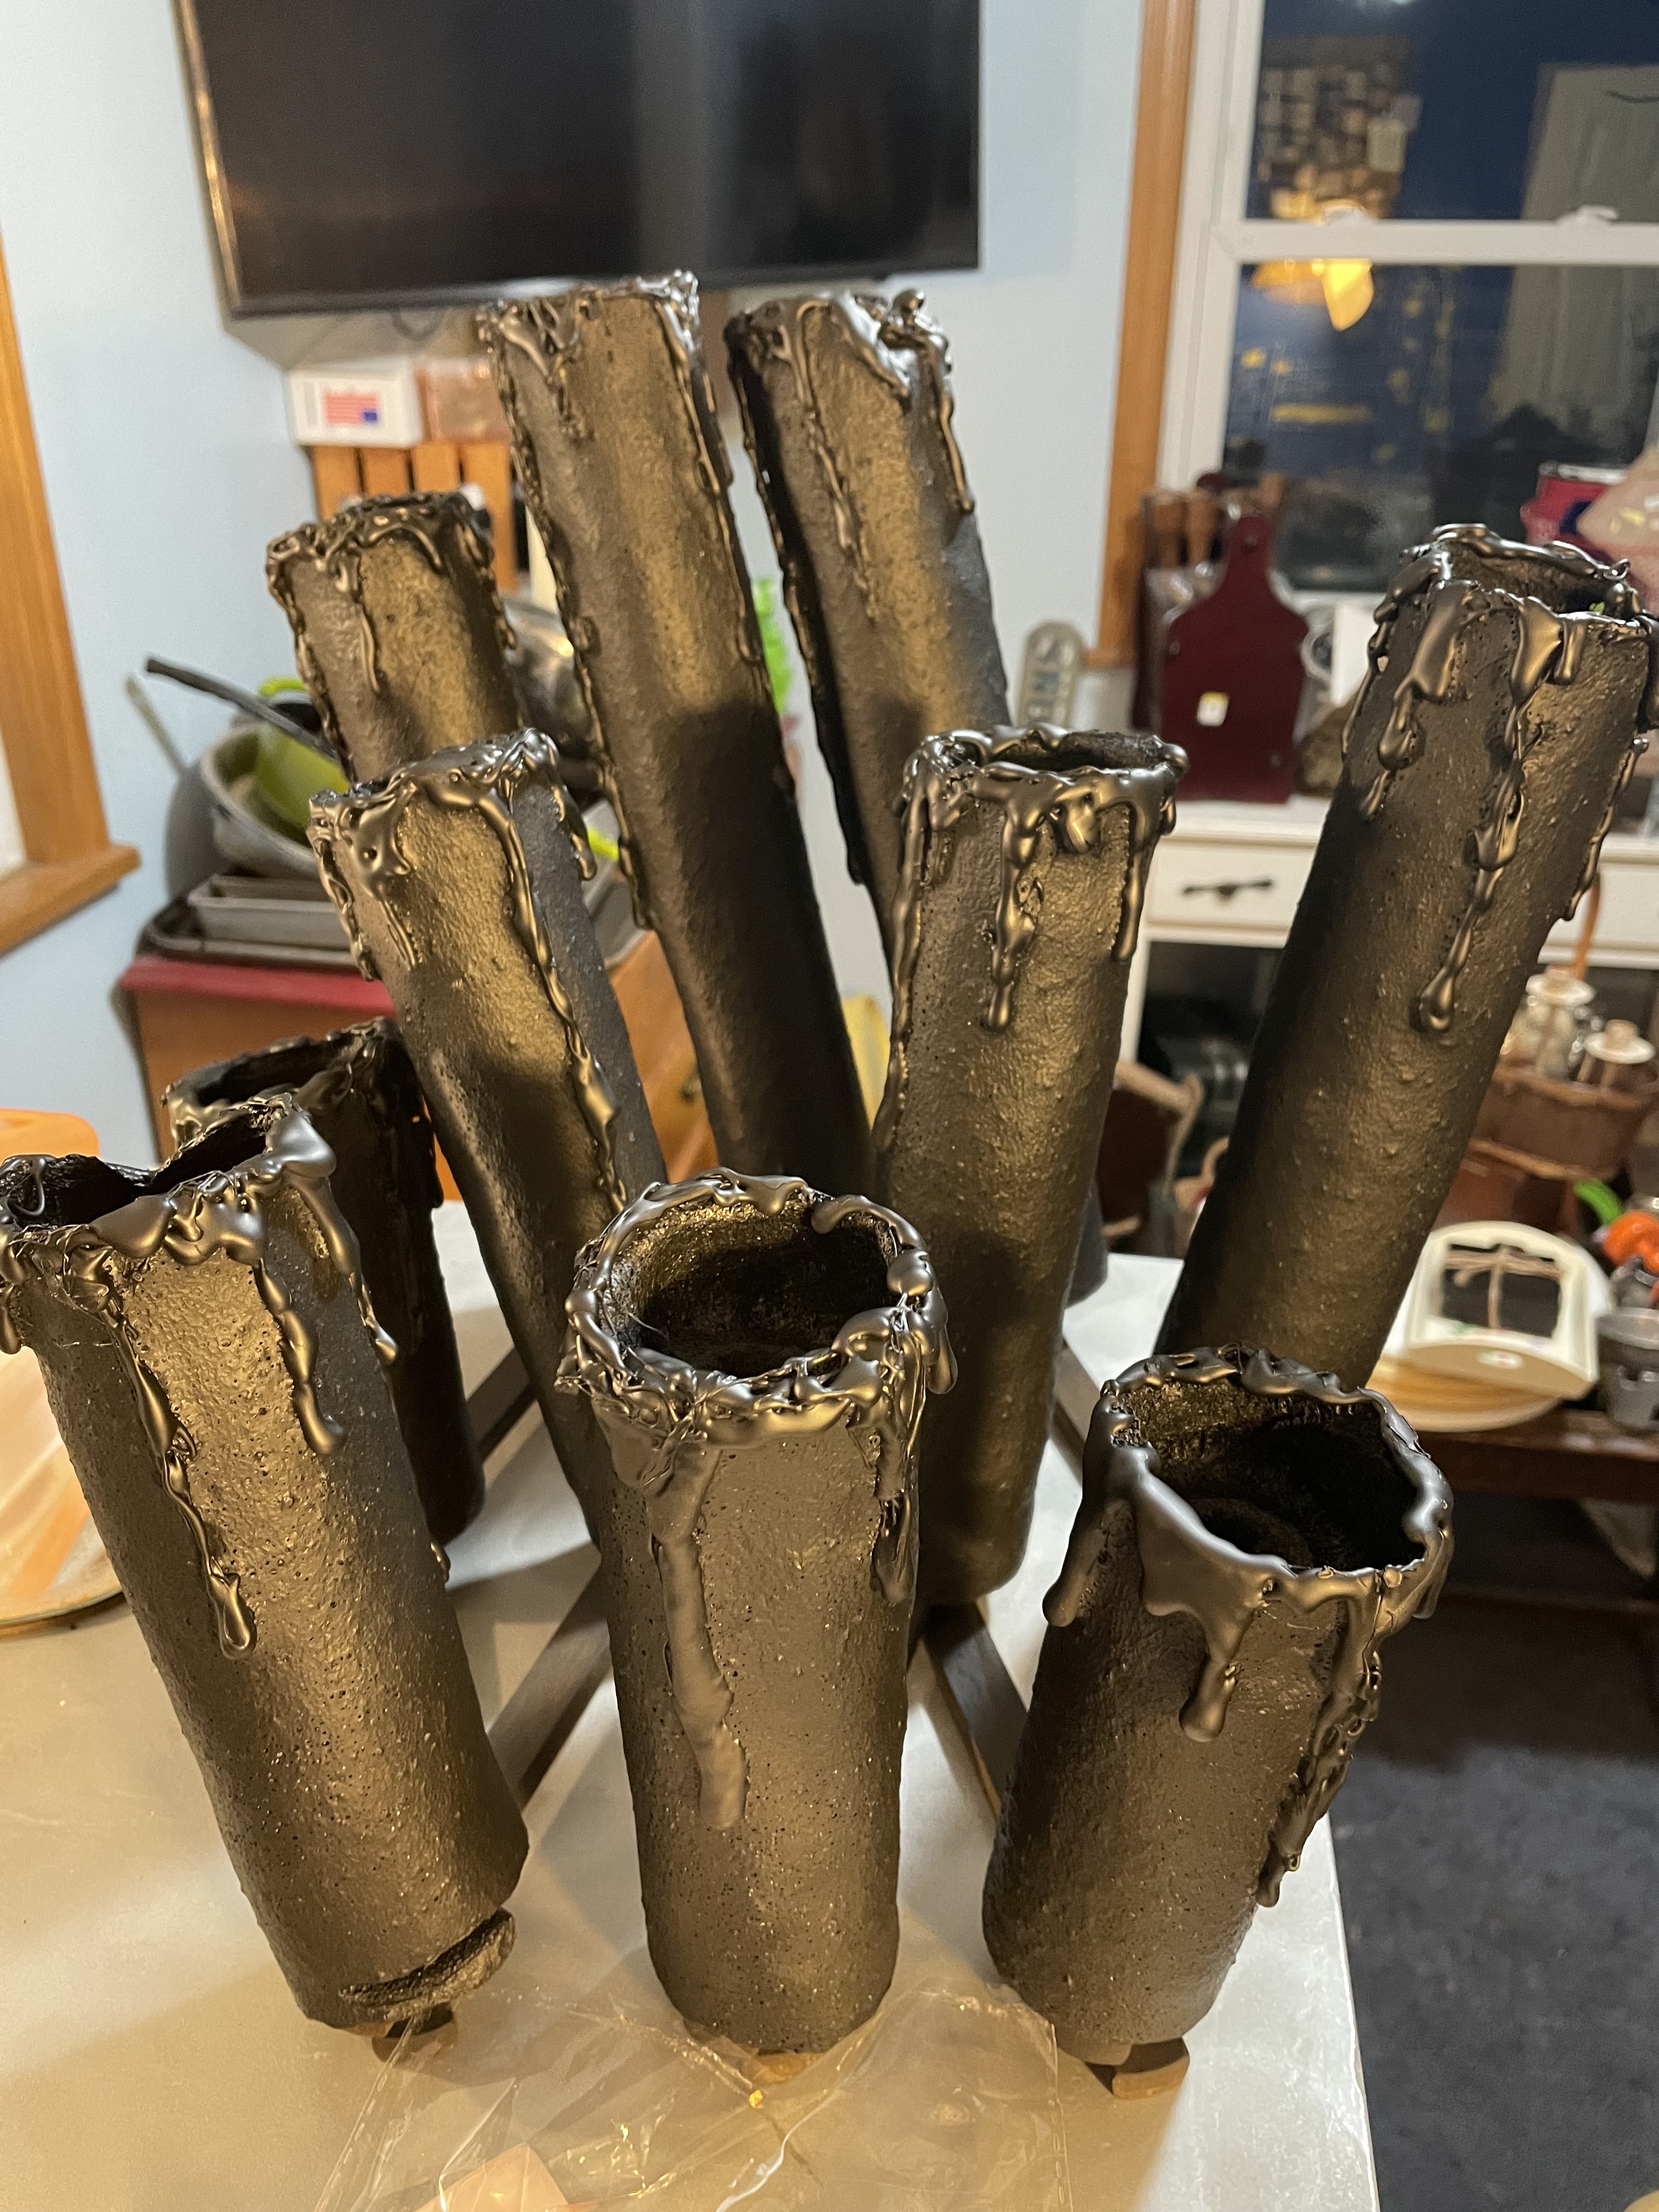
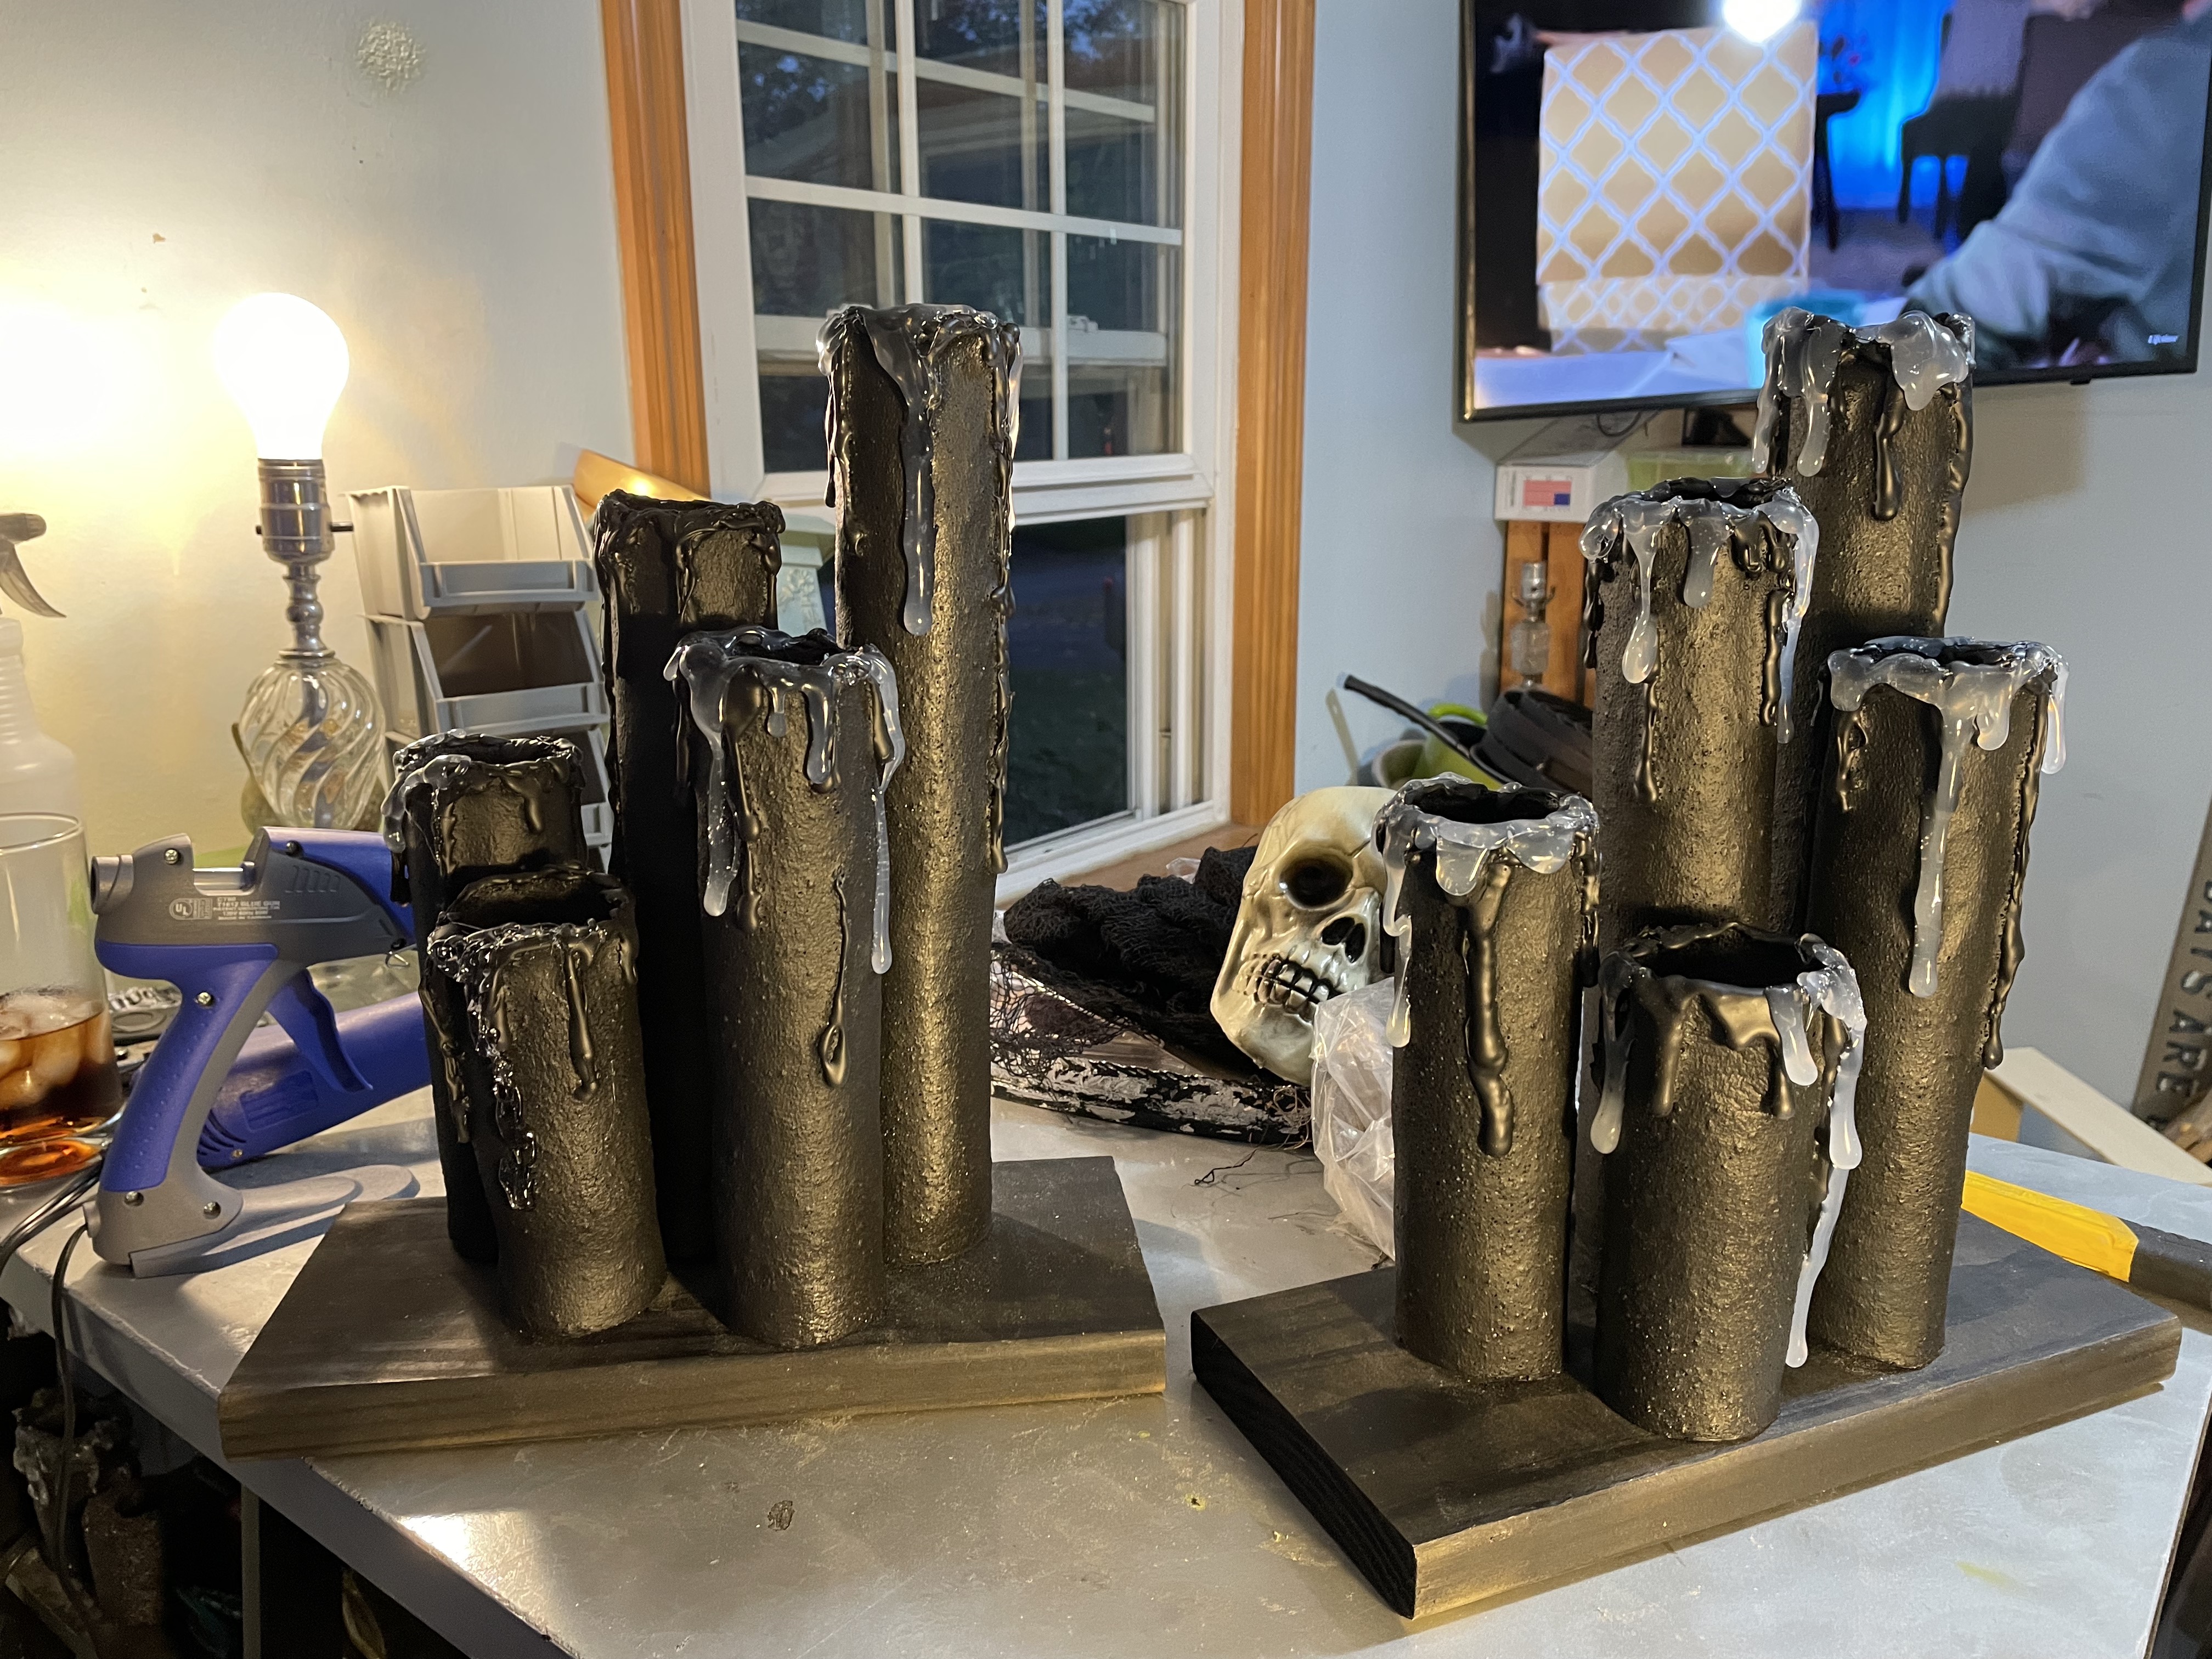
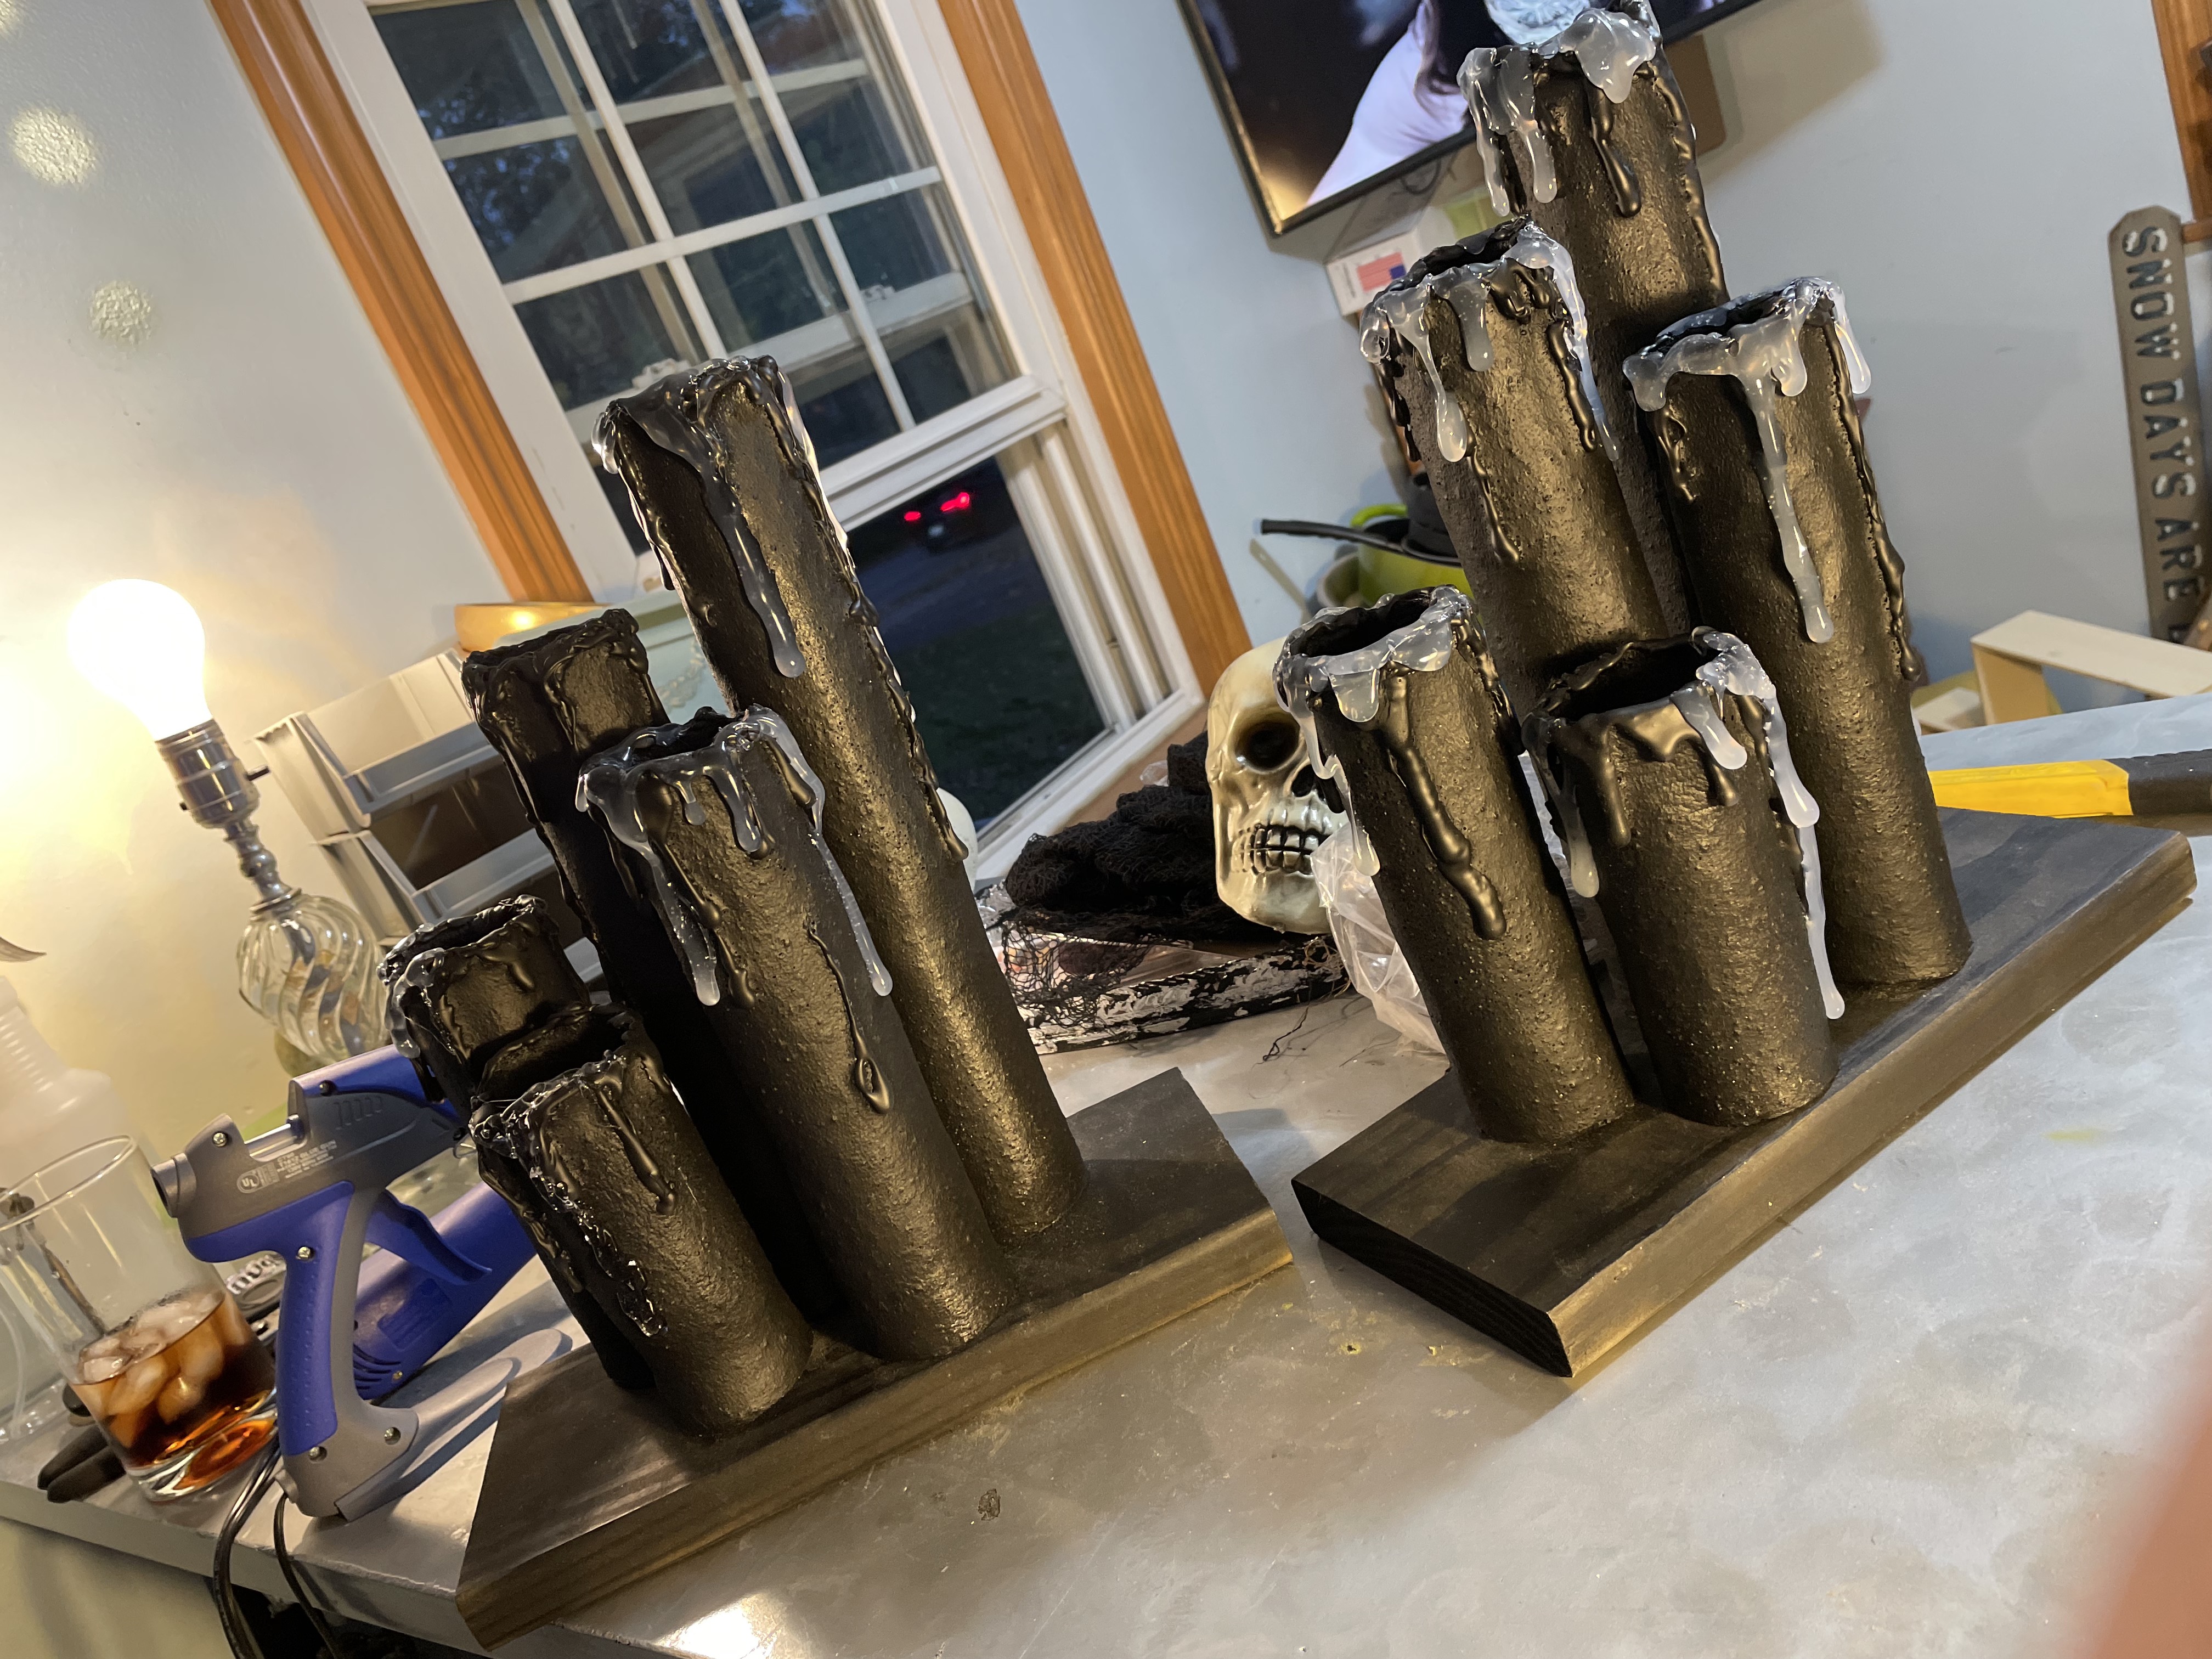
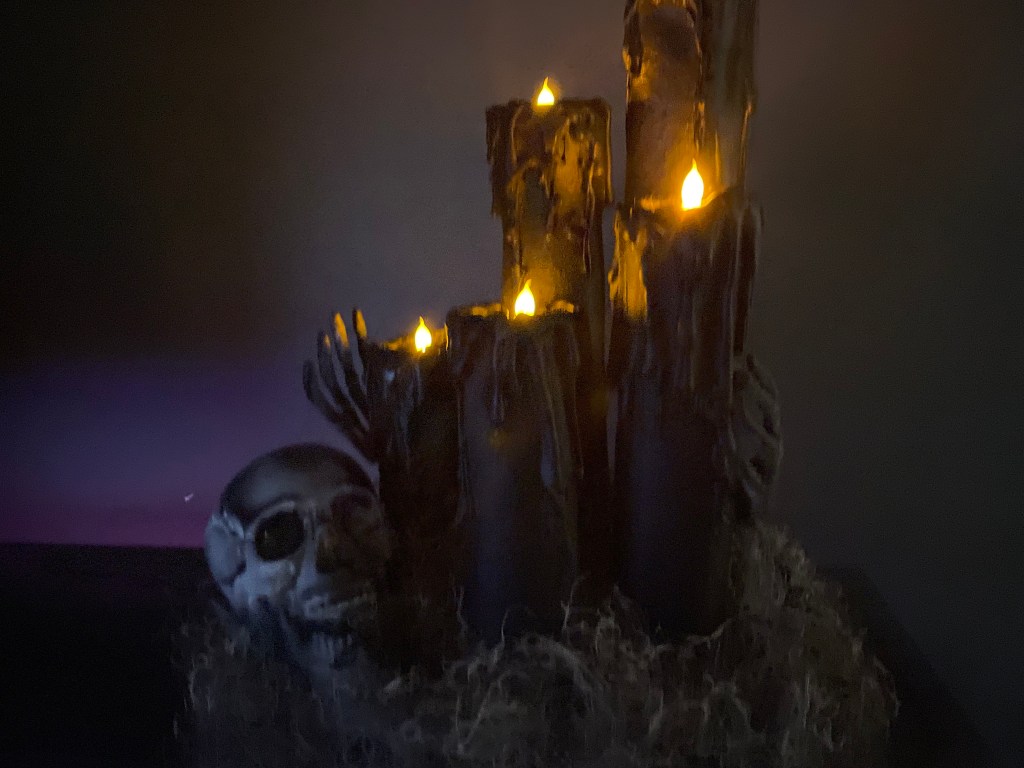
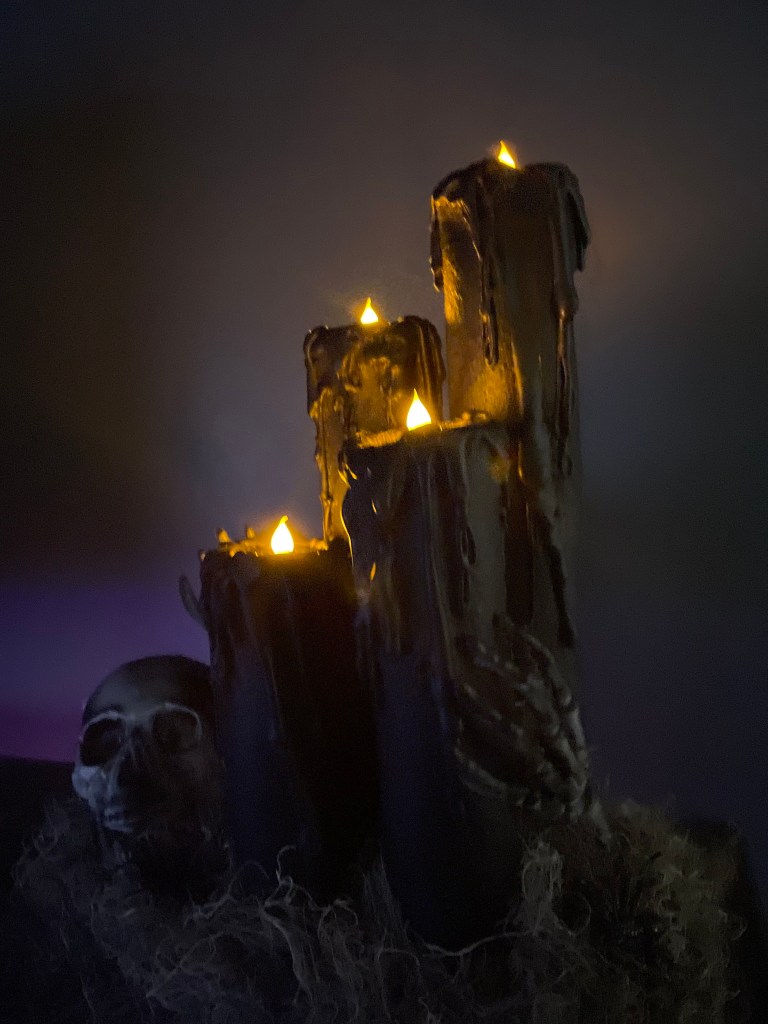
Halloween spooky candles : Mostly from the Dollar Store
Boo!! Here is one completed.
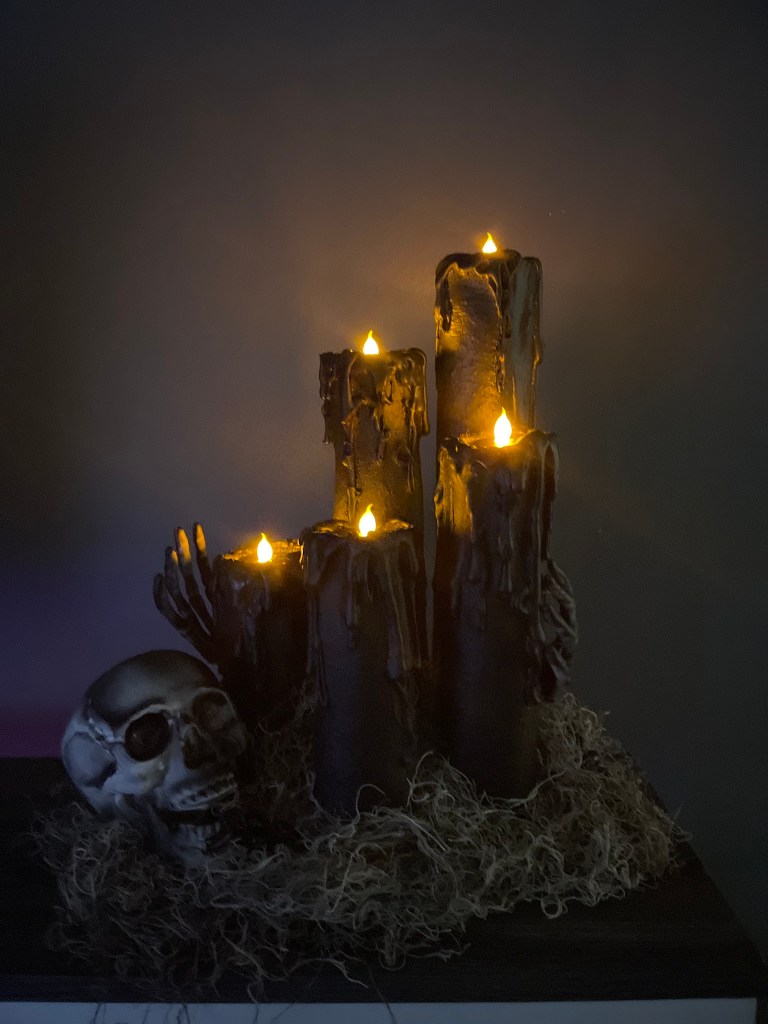
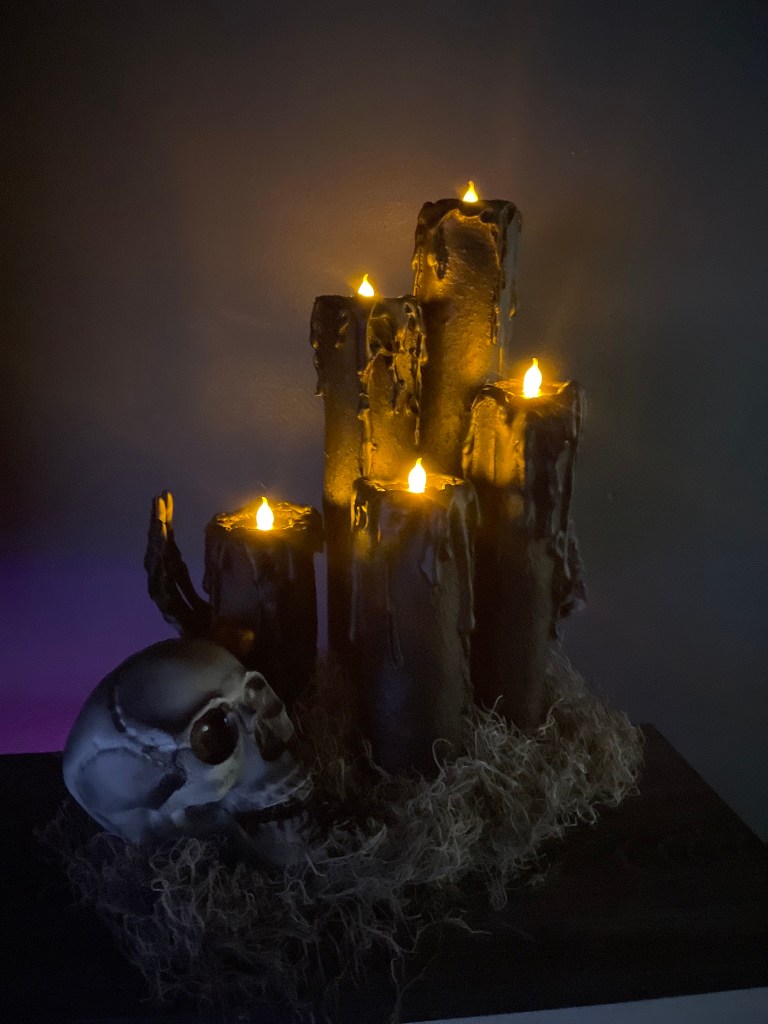

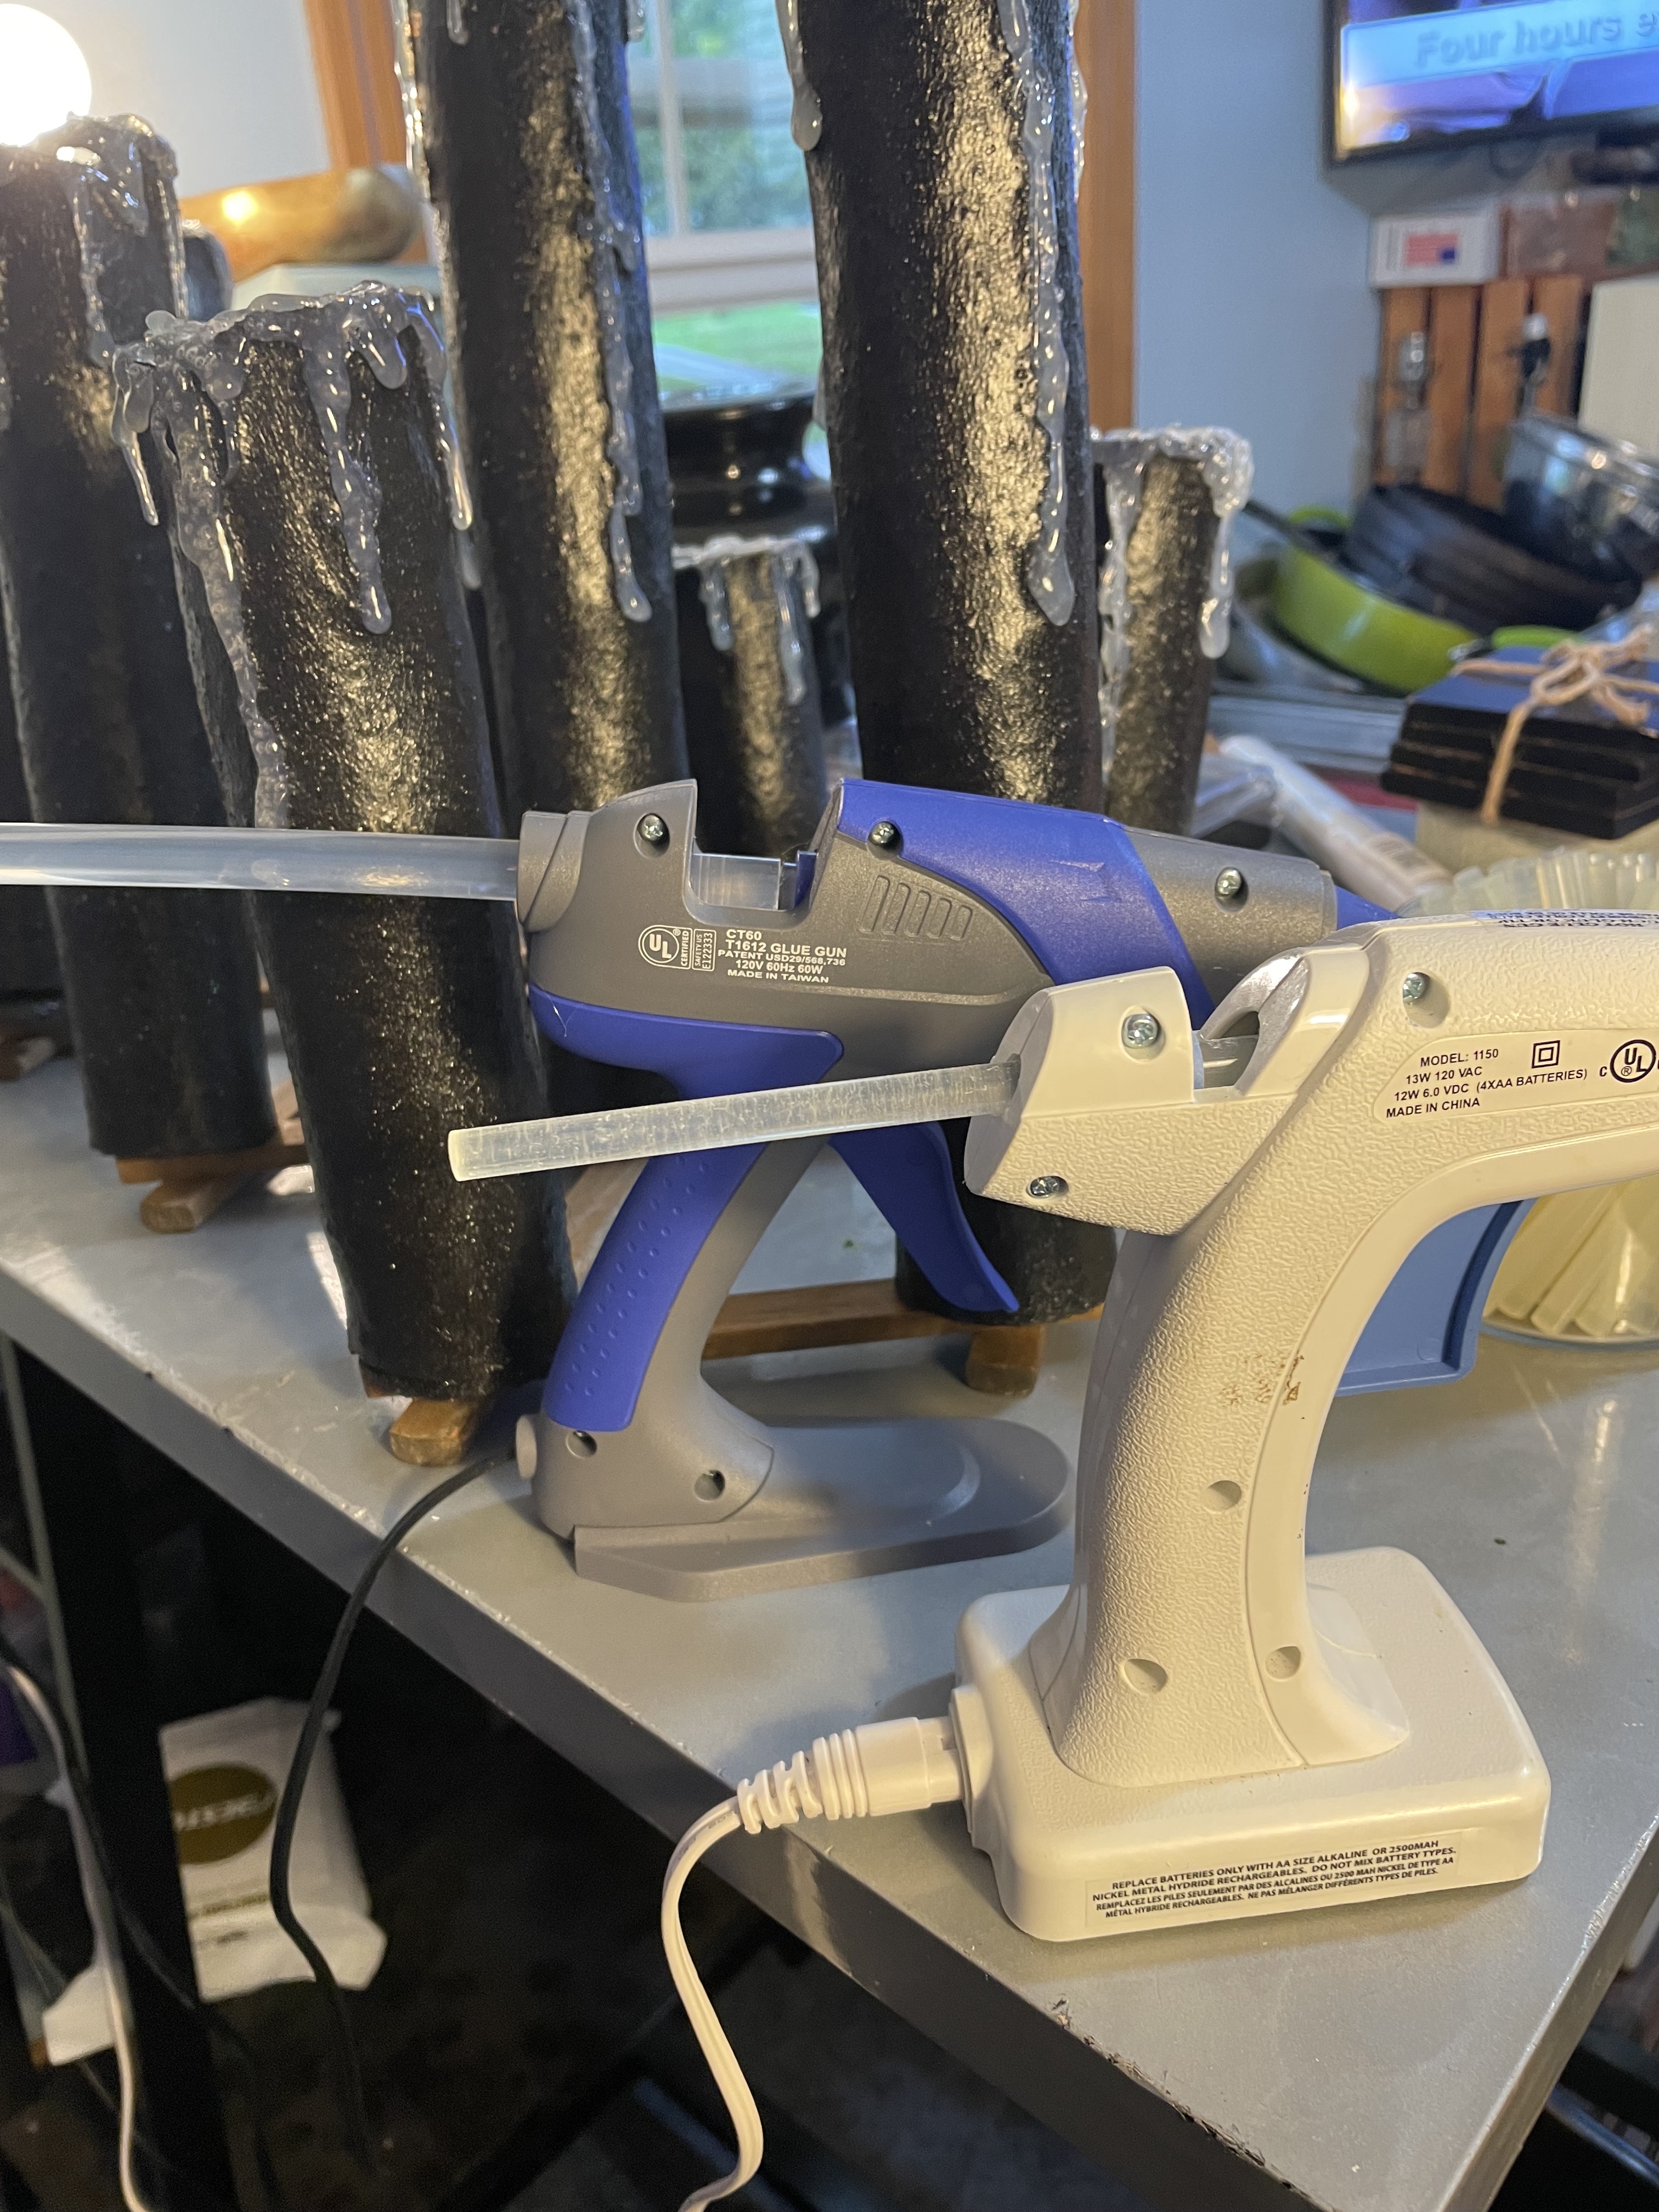
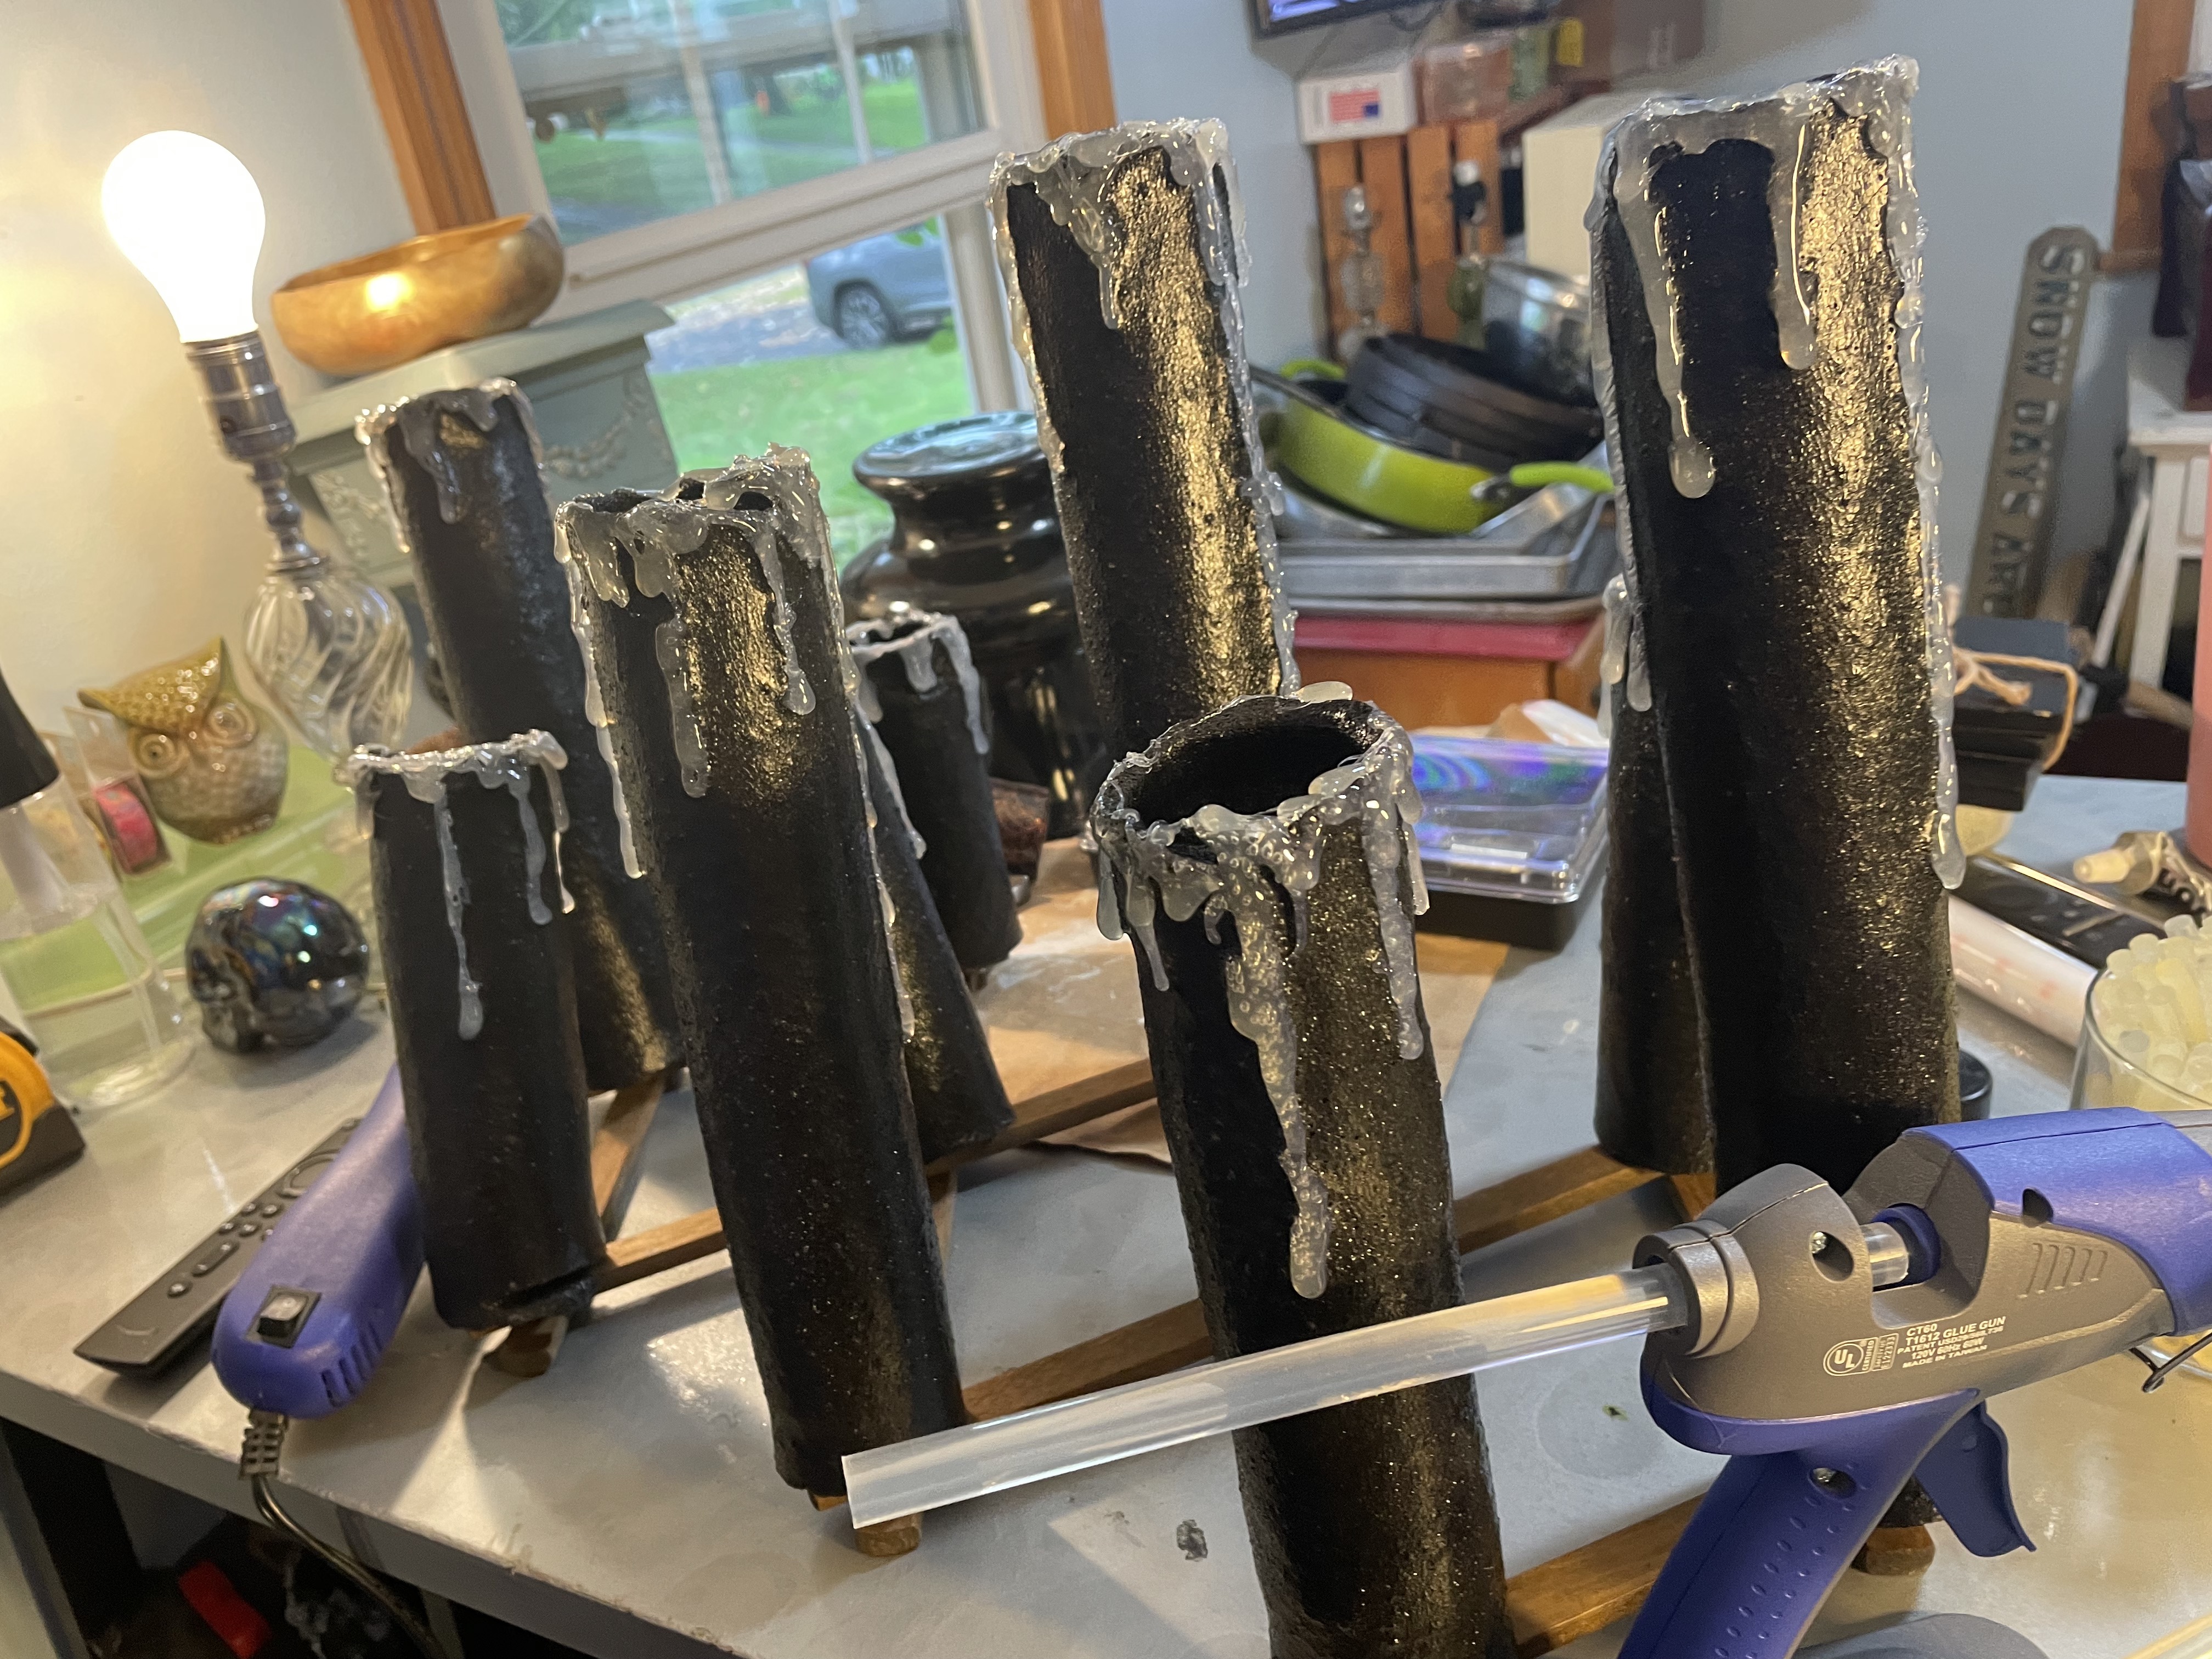
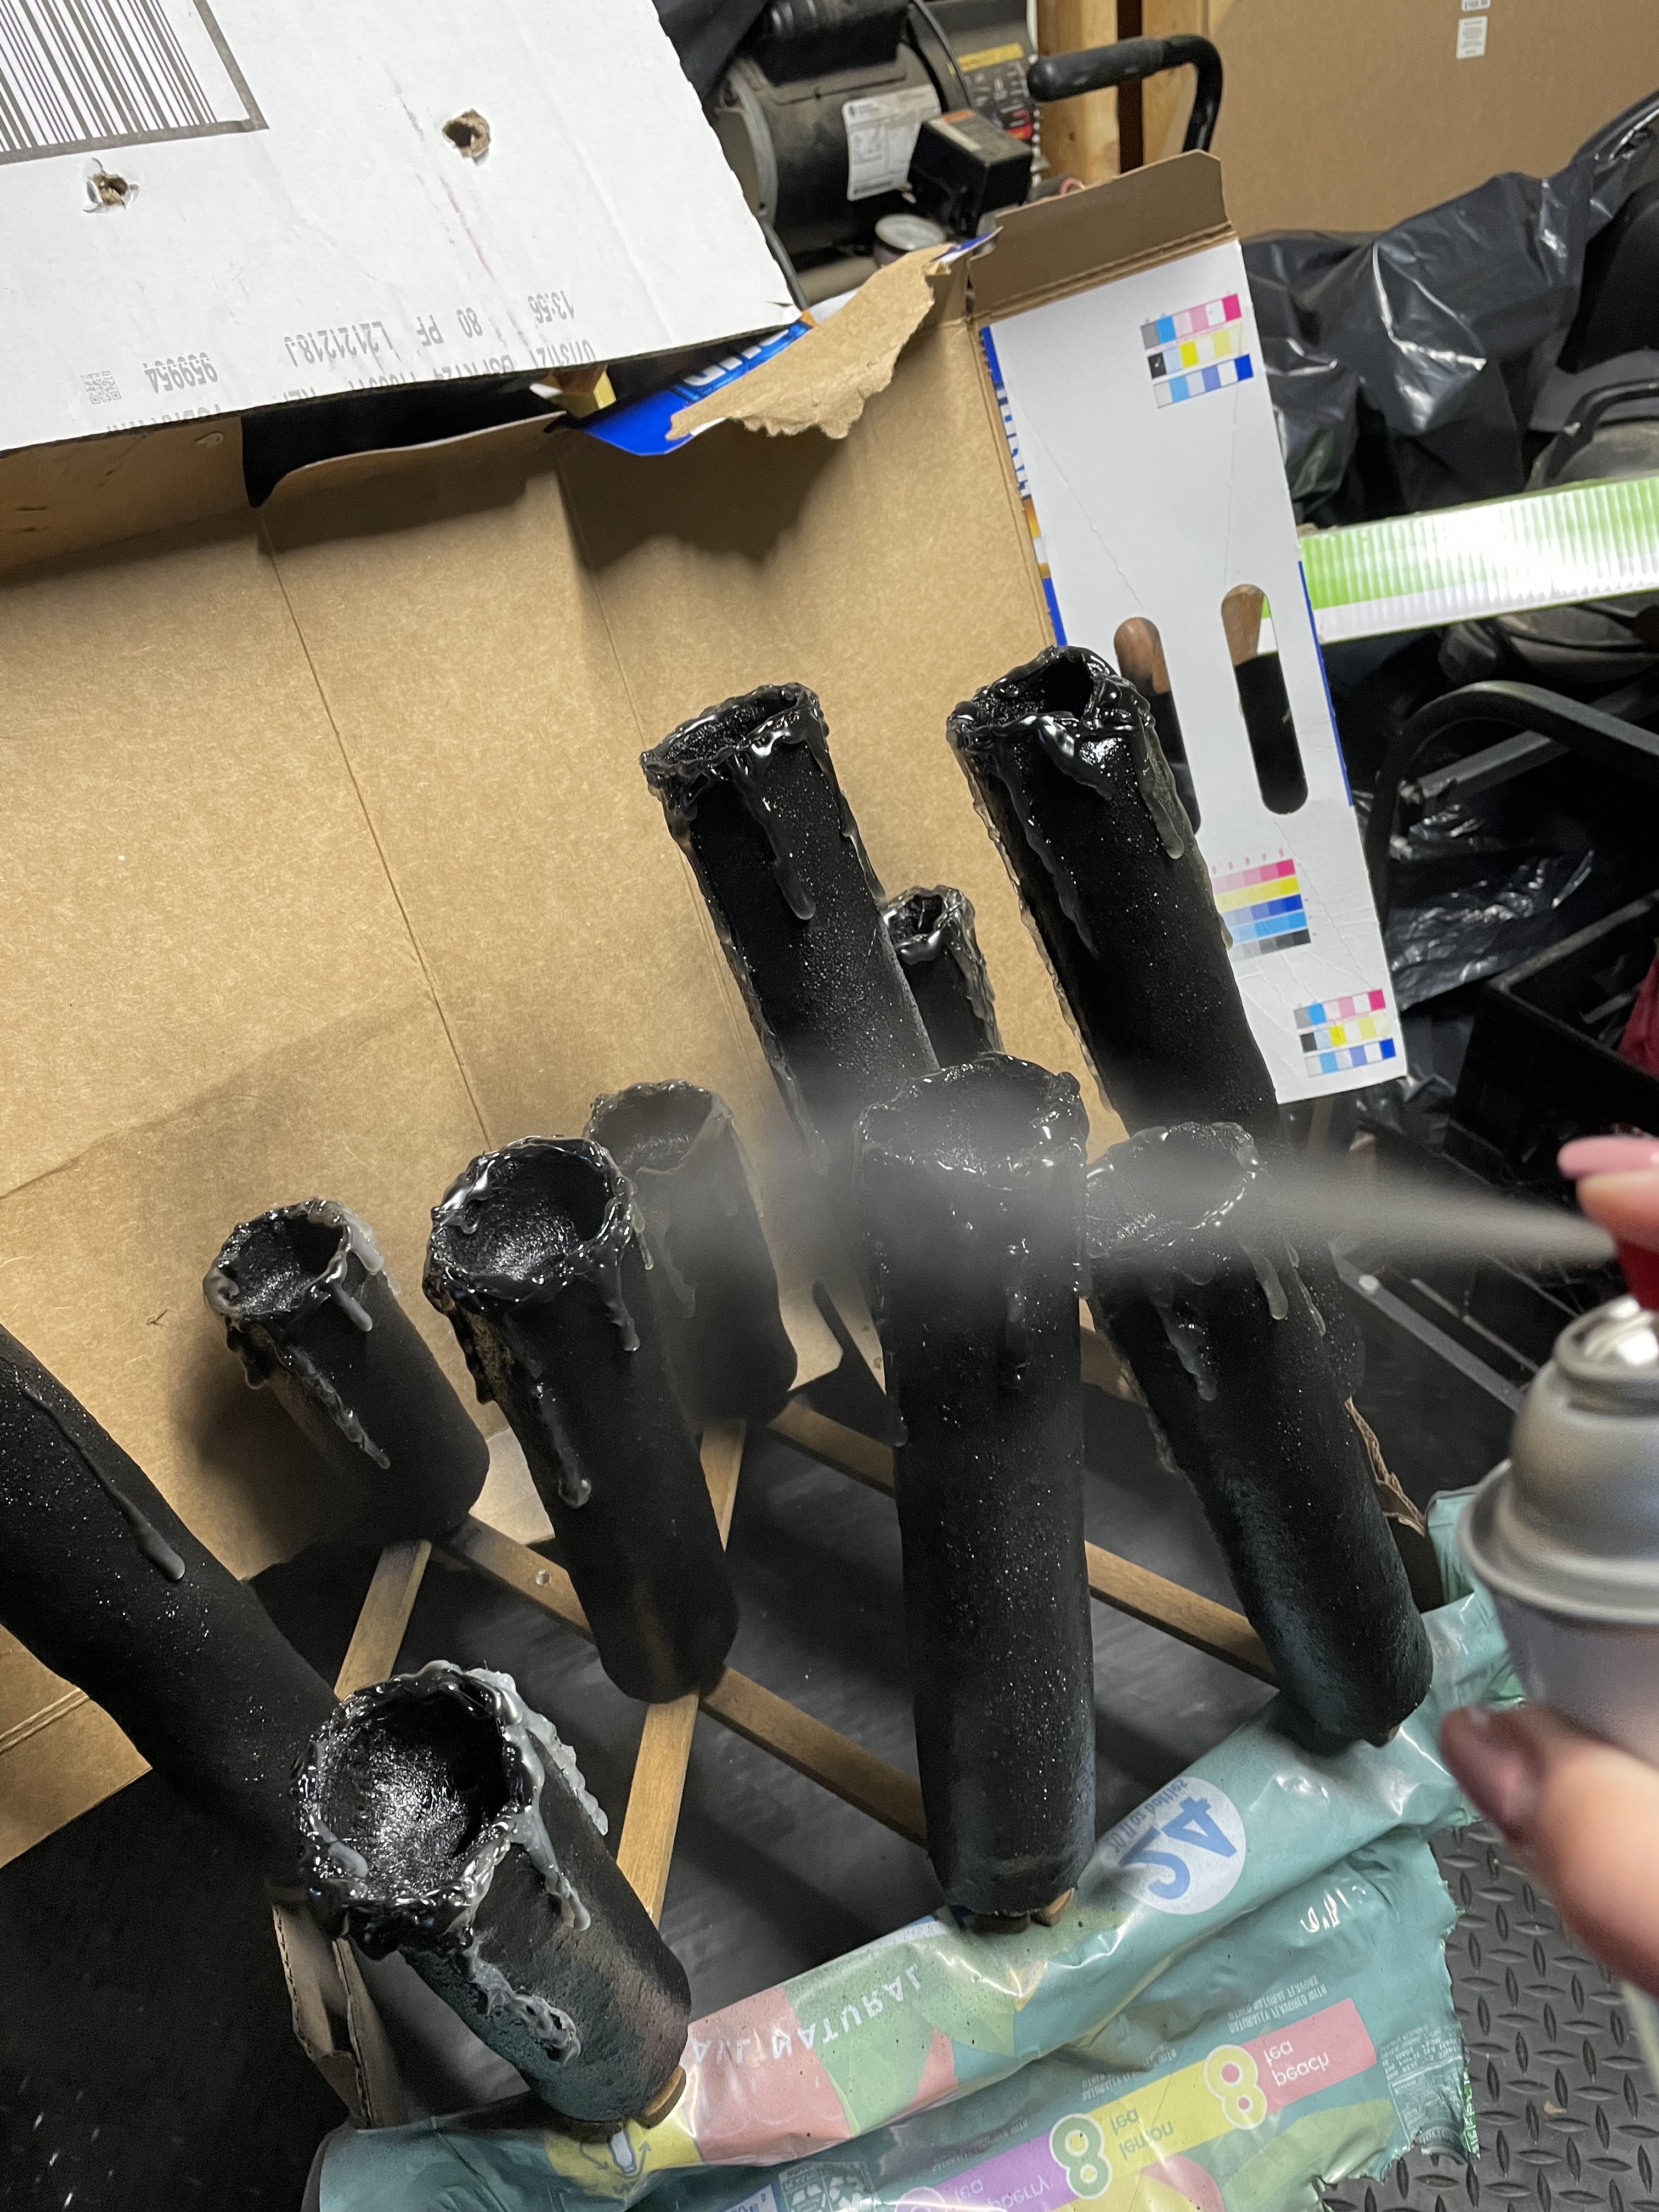
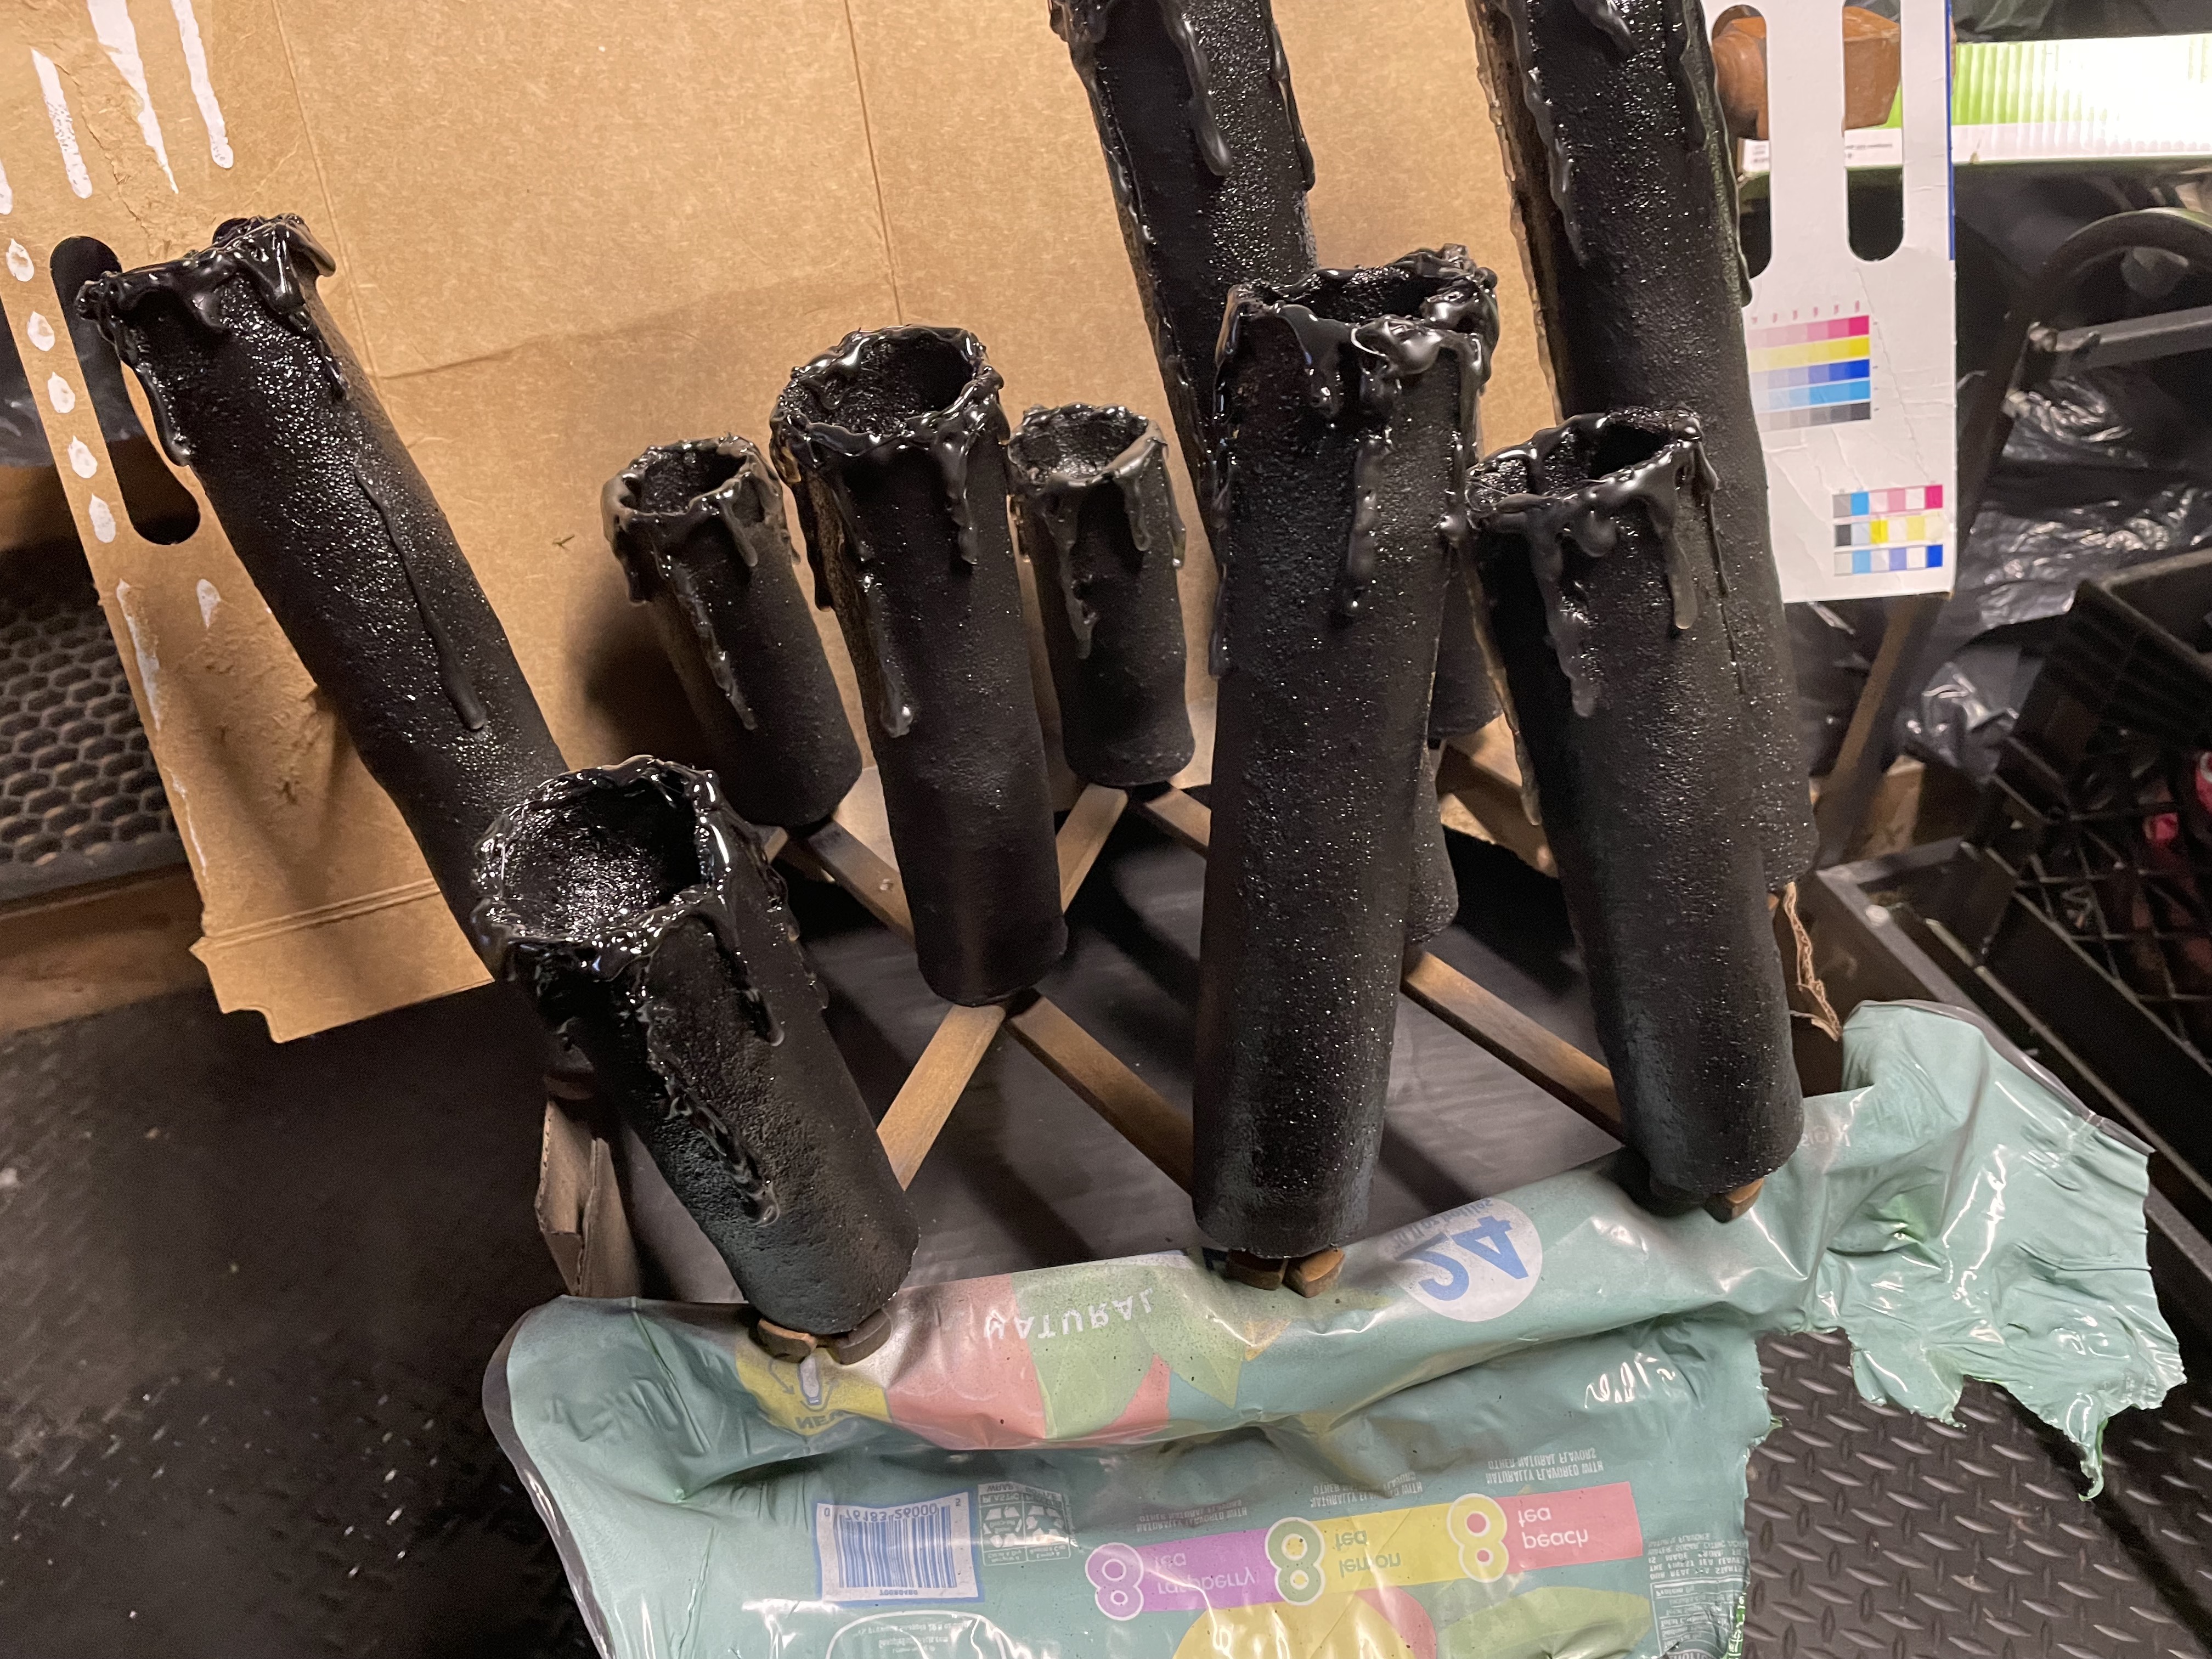
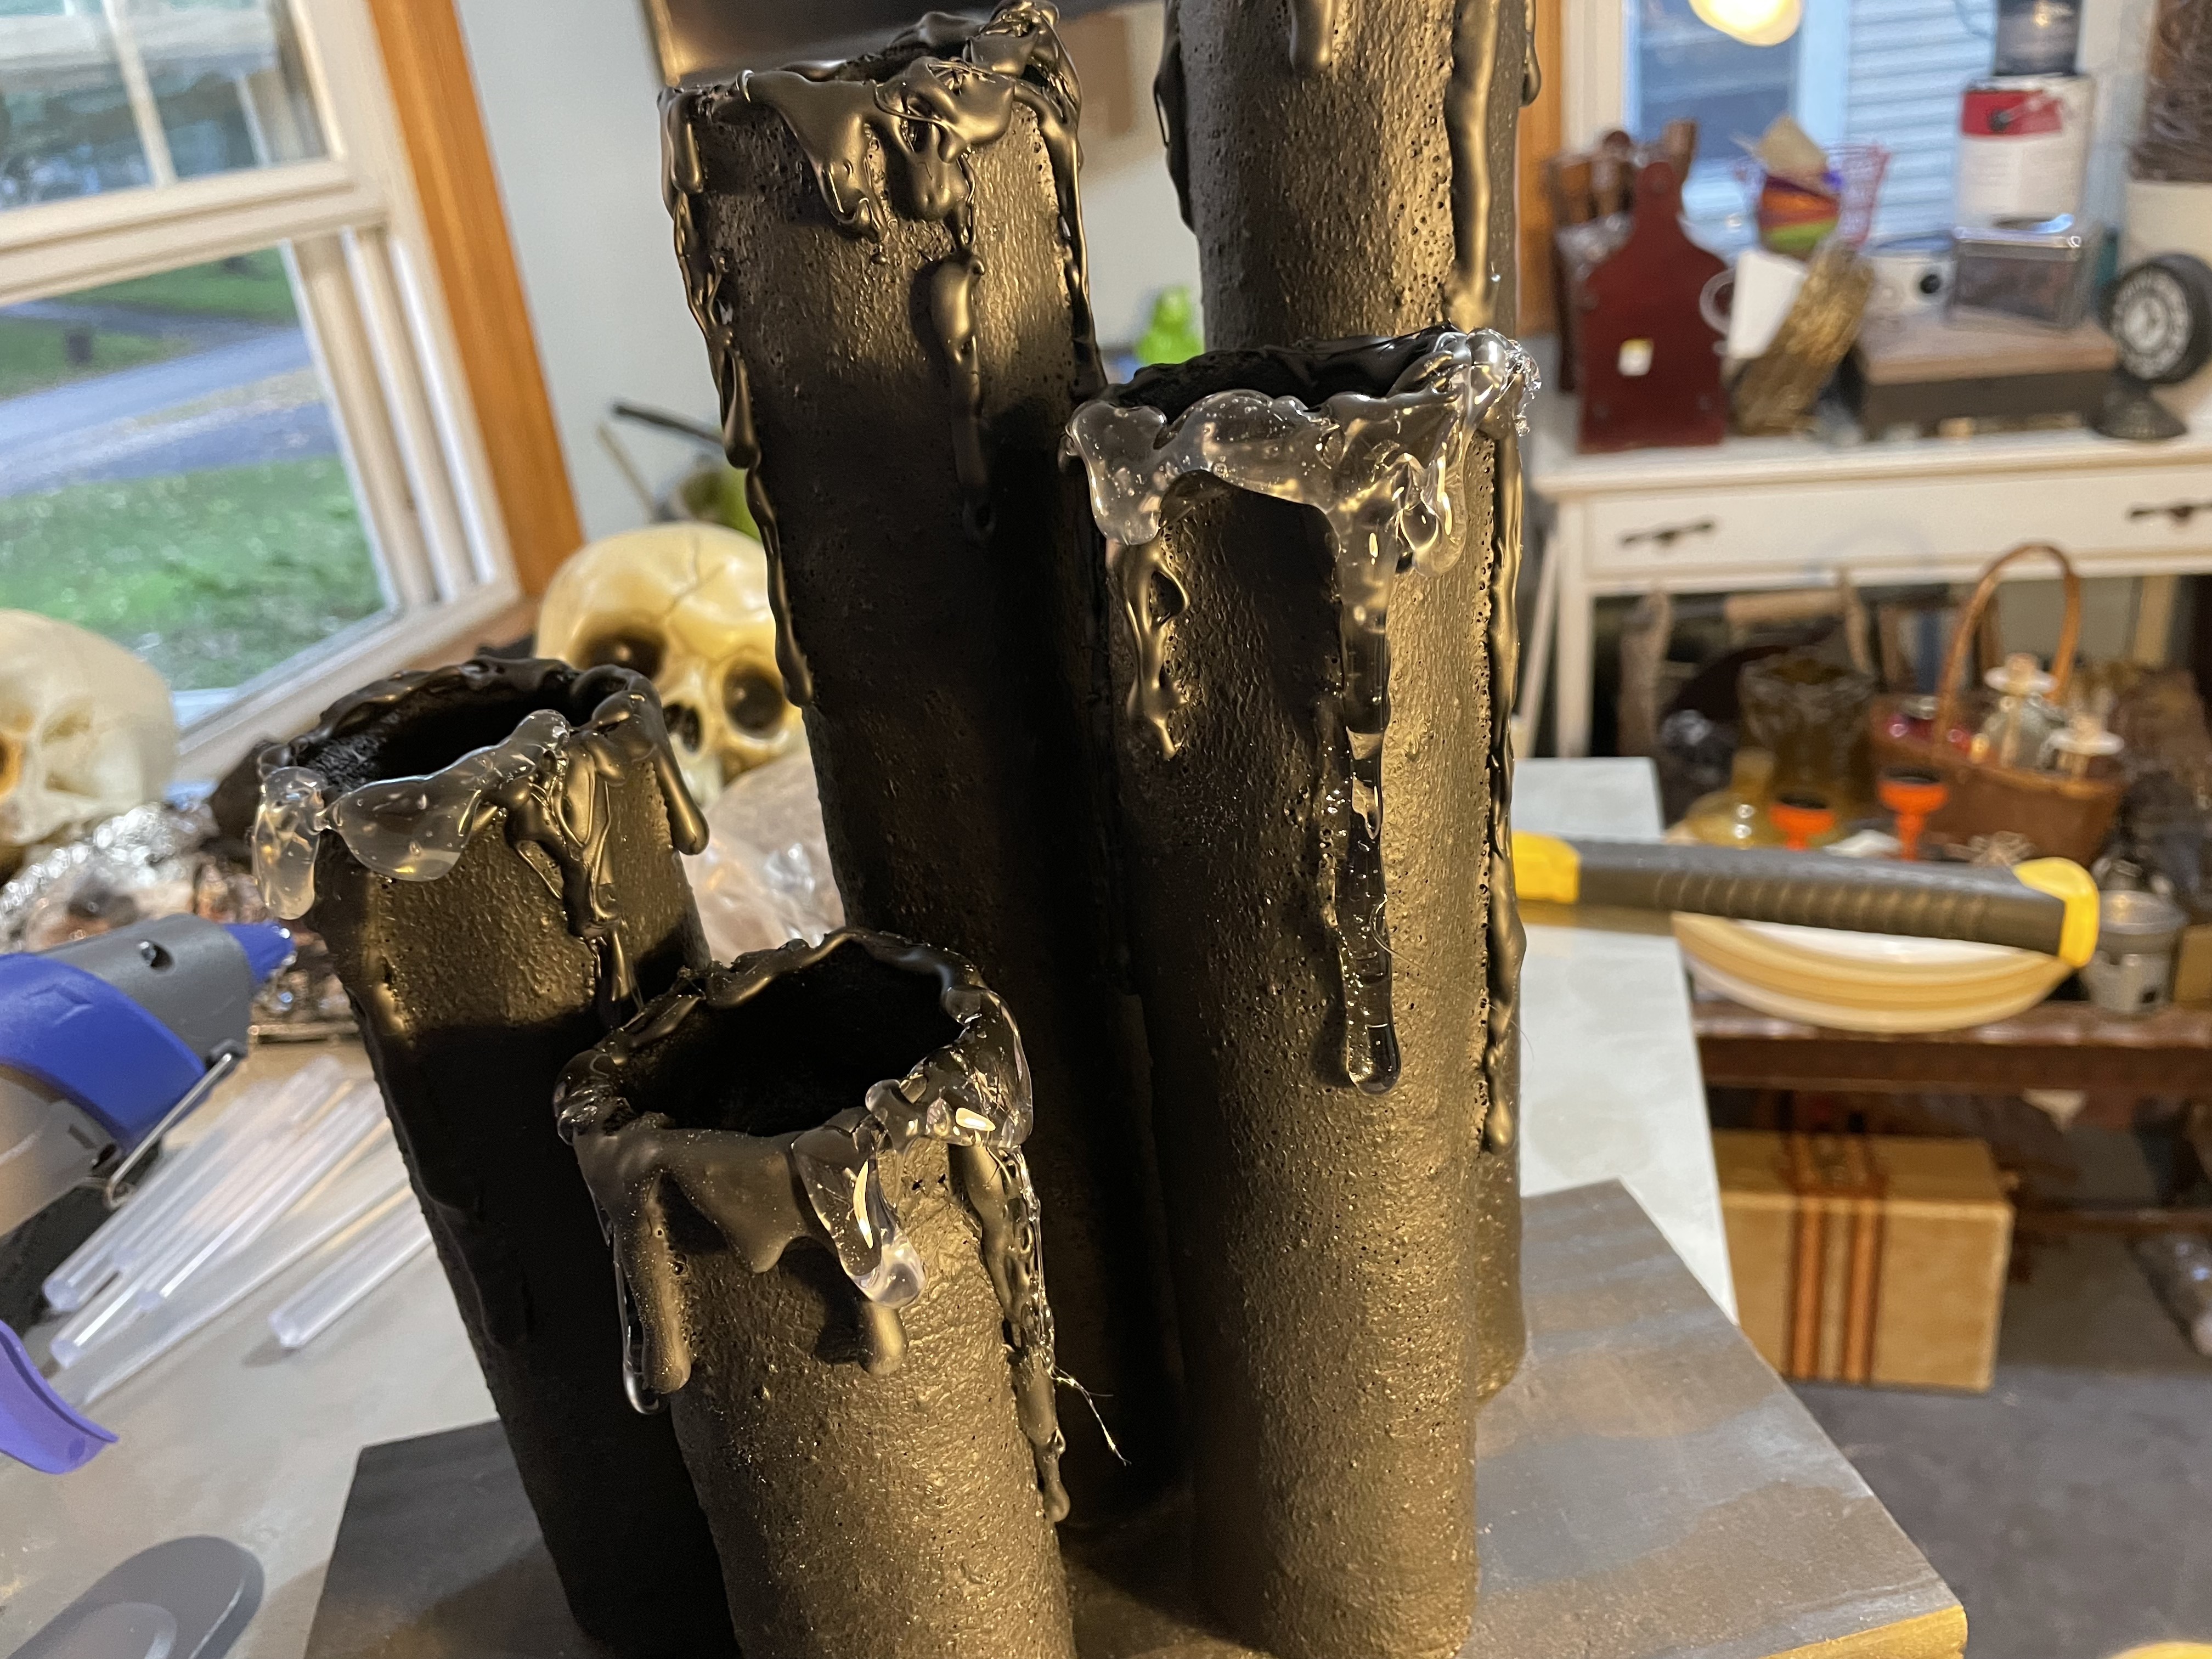
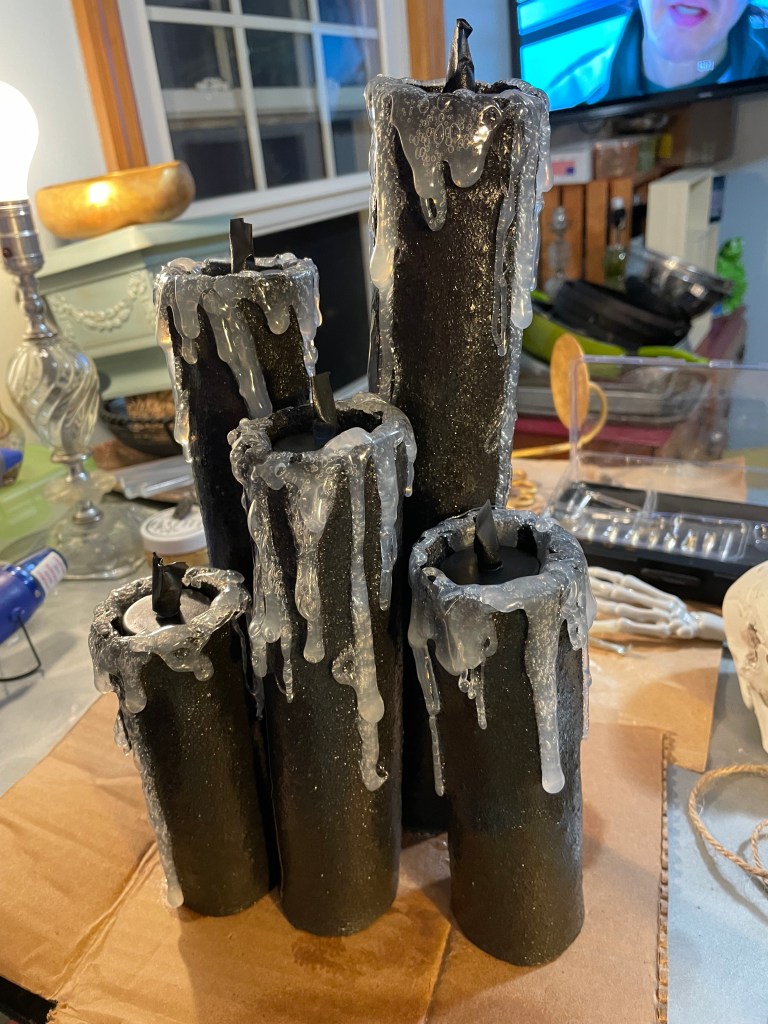
Pool noodles cut and dripping wax… aka hot glue. Don’t believe what they say… Size does matter!! At least when it comes to glue sticks. The smaller sticks made a poor imitation of dripping wax, I recommend using the thicker kind for this part.

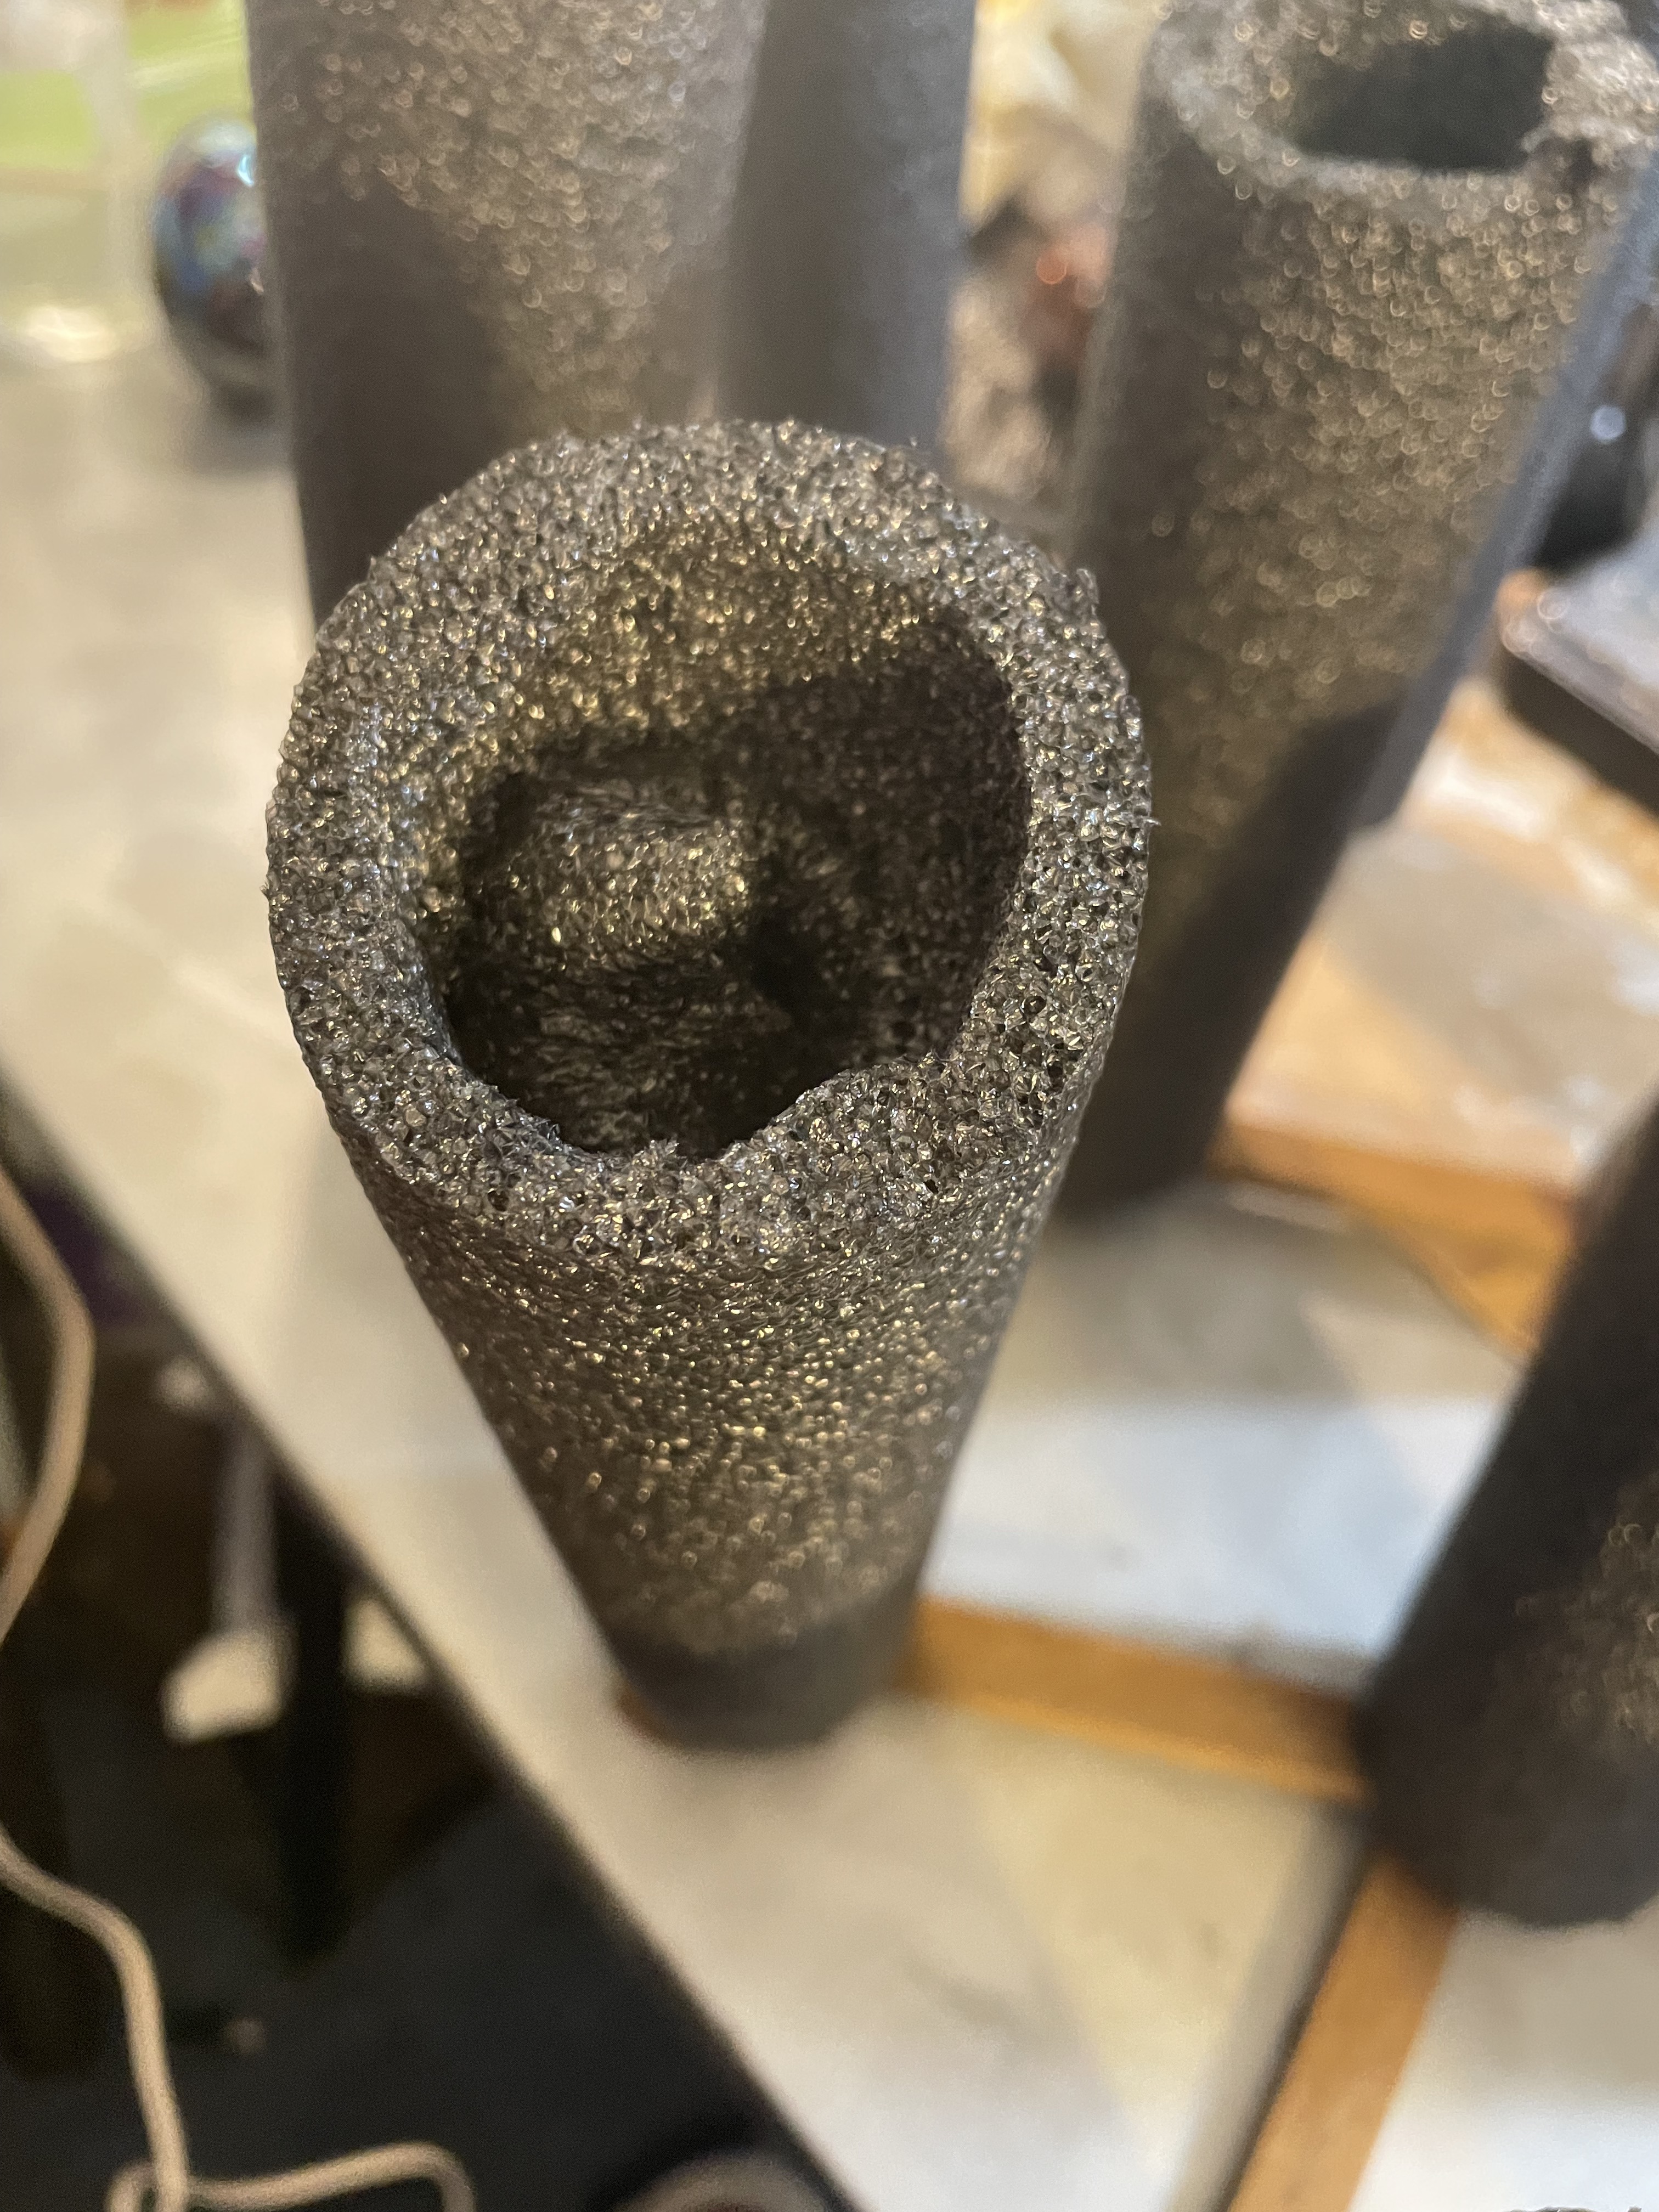
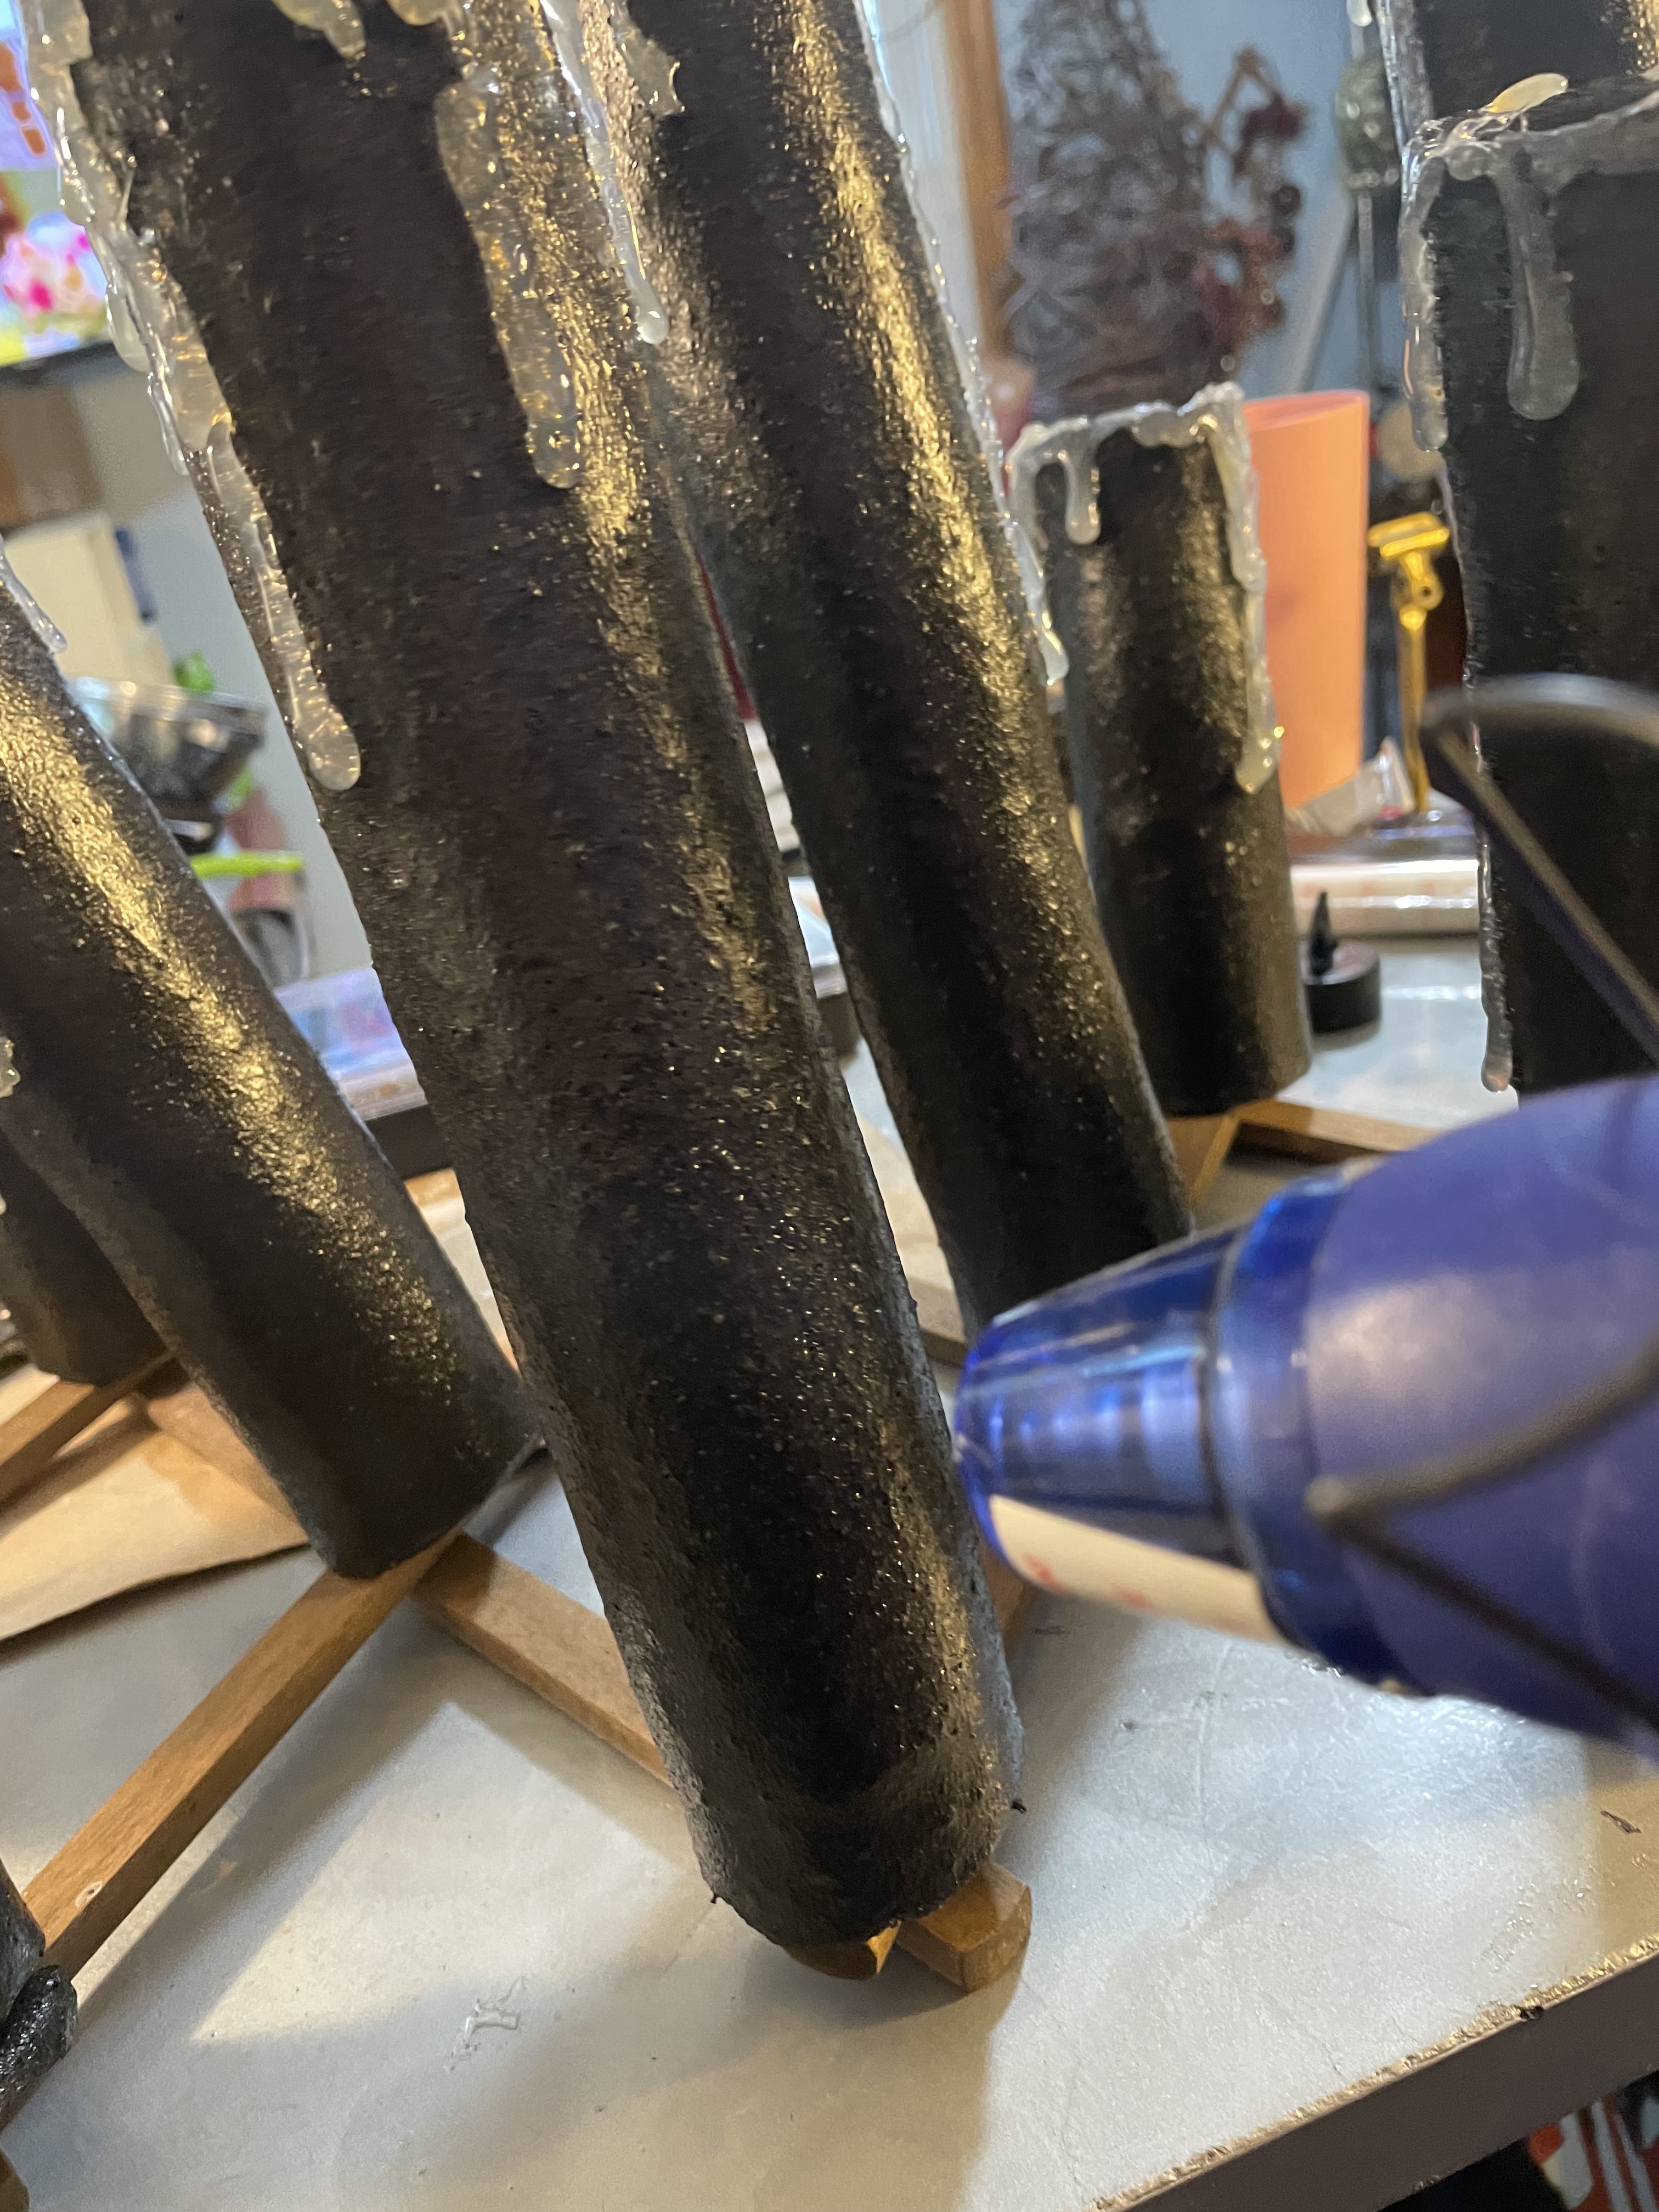
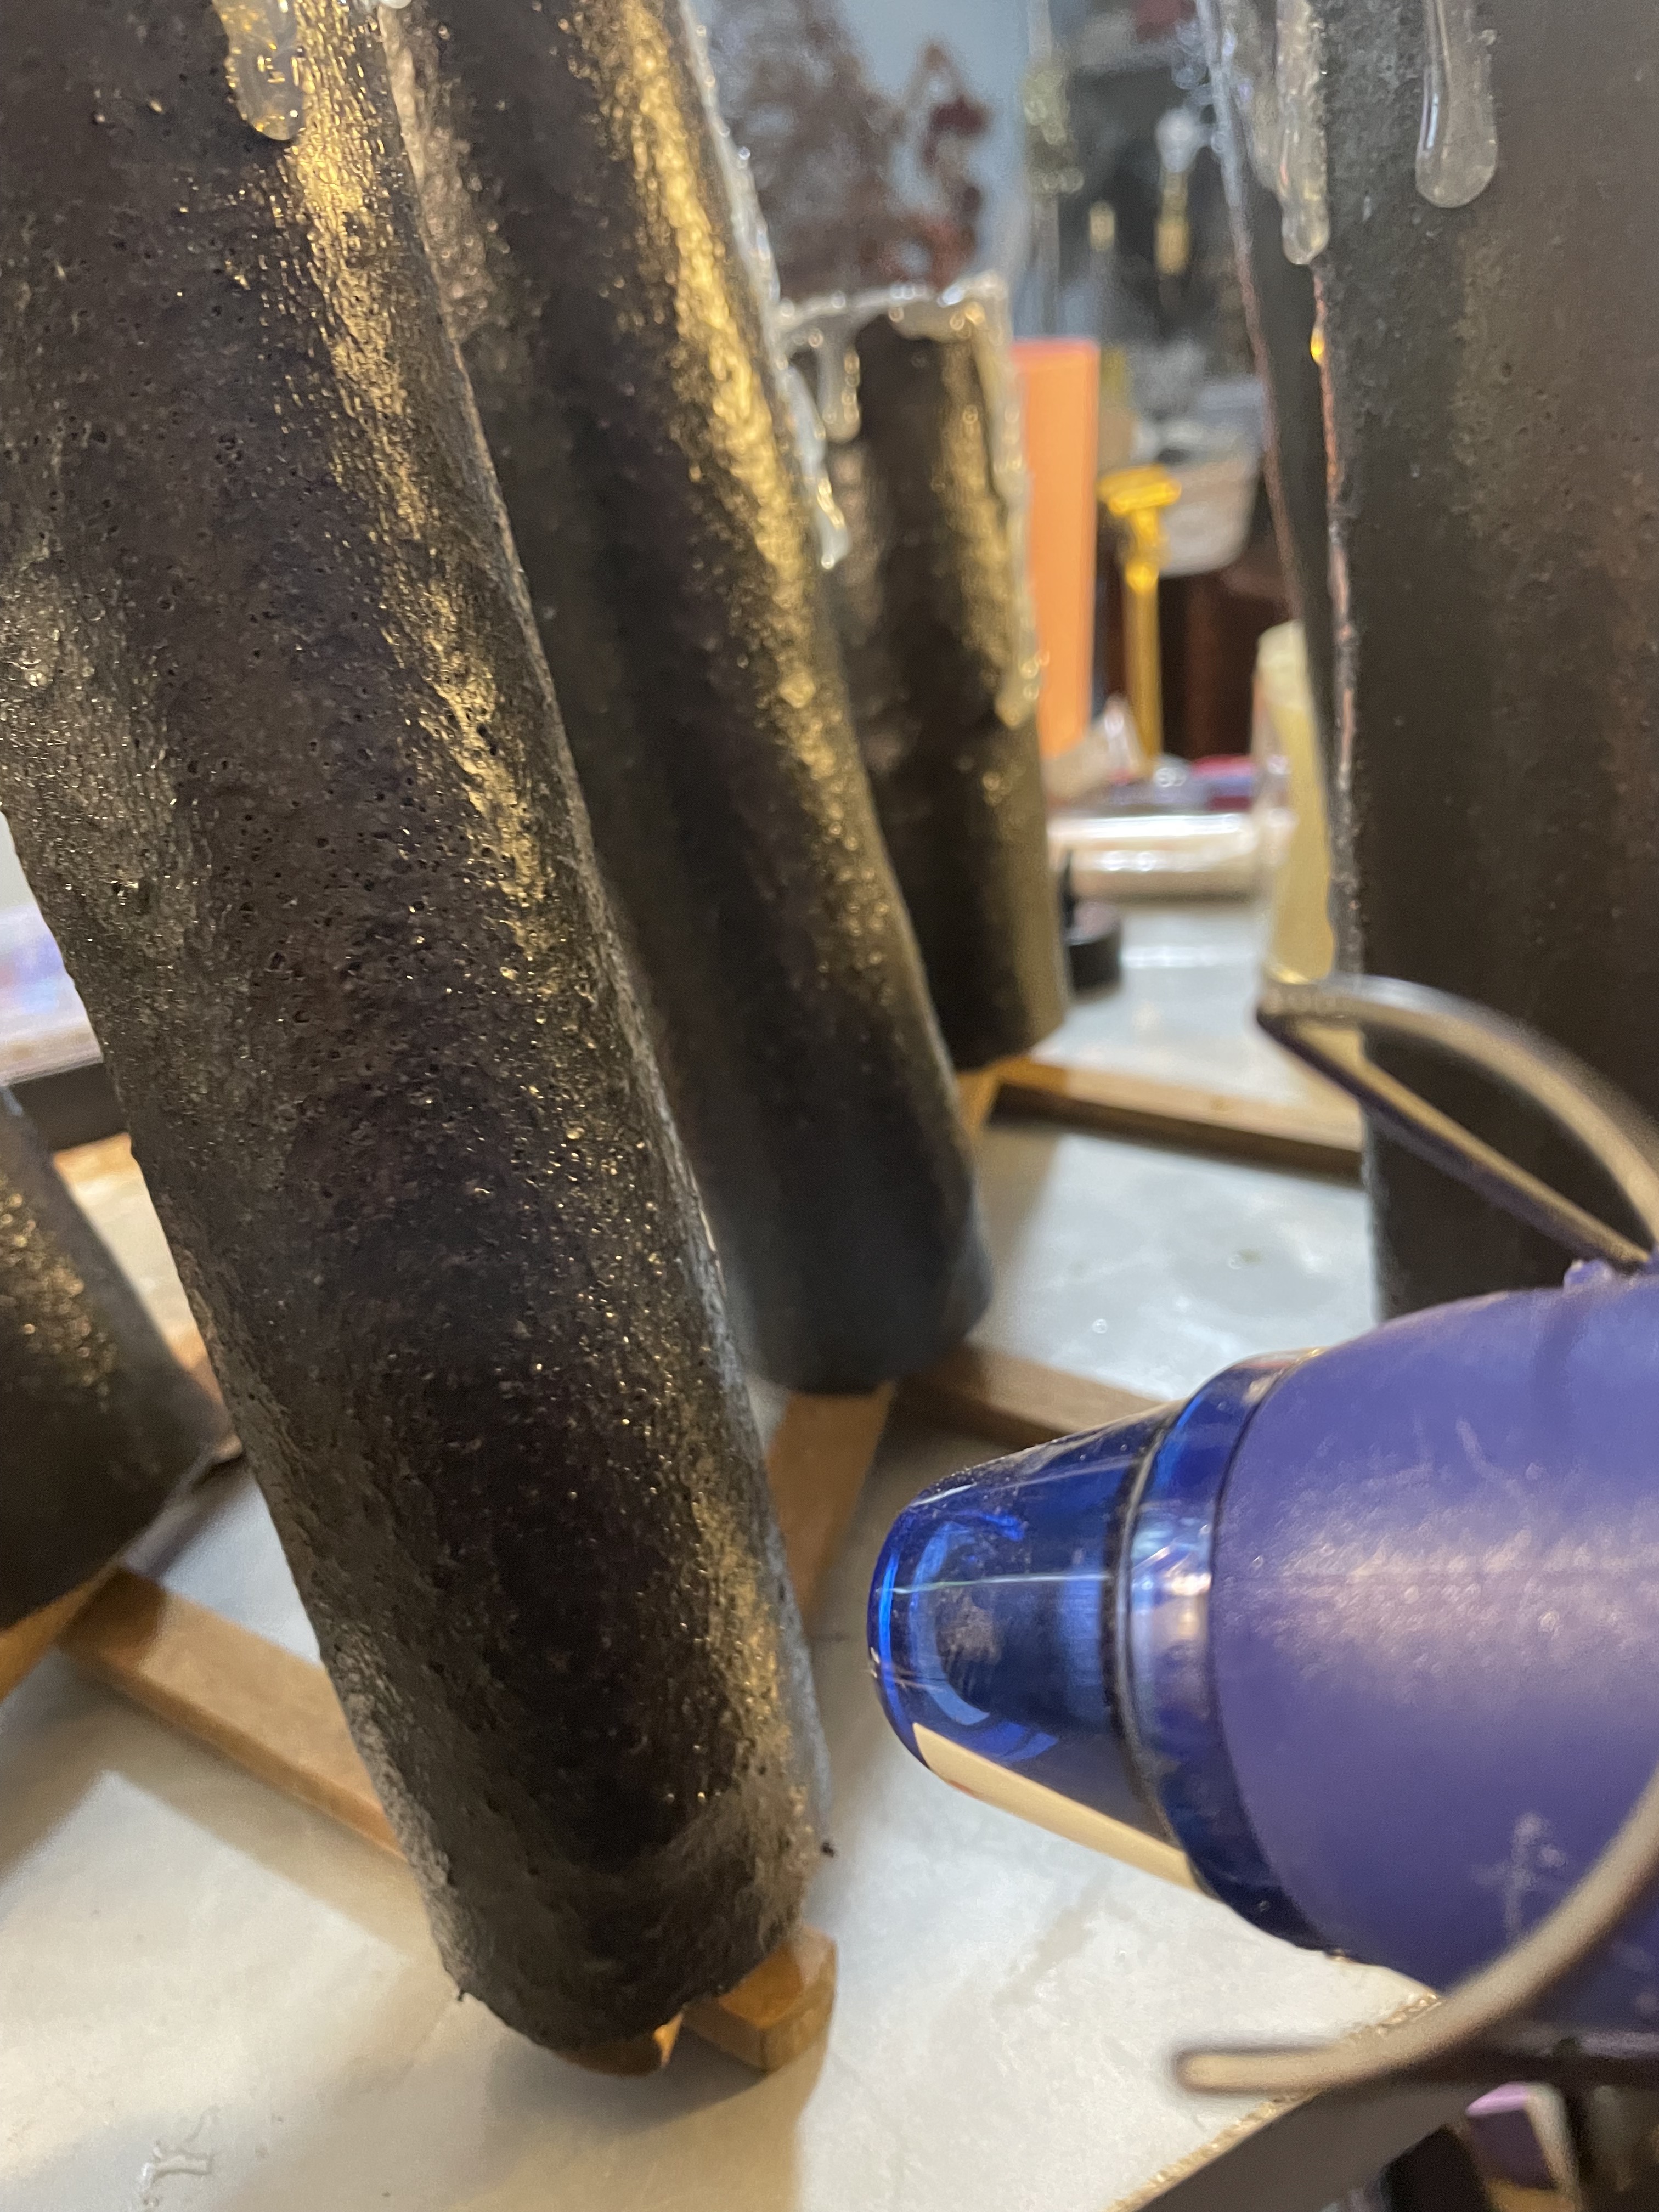
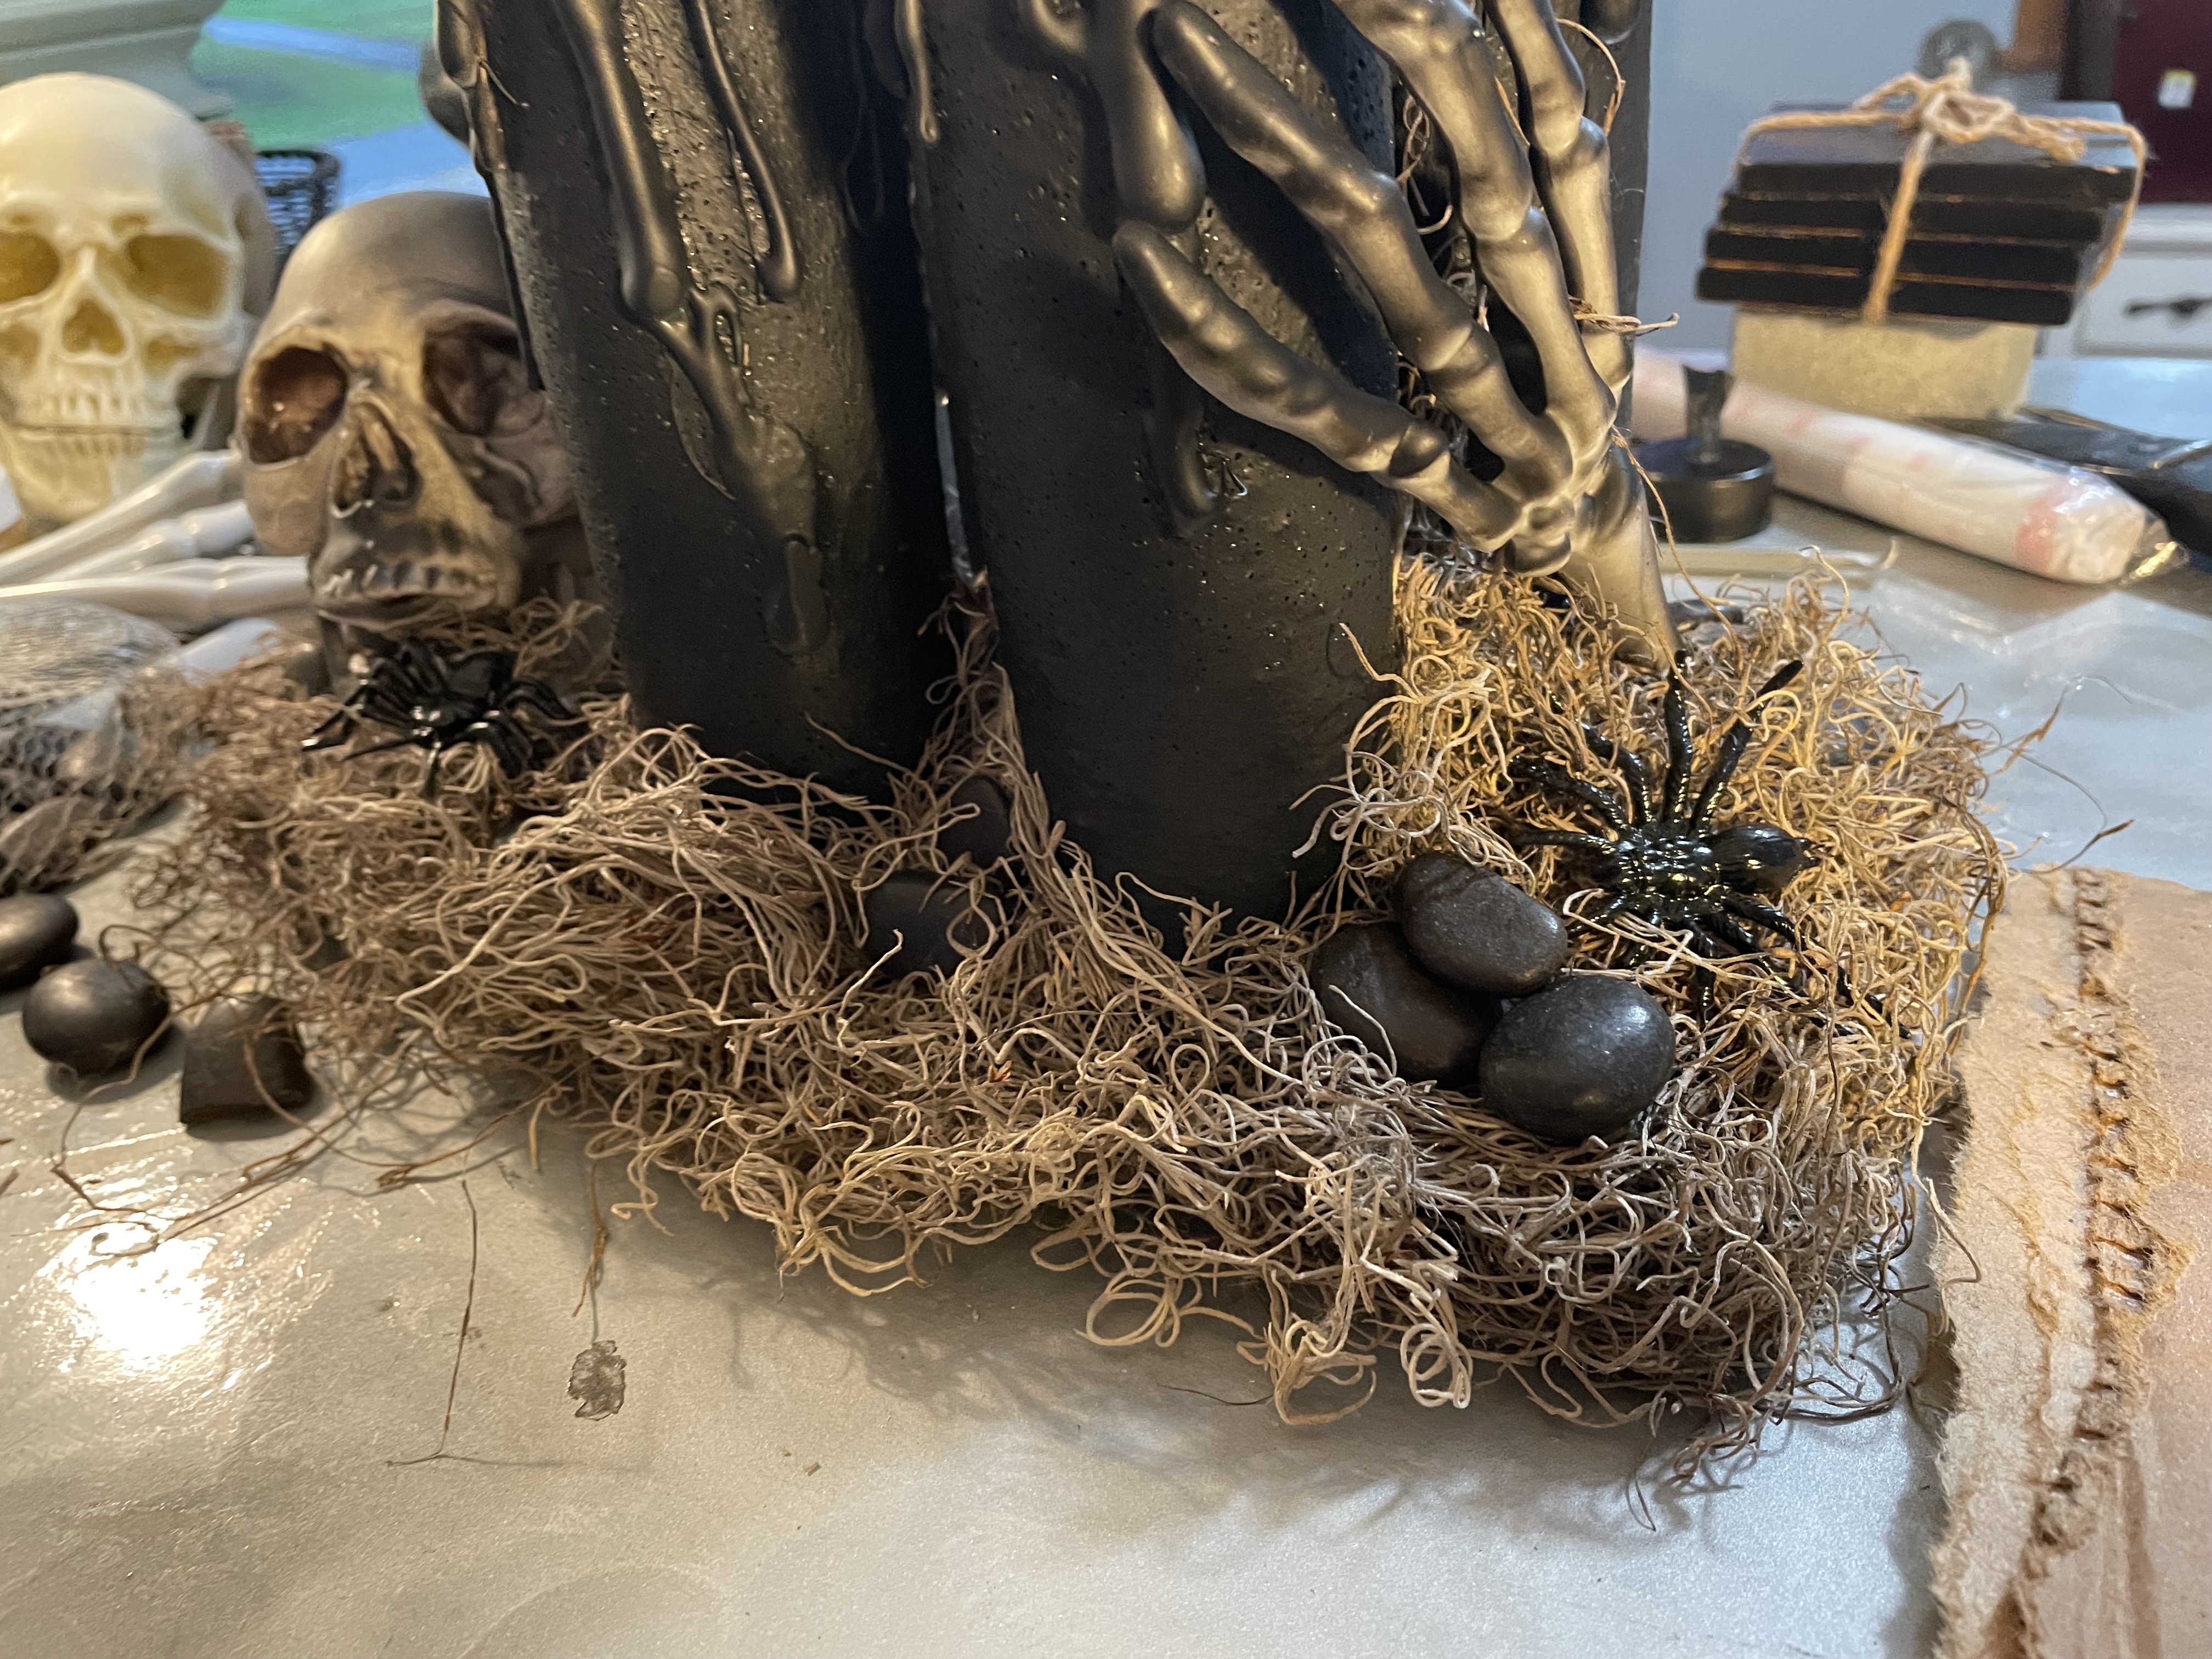
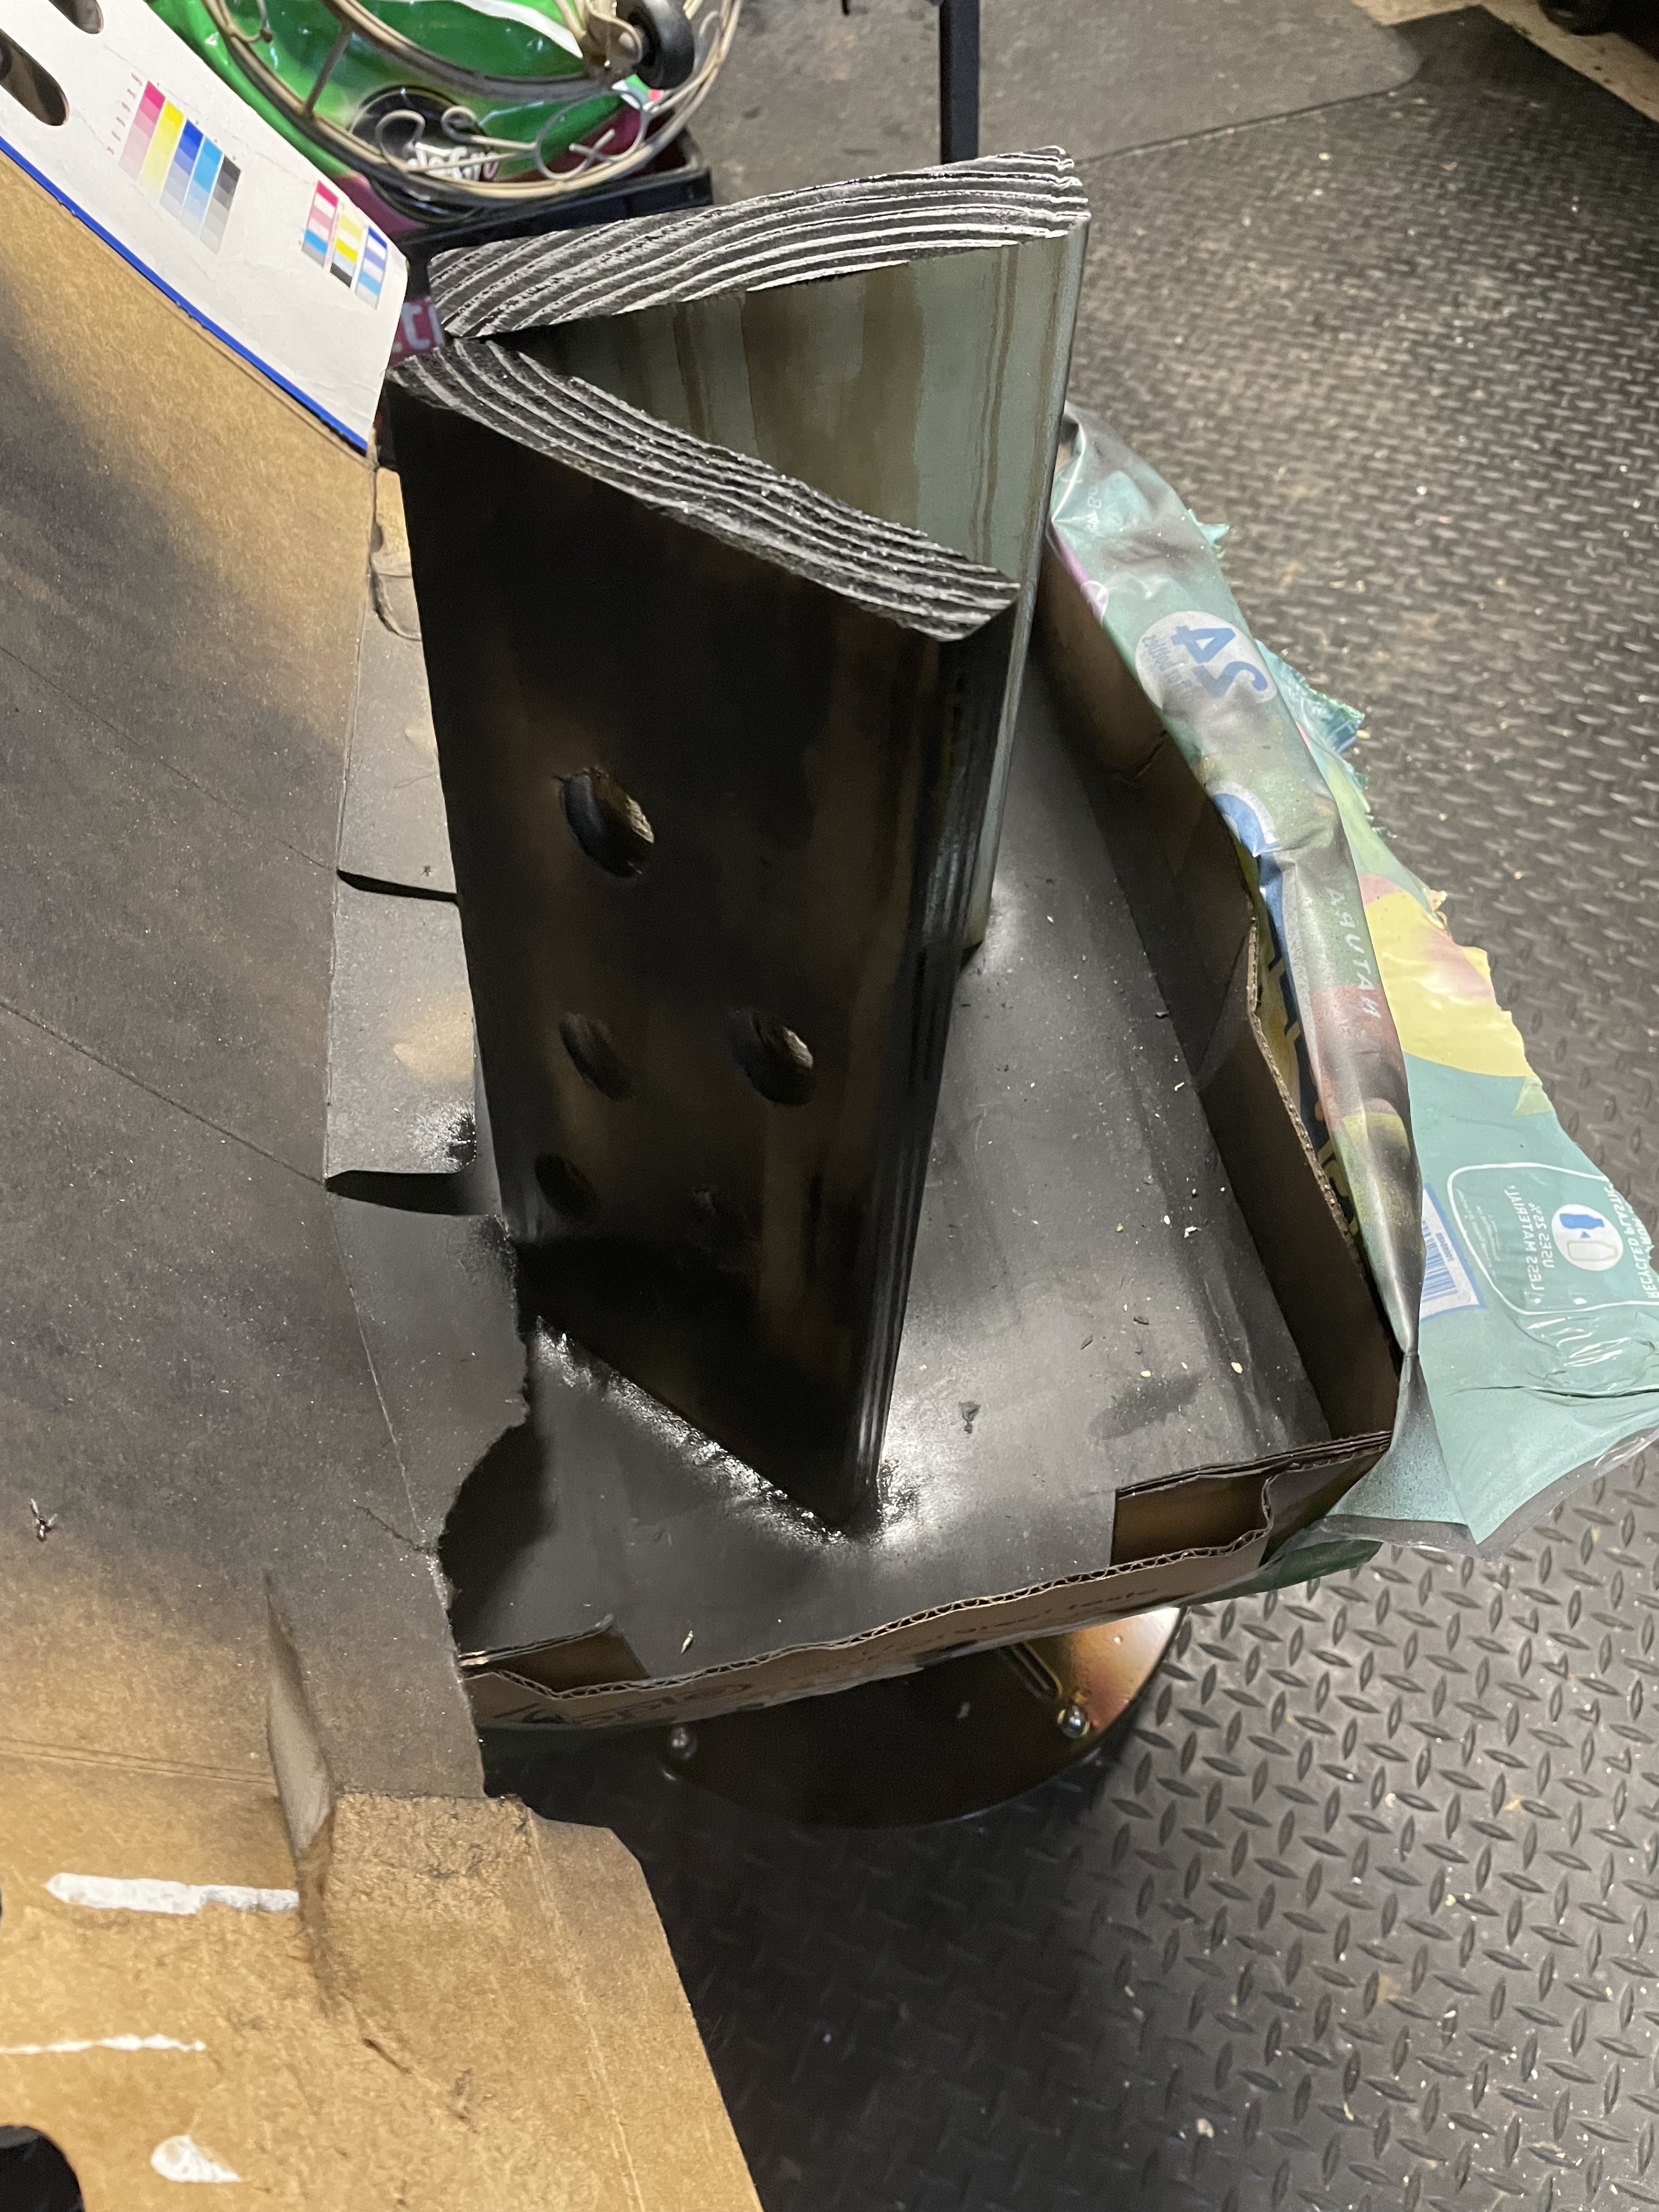
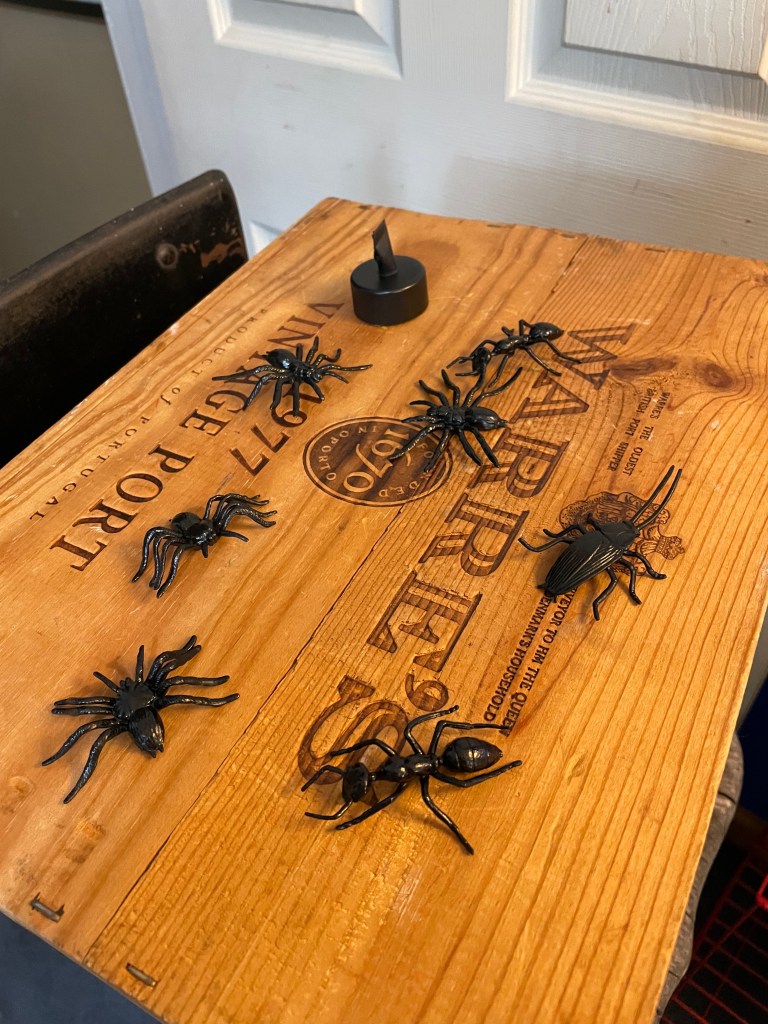
Dollar store colored bugs spray painted black. Also I taped the “wick” of my candles and spray painted those to blend in.

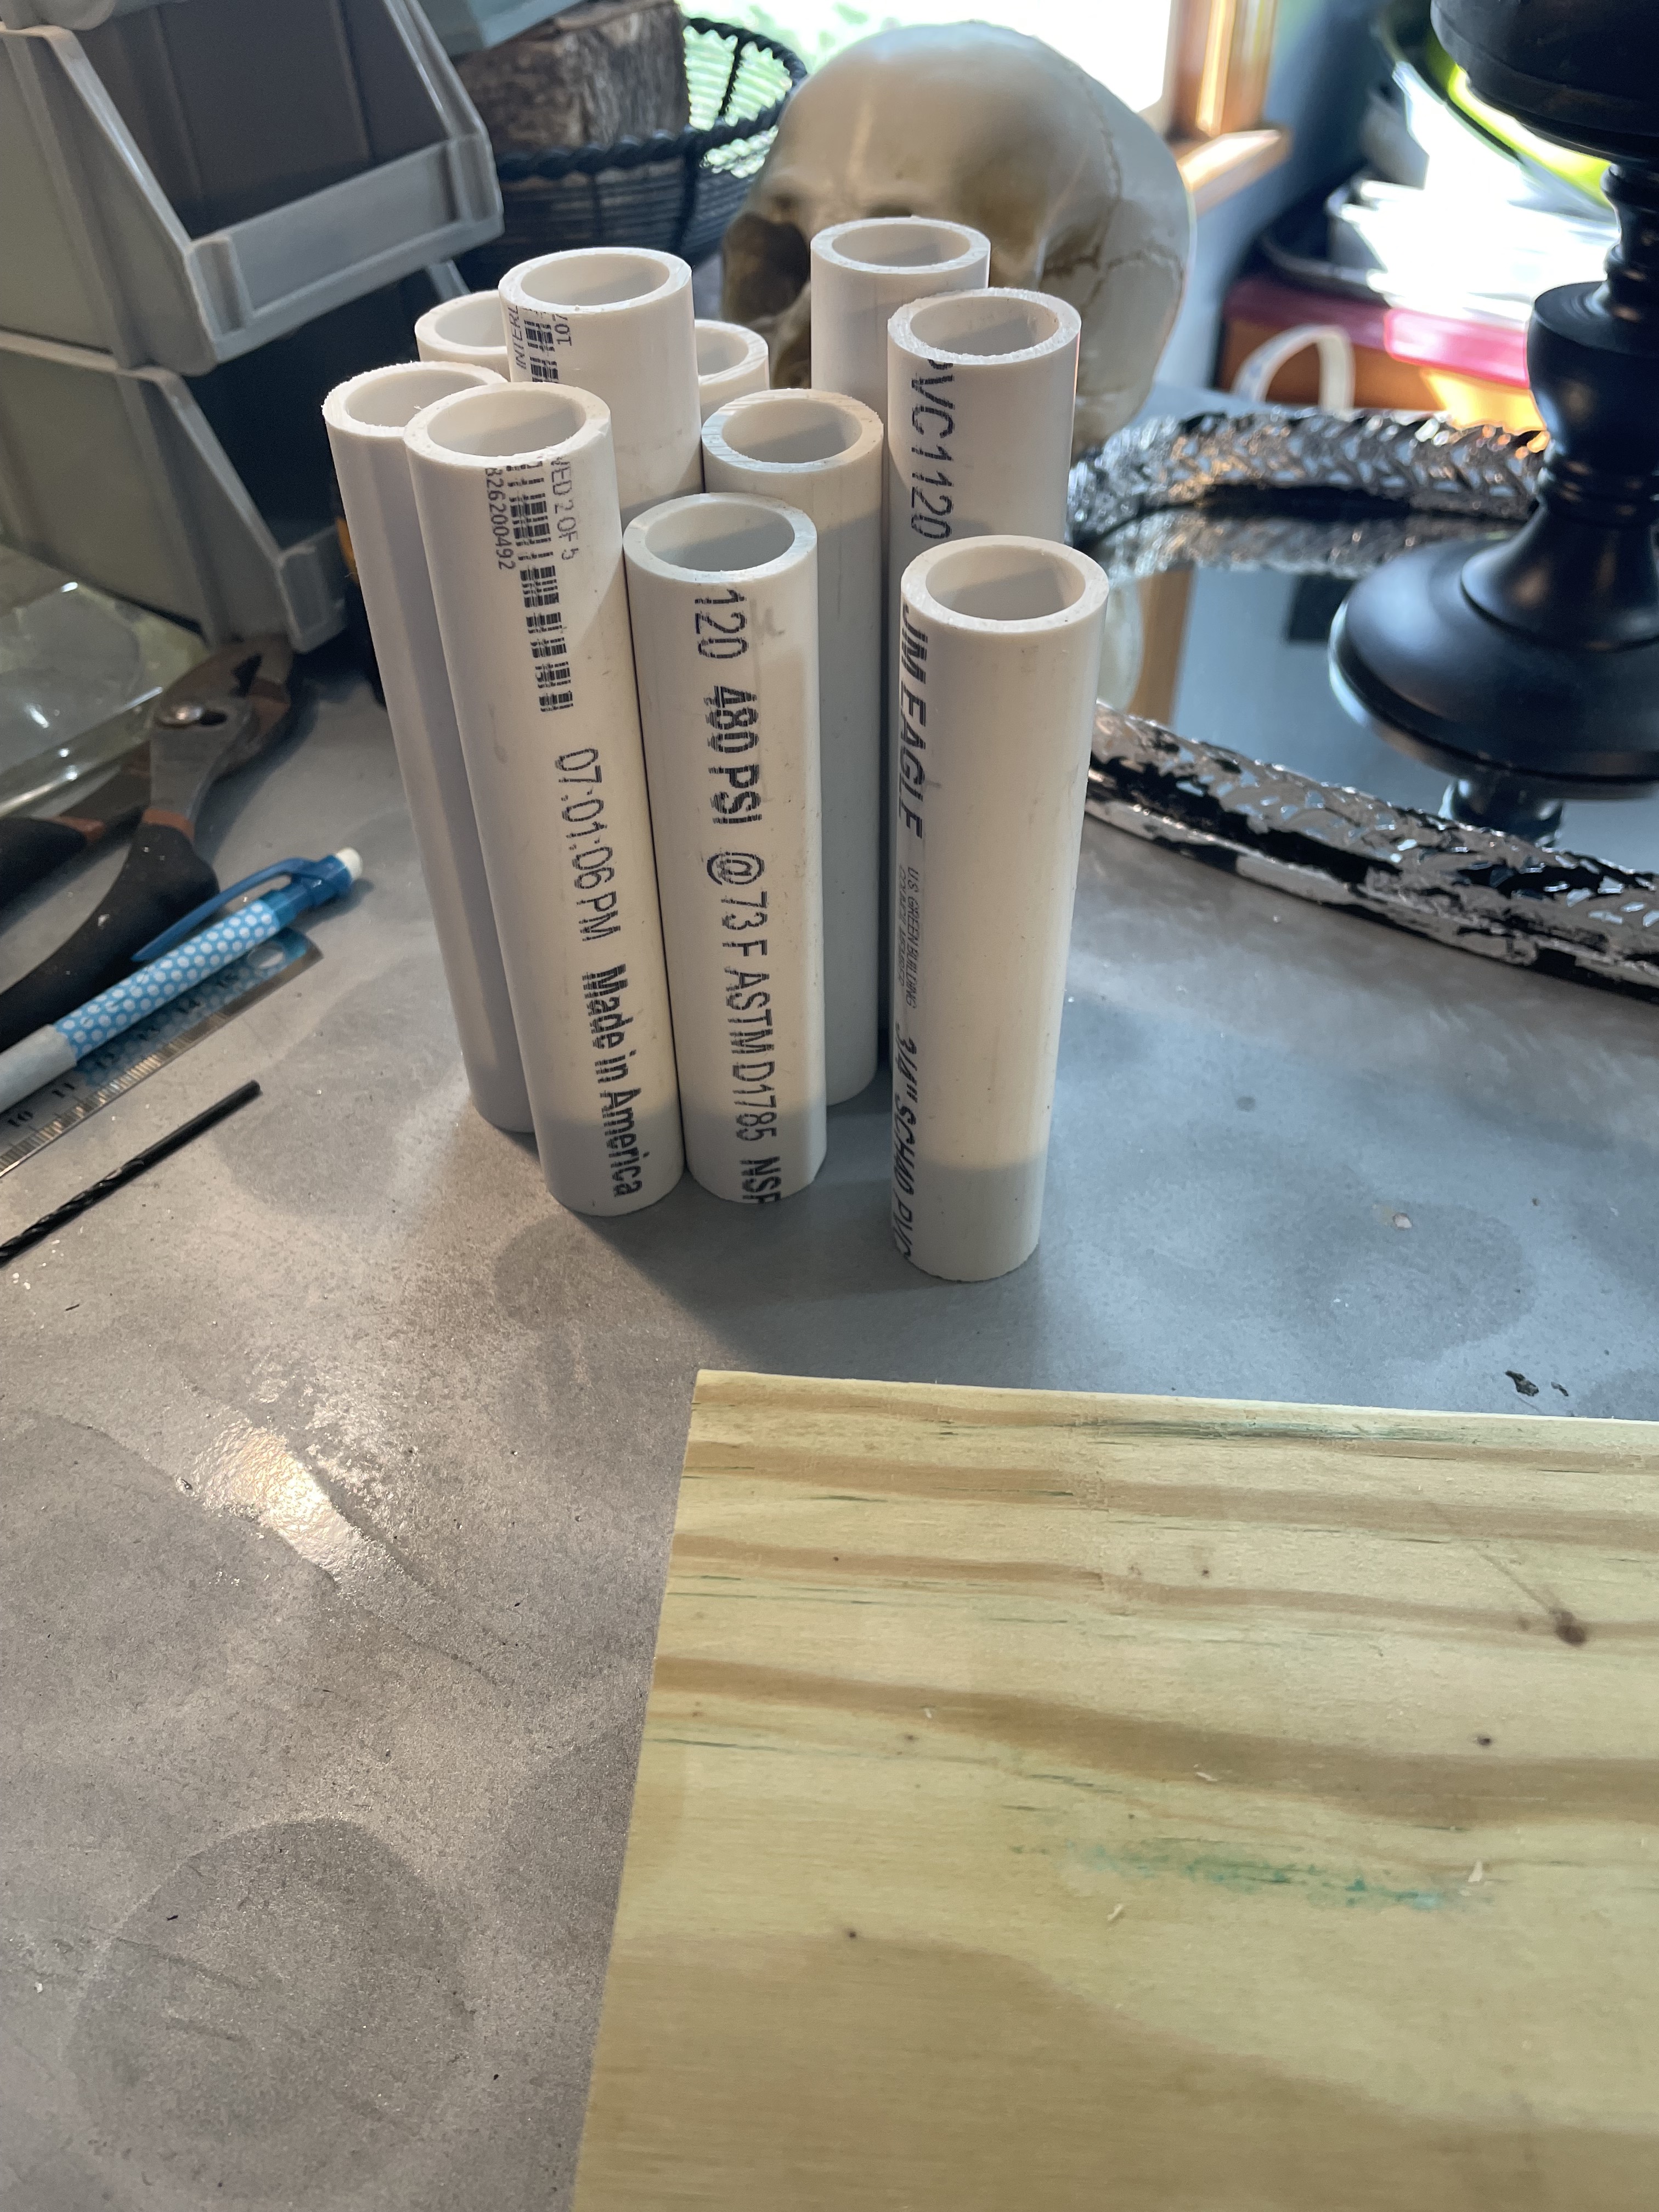
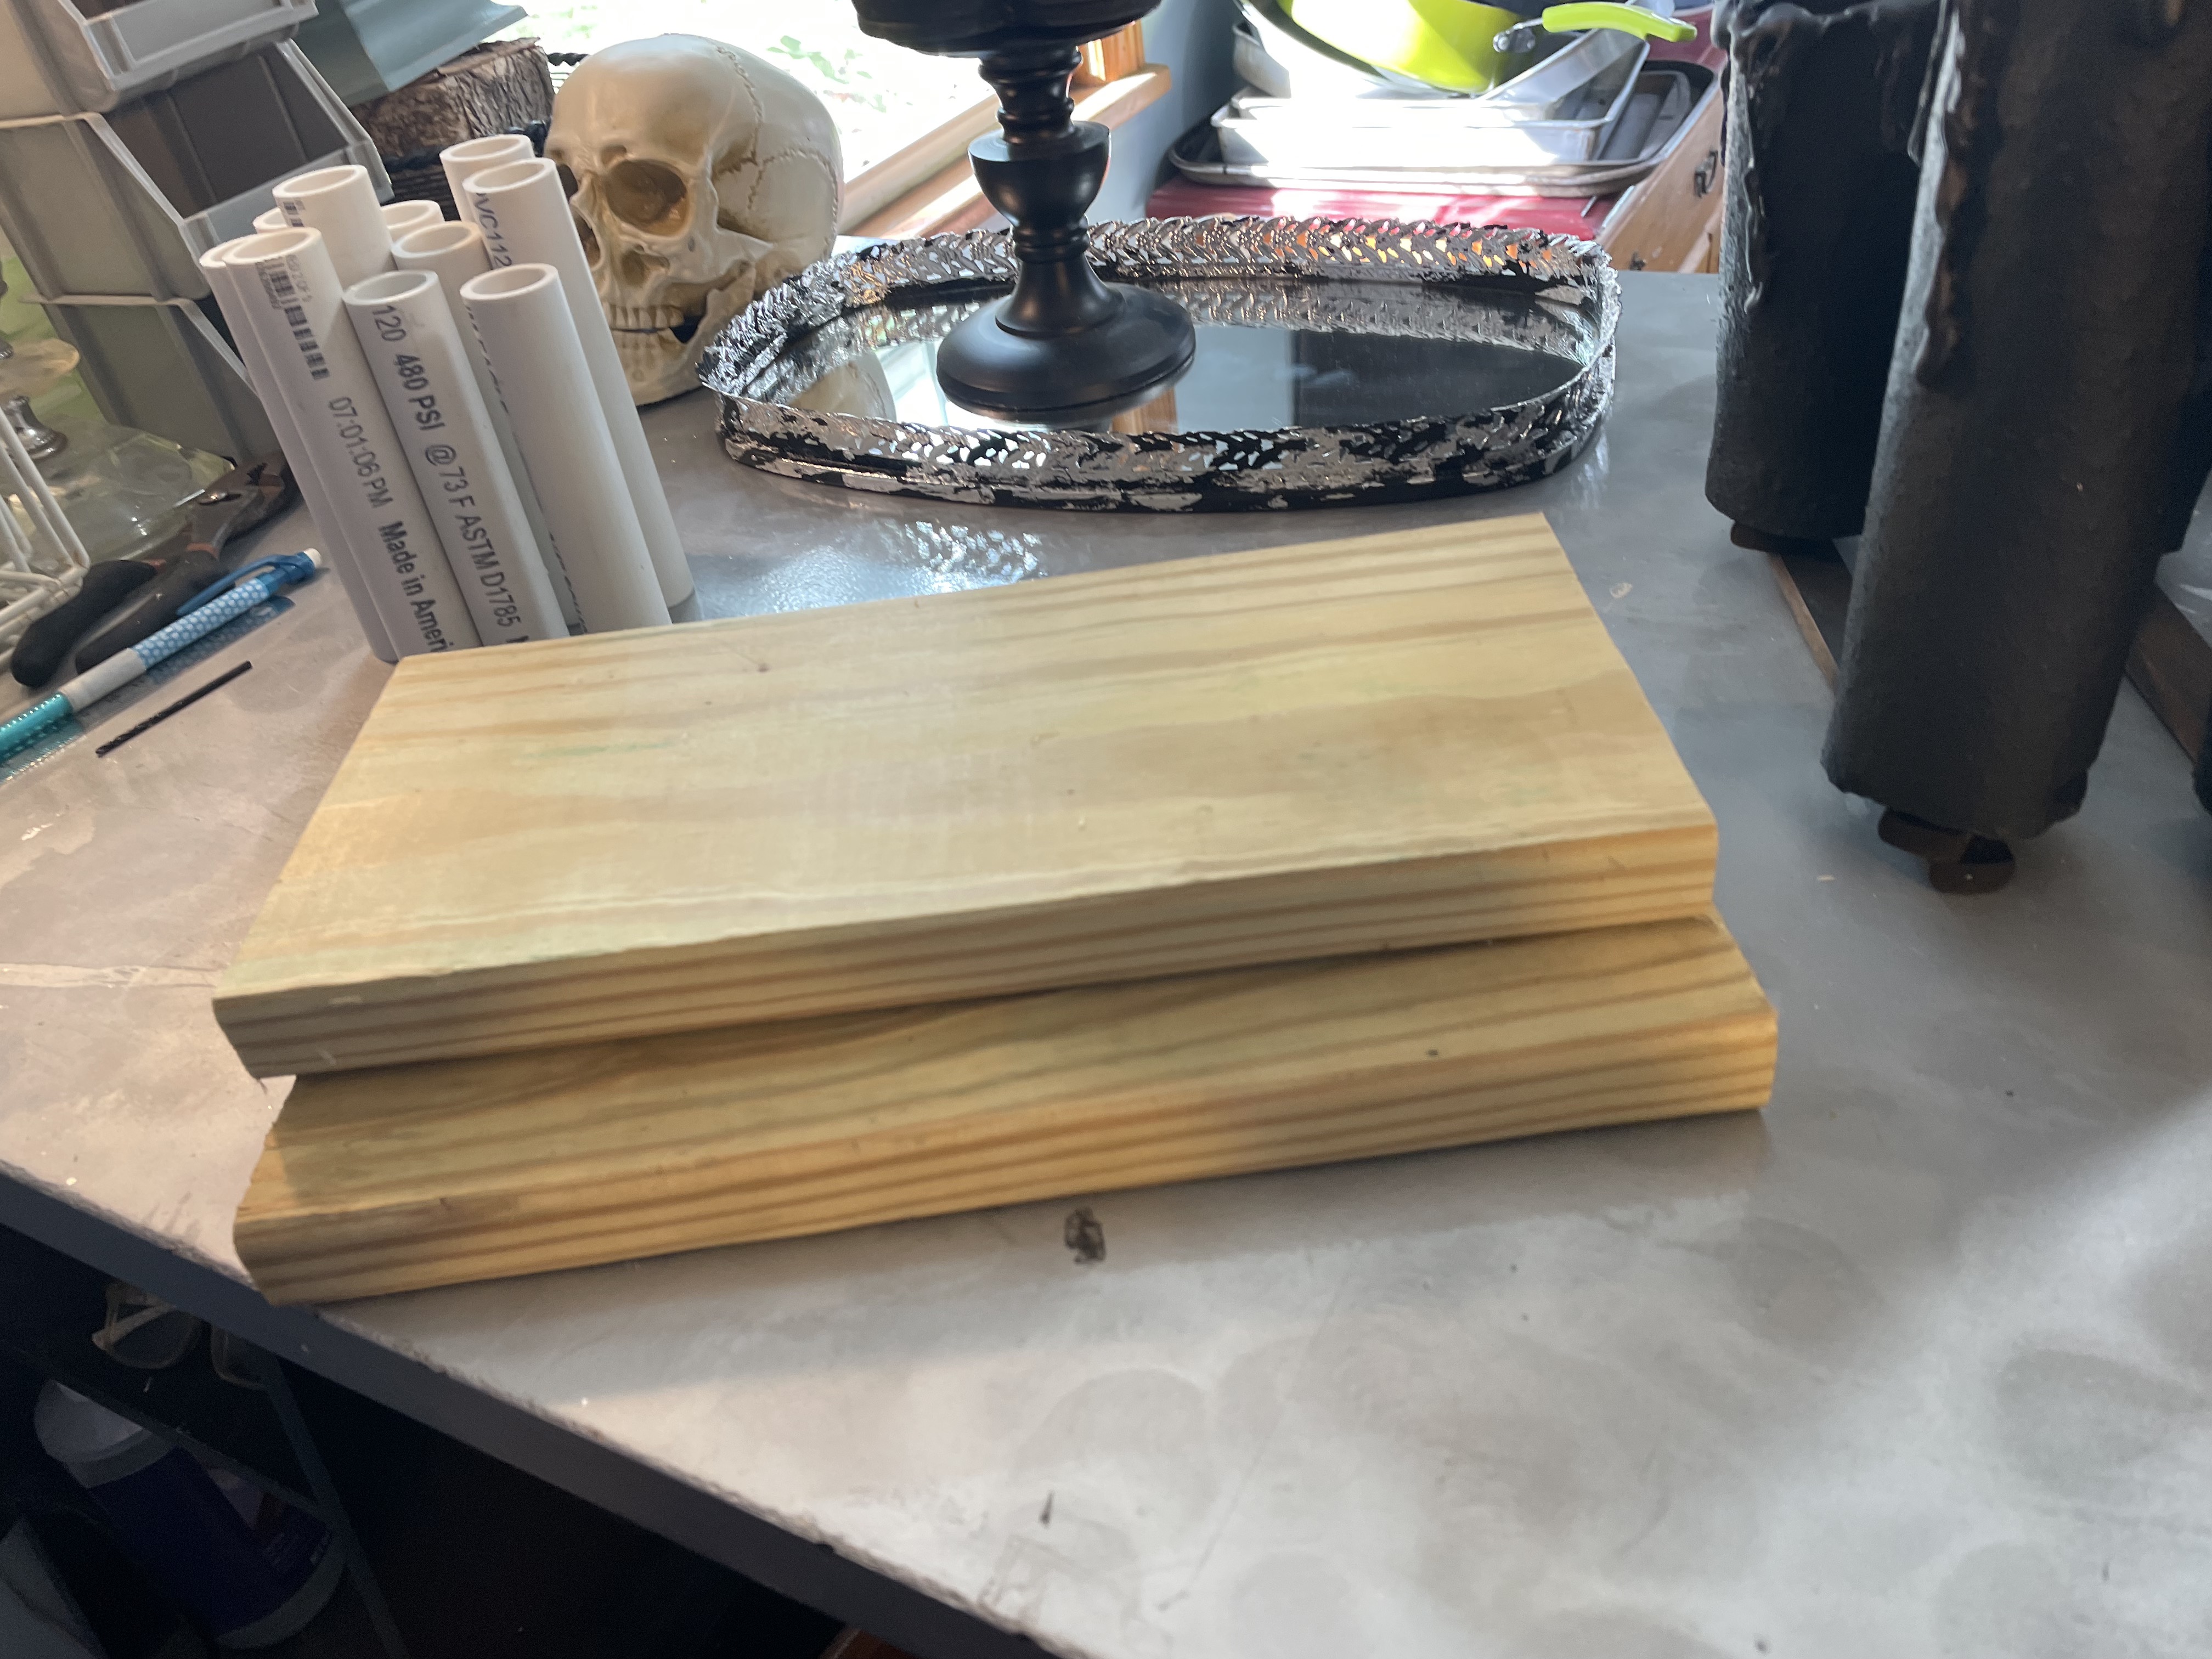
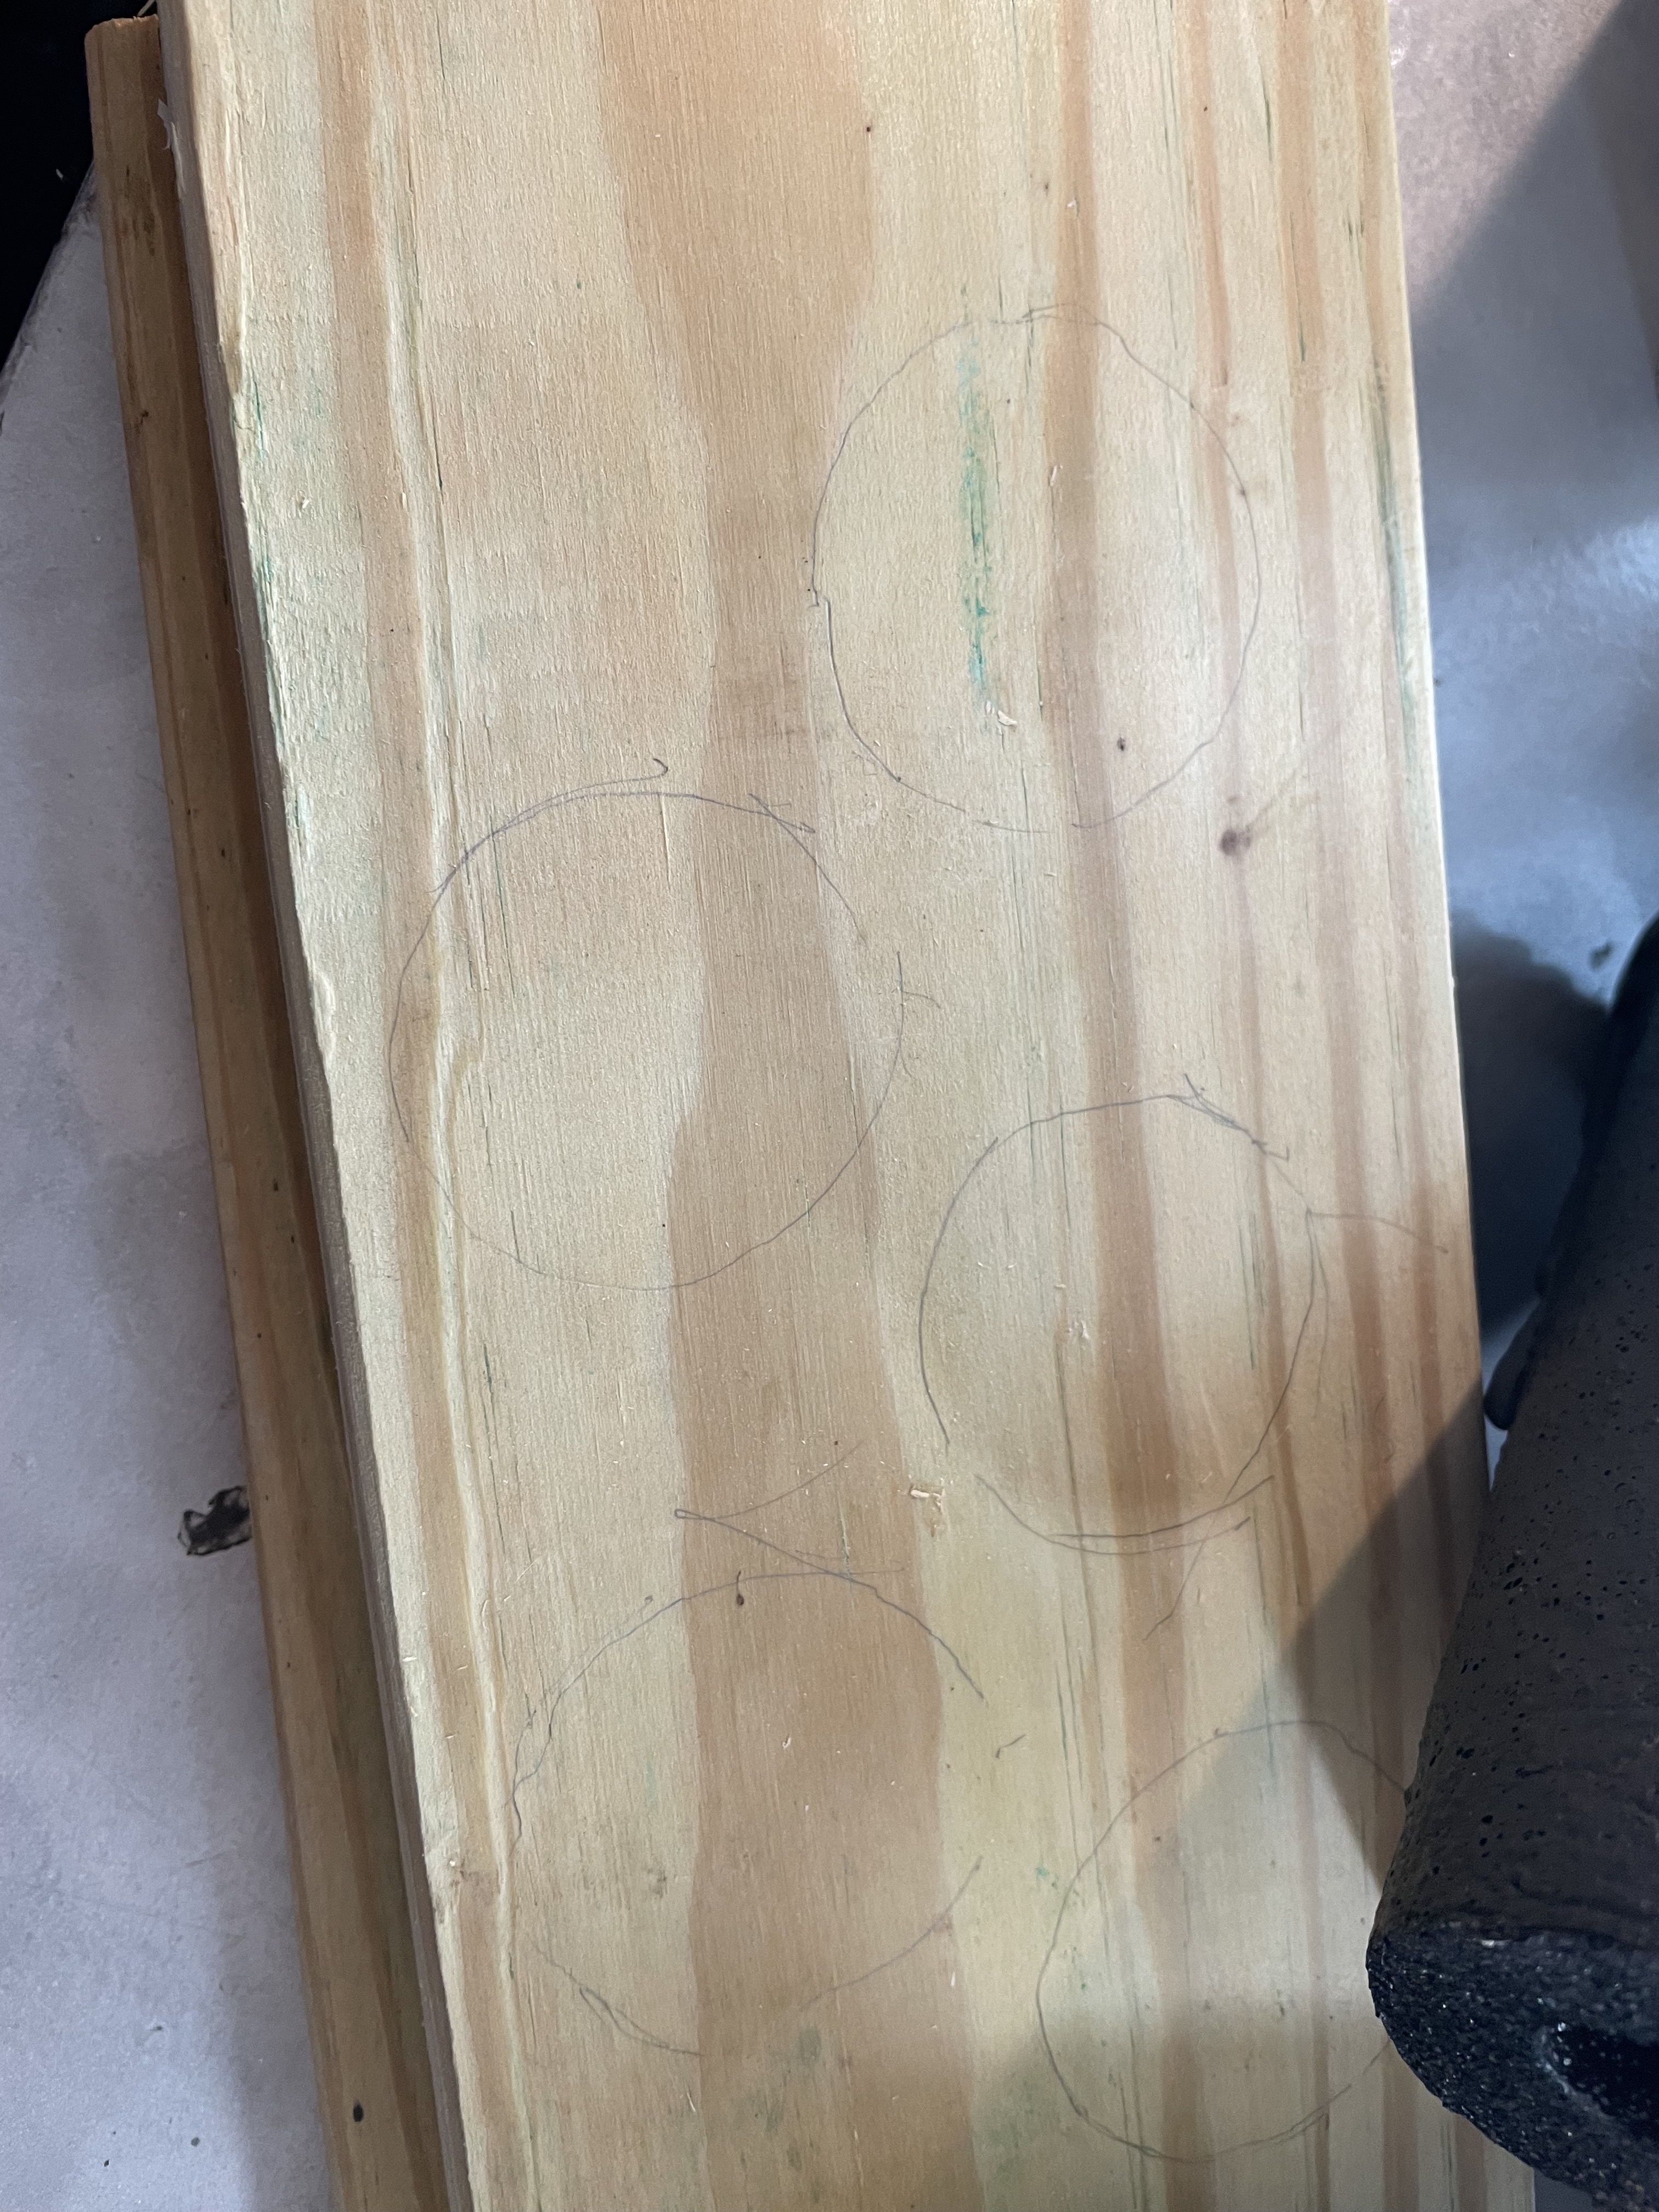
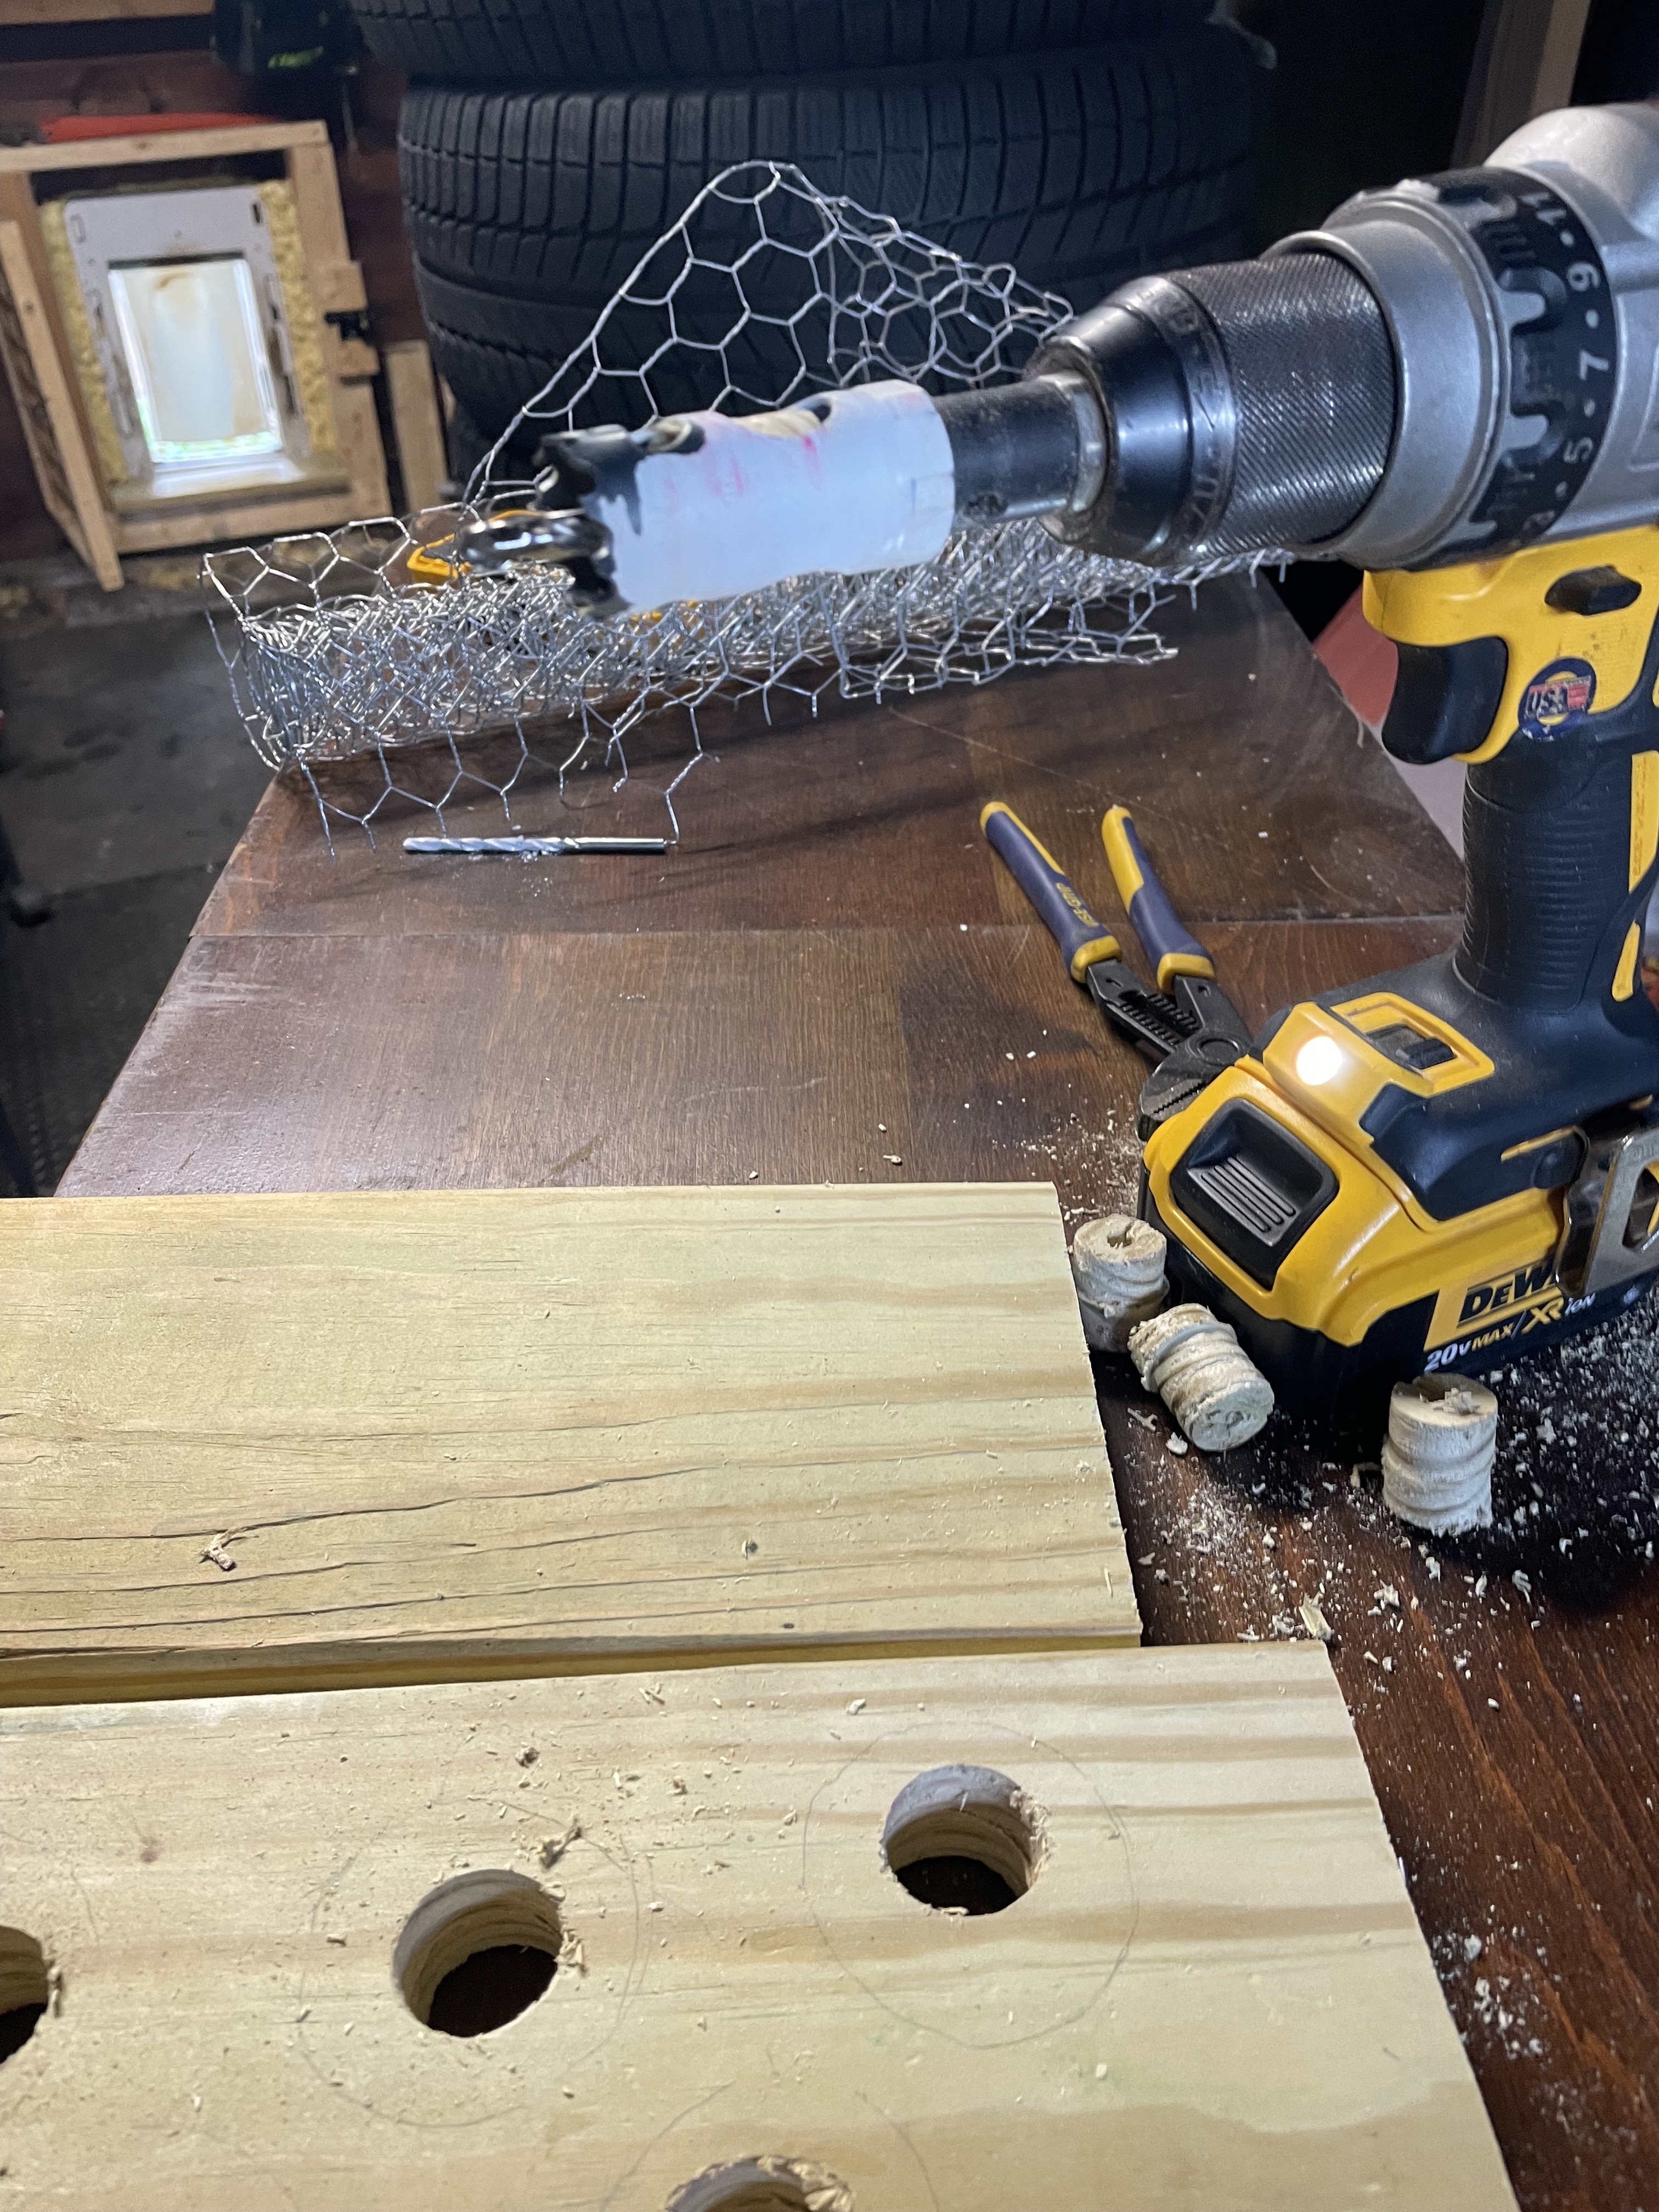
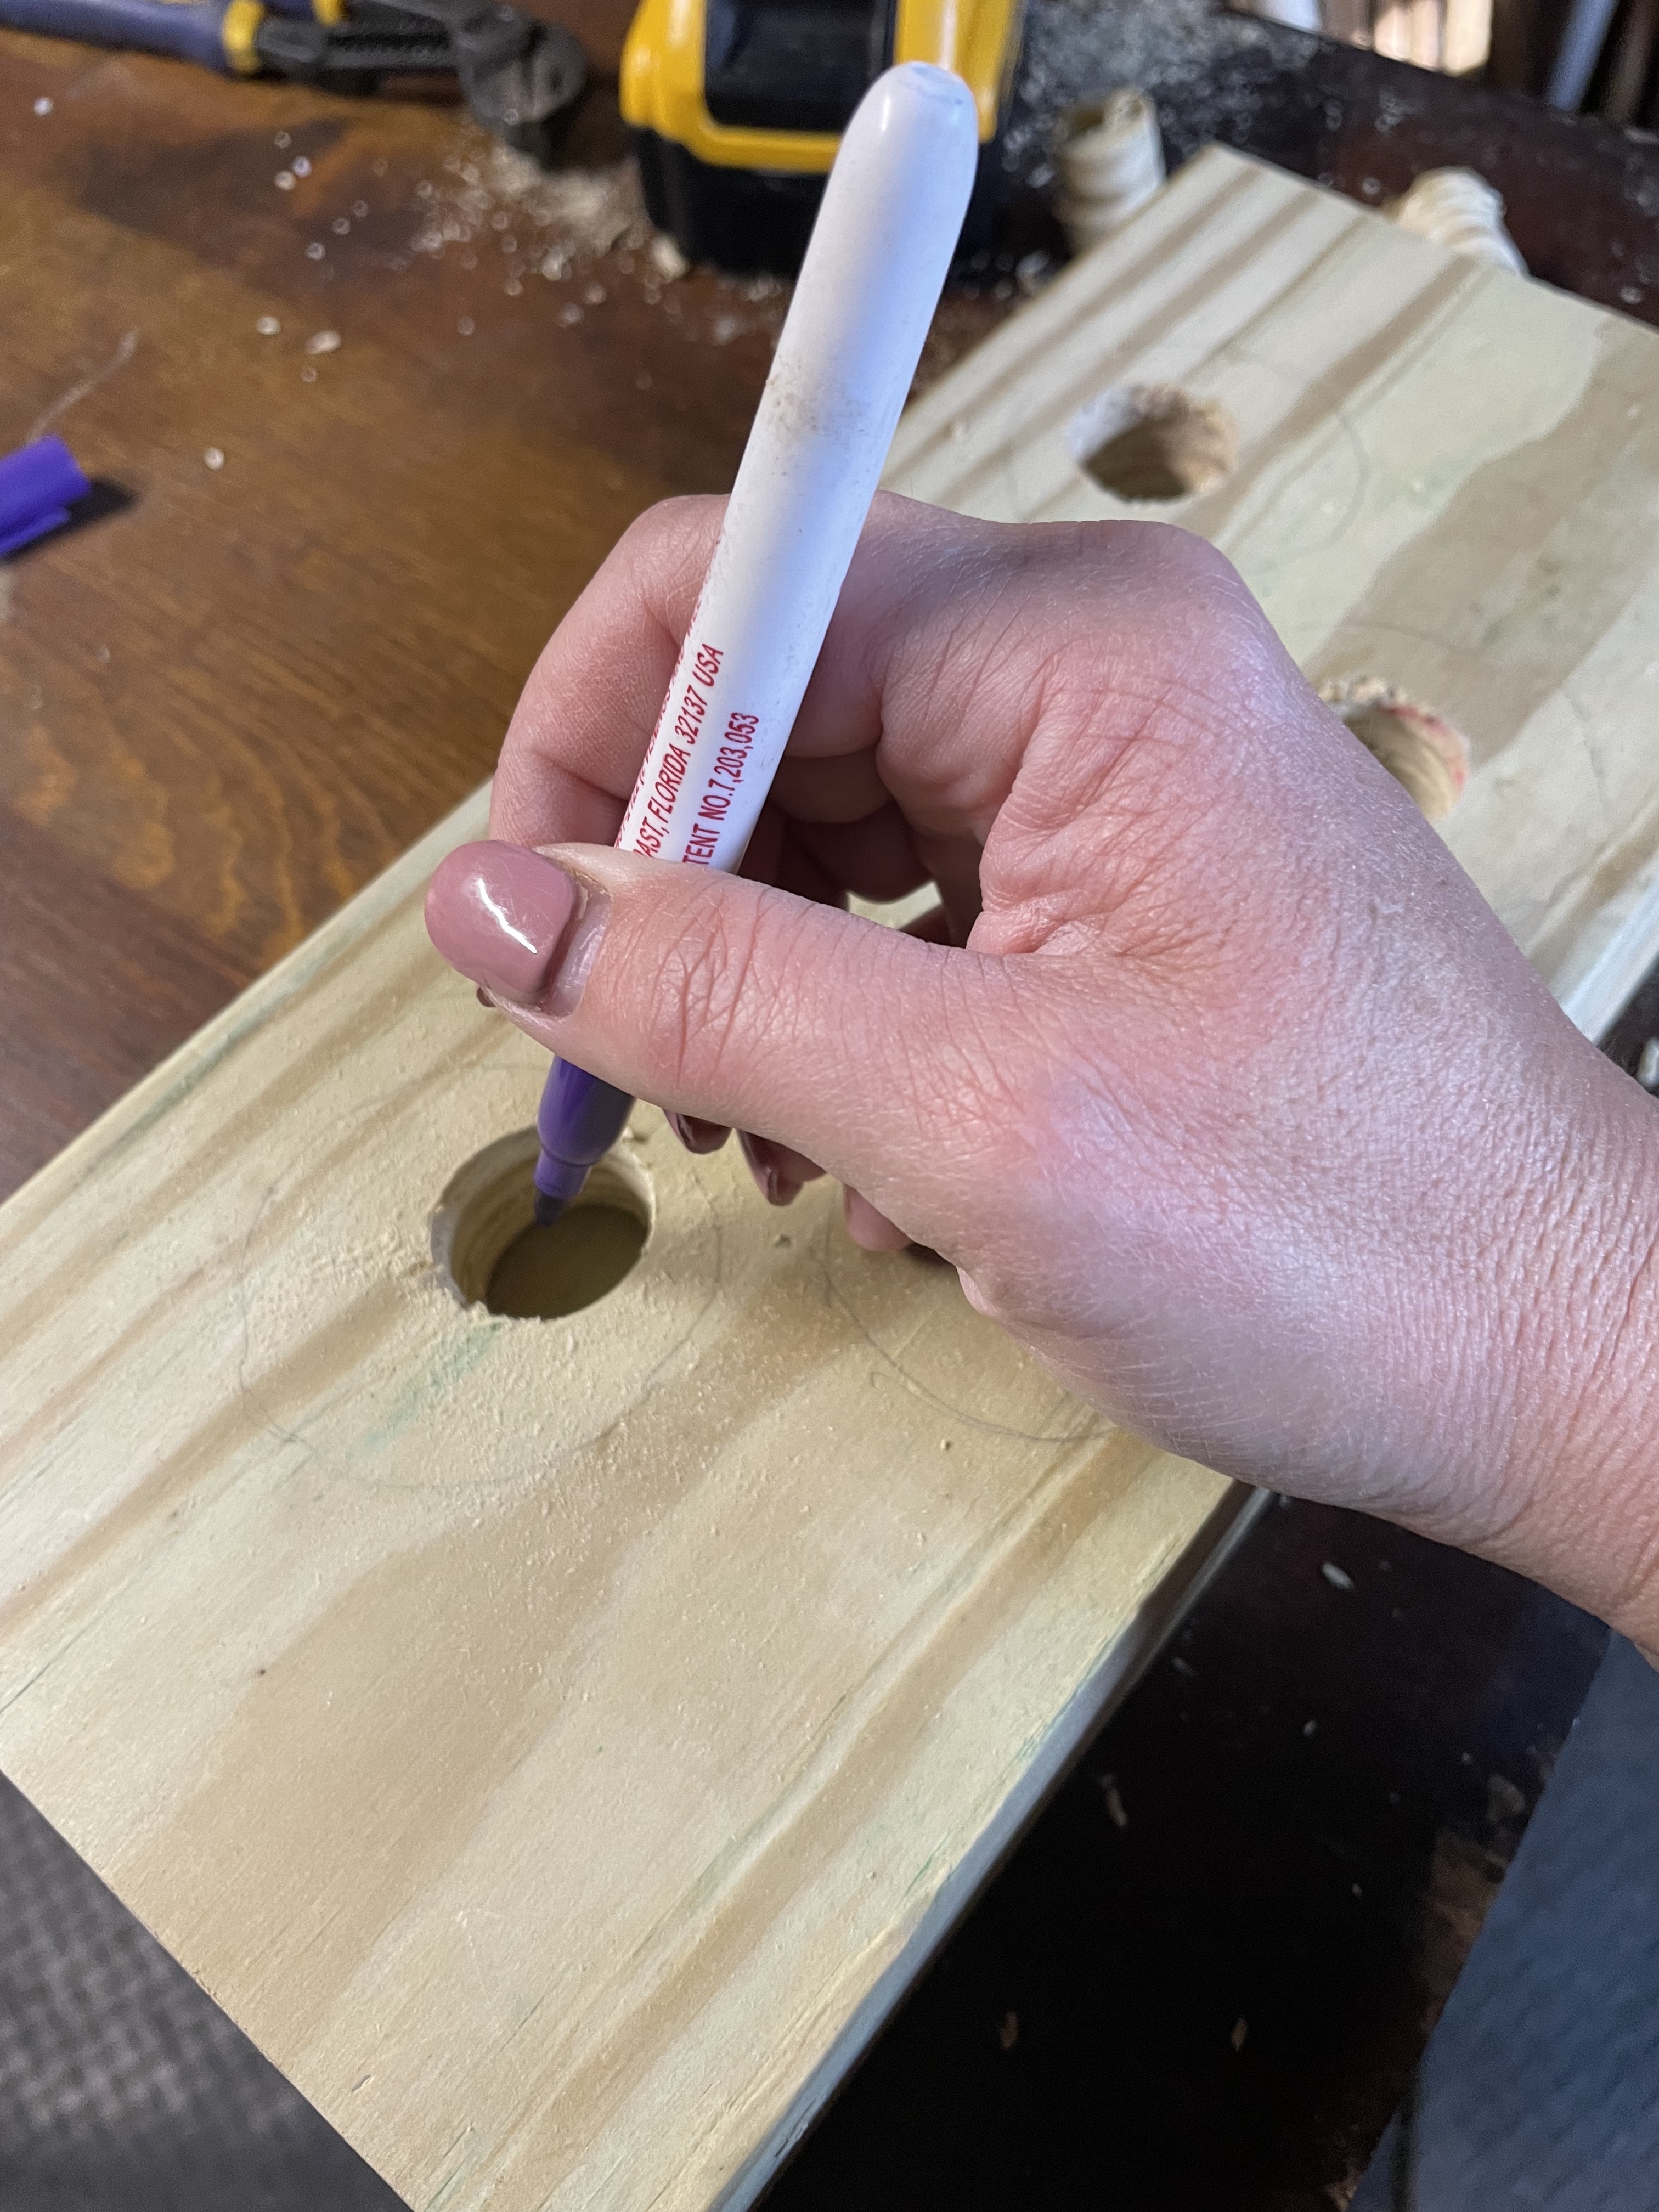
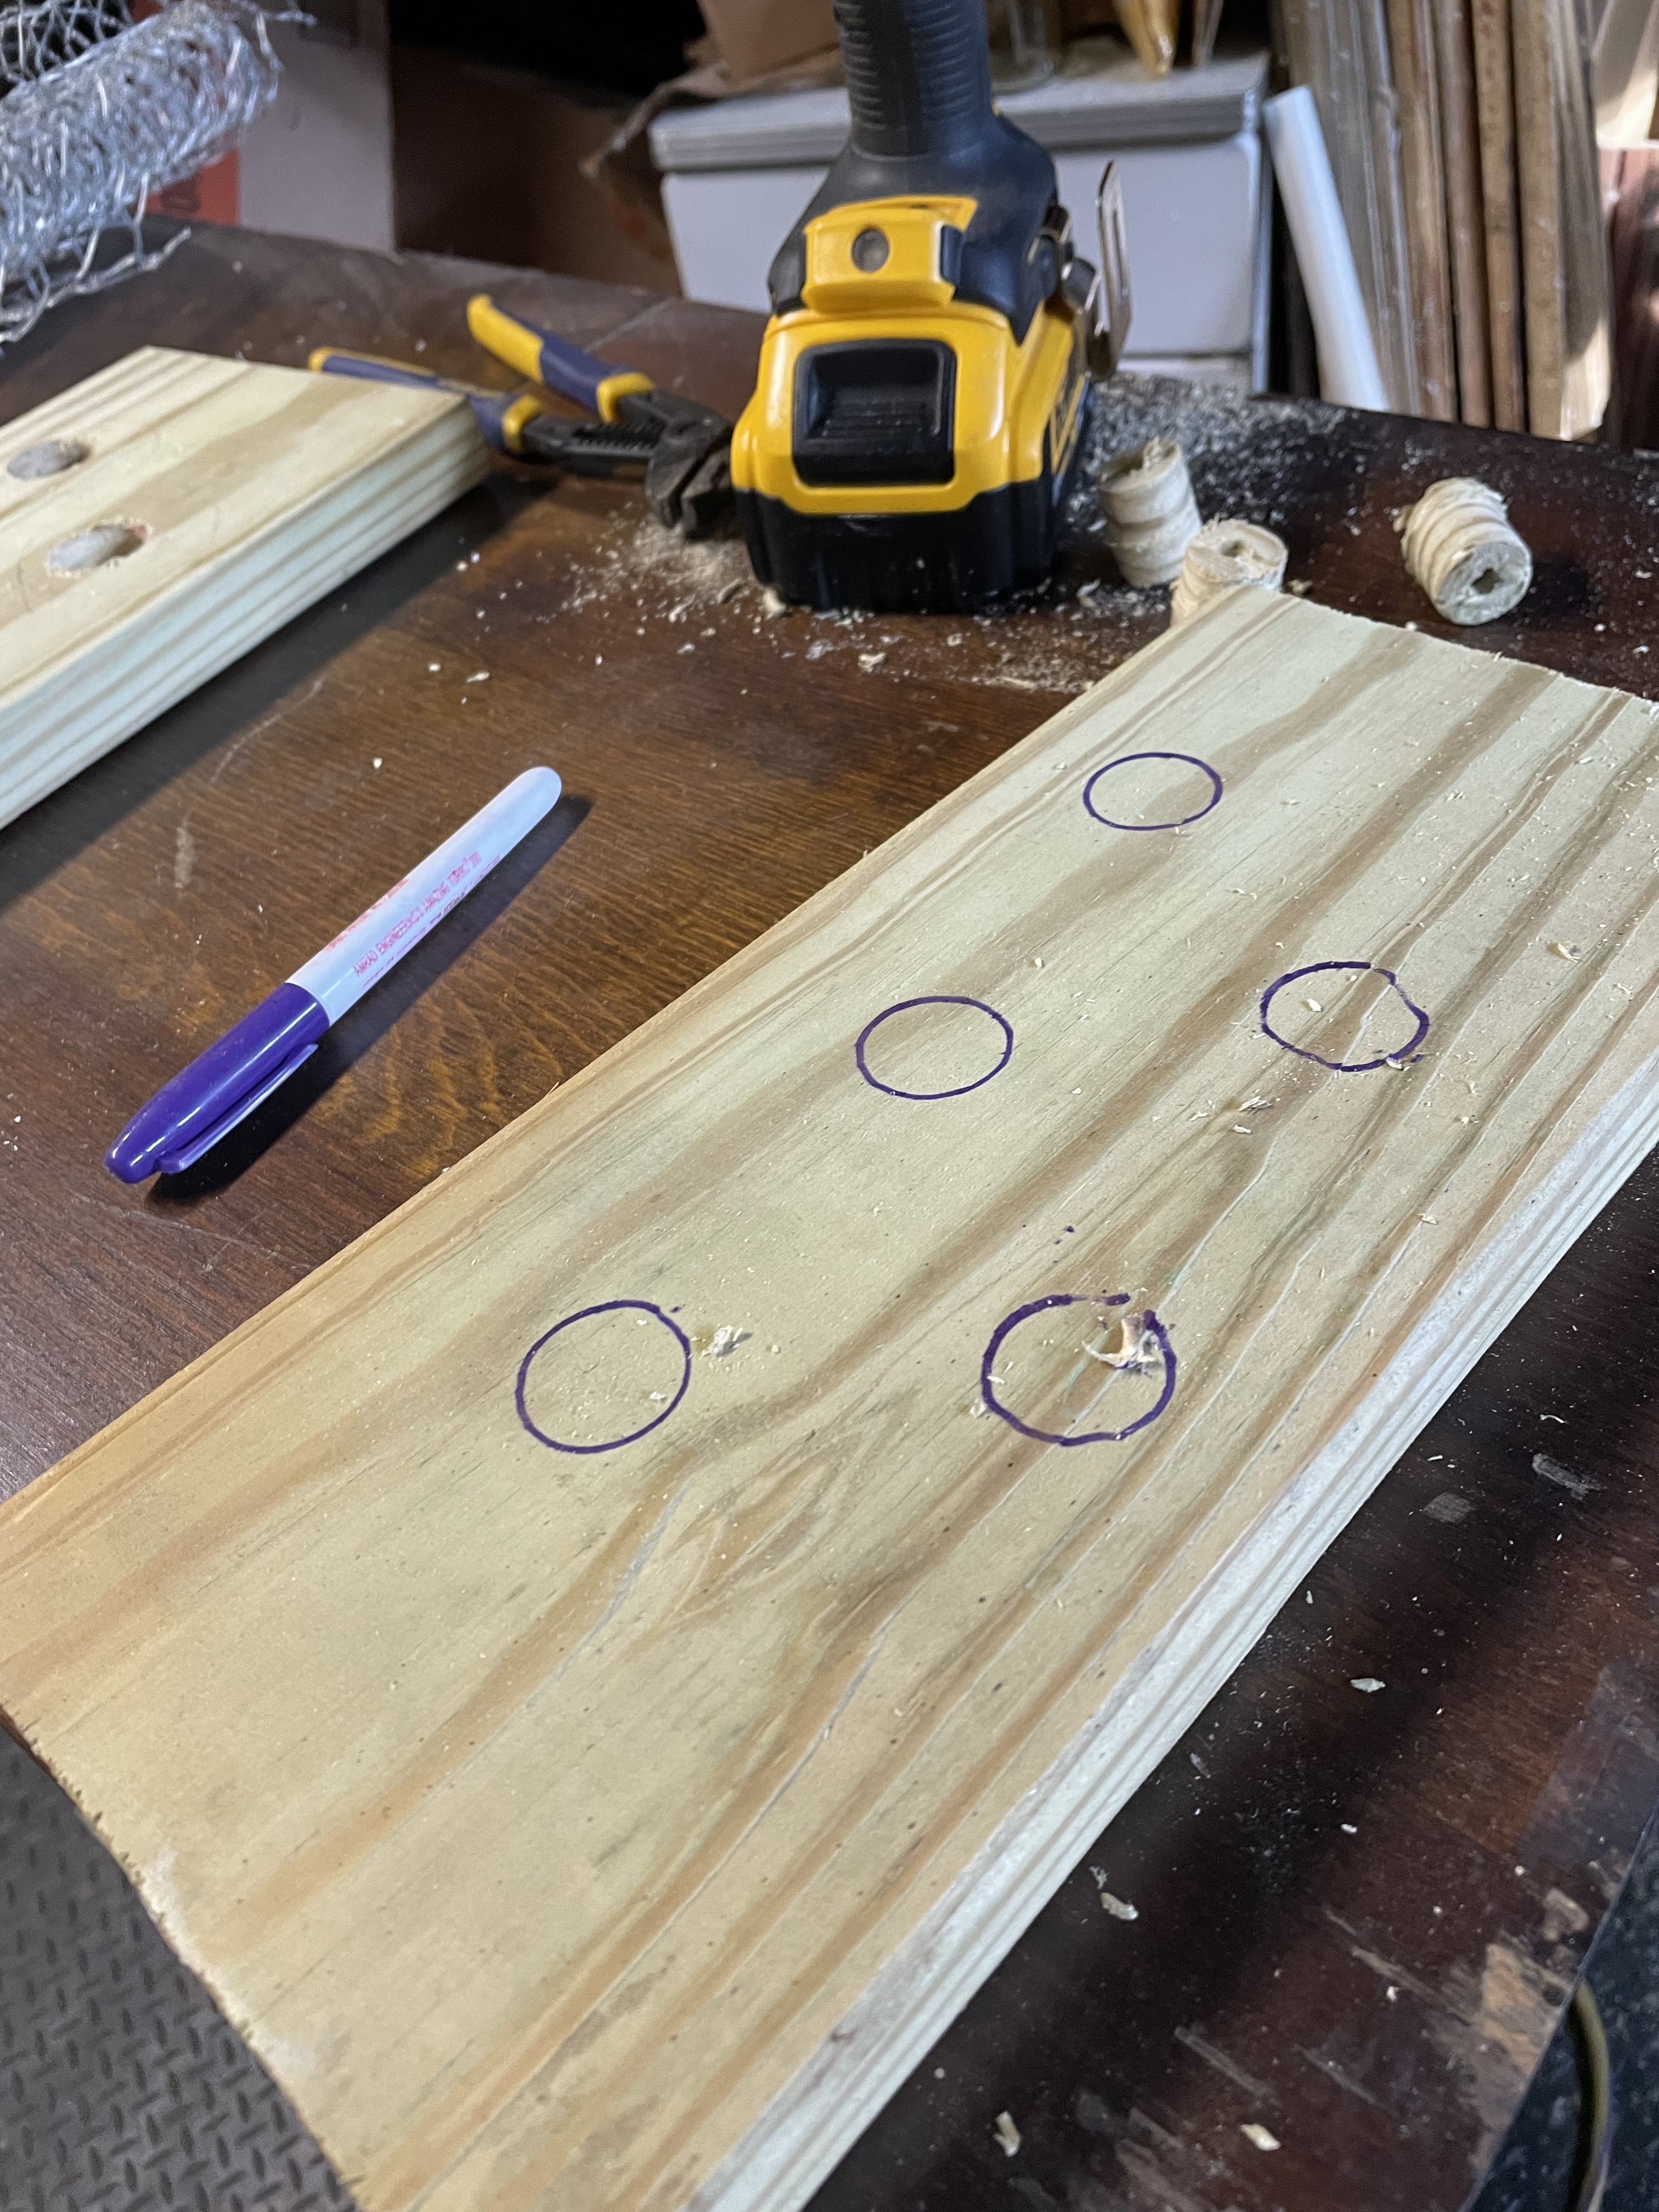
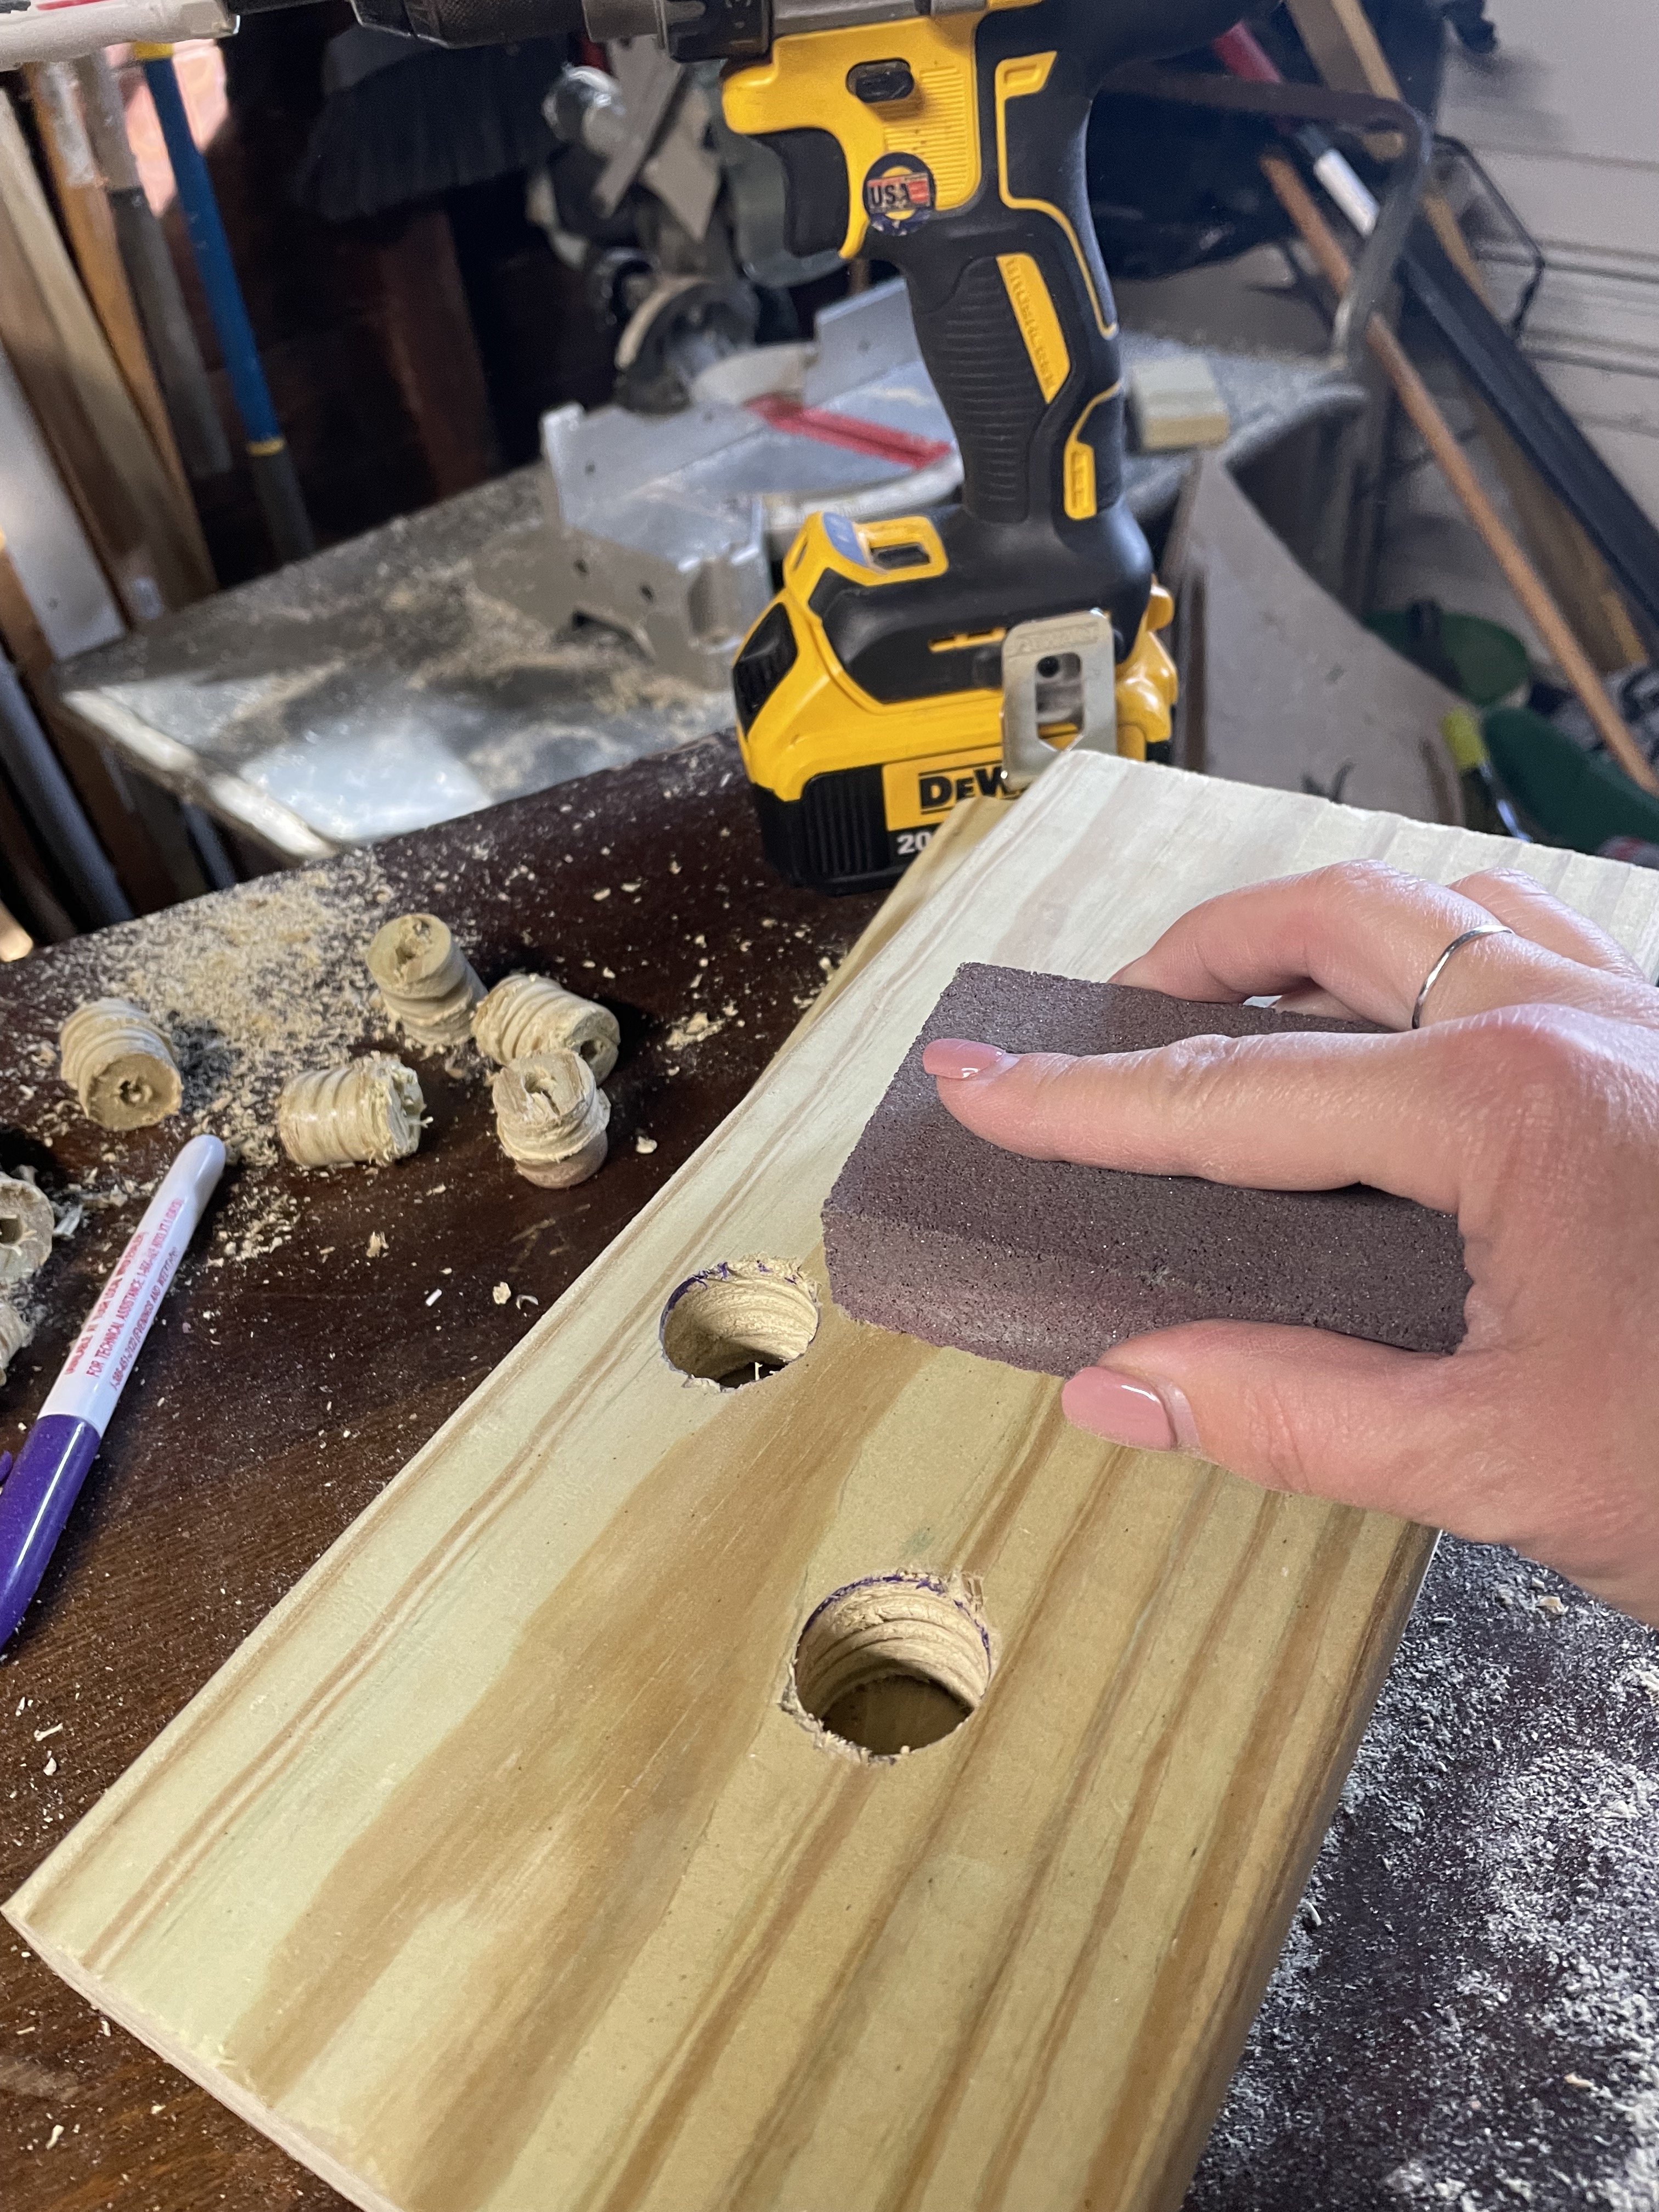
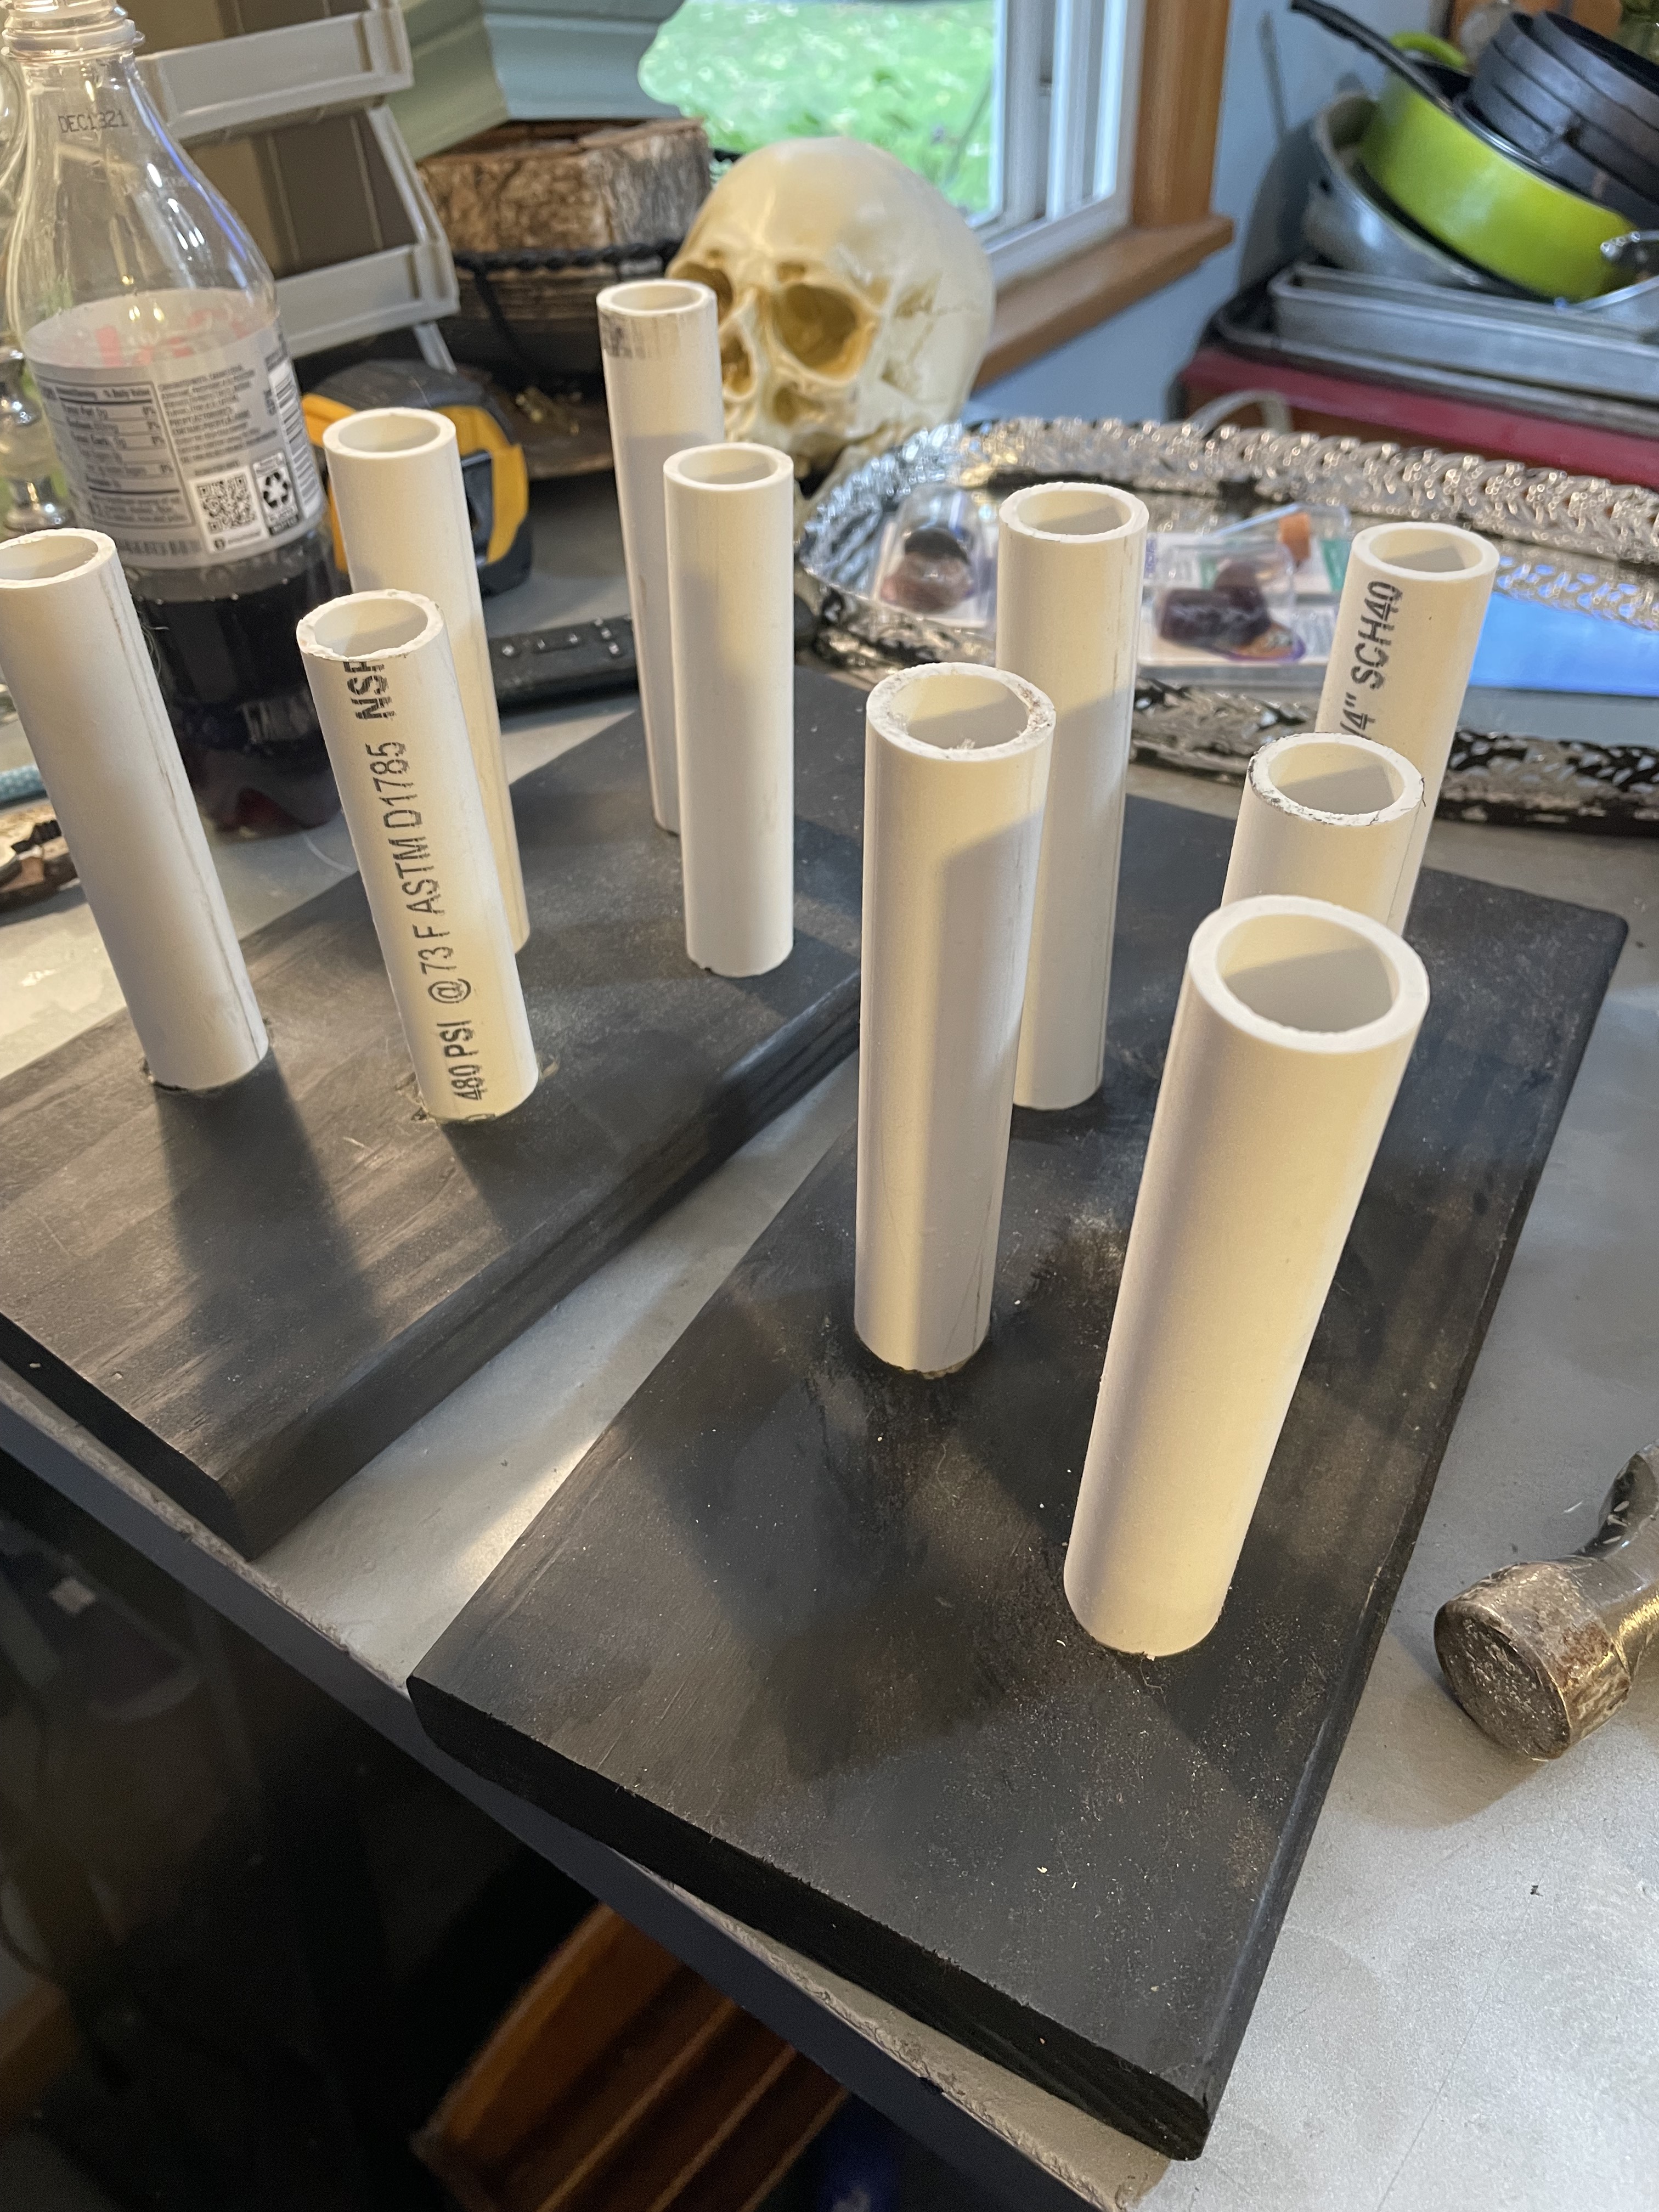
Attempting to find a good base… this one was not it!! I ended up with a wood base that I drilled holes into and placed 1/4″ PVC pipe into and up into the noodles for more stability. The weight will also prevent it from blowing over with the windy fall weather.
To the left is one completed in daylight, my sister loves the creepy decoration I made for her!
A basic overview of the whole process… I hope you enjoy it!